Marmalade Lady
I am looking forward to this. I hope it turns out. I haven’t tried this before. I have been seeing different posts about marmalade jam and making it without the pectin. I don’t have anything against pectin, I just don’t have any handy. Now, I’ve just looked it up and apparently pectin occurs naturally in fruits and it is sometimes added for additional thickening. I have made strawberry jam with chia seeds for thickening which turned out pretty well I think. Let’s see how orange marmalade turns out. Check out these inspiration pins for different recipes, tips and tricks.
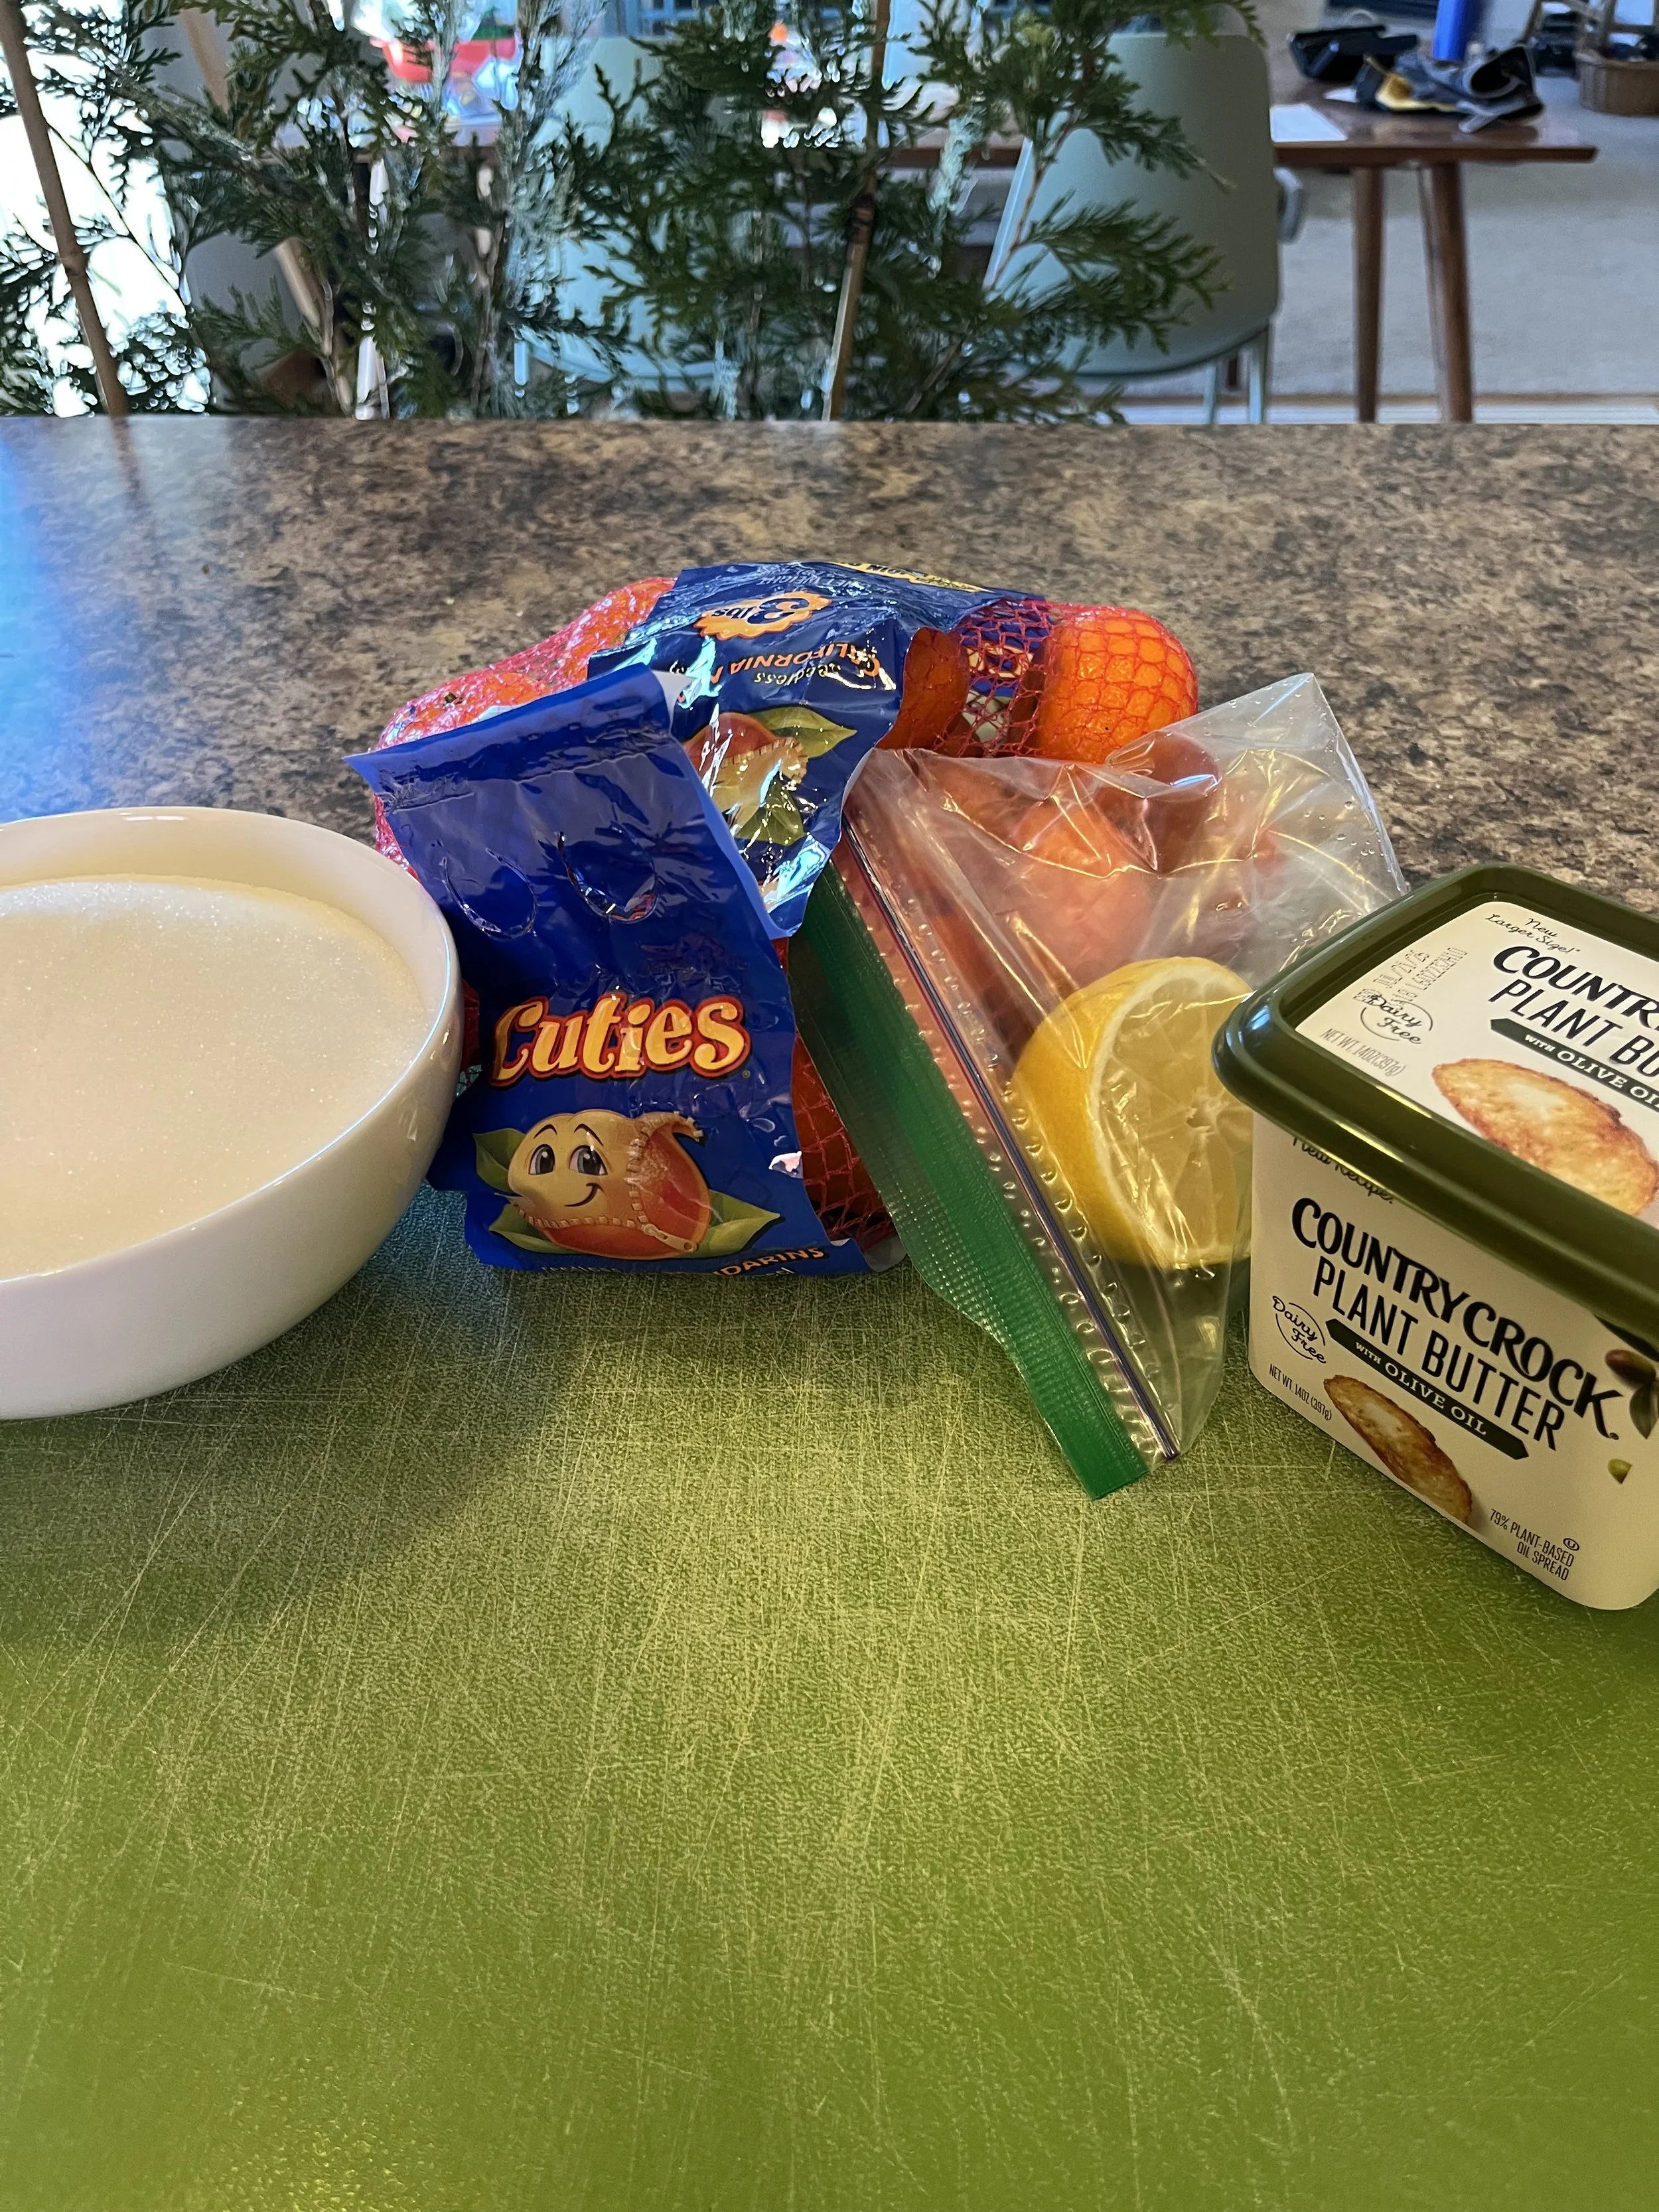
The best part about this project is that I had all the ingredients on hand. There weren’t many. I happened to have just bought a bag of Cuties at Costco and I had just enough sugar, which reminds me, I need to get sugar.
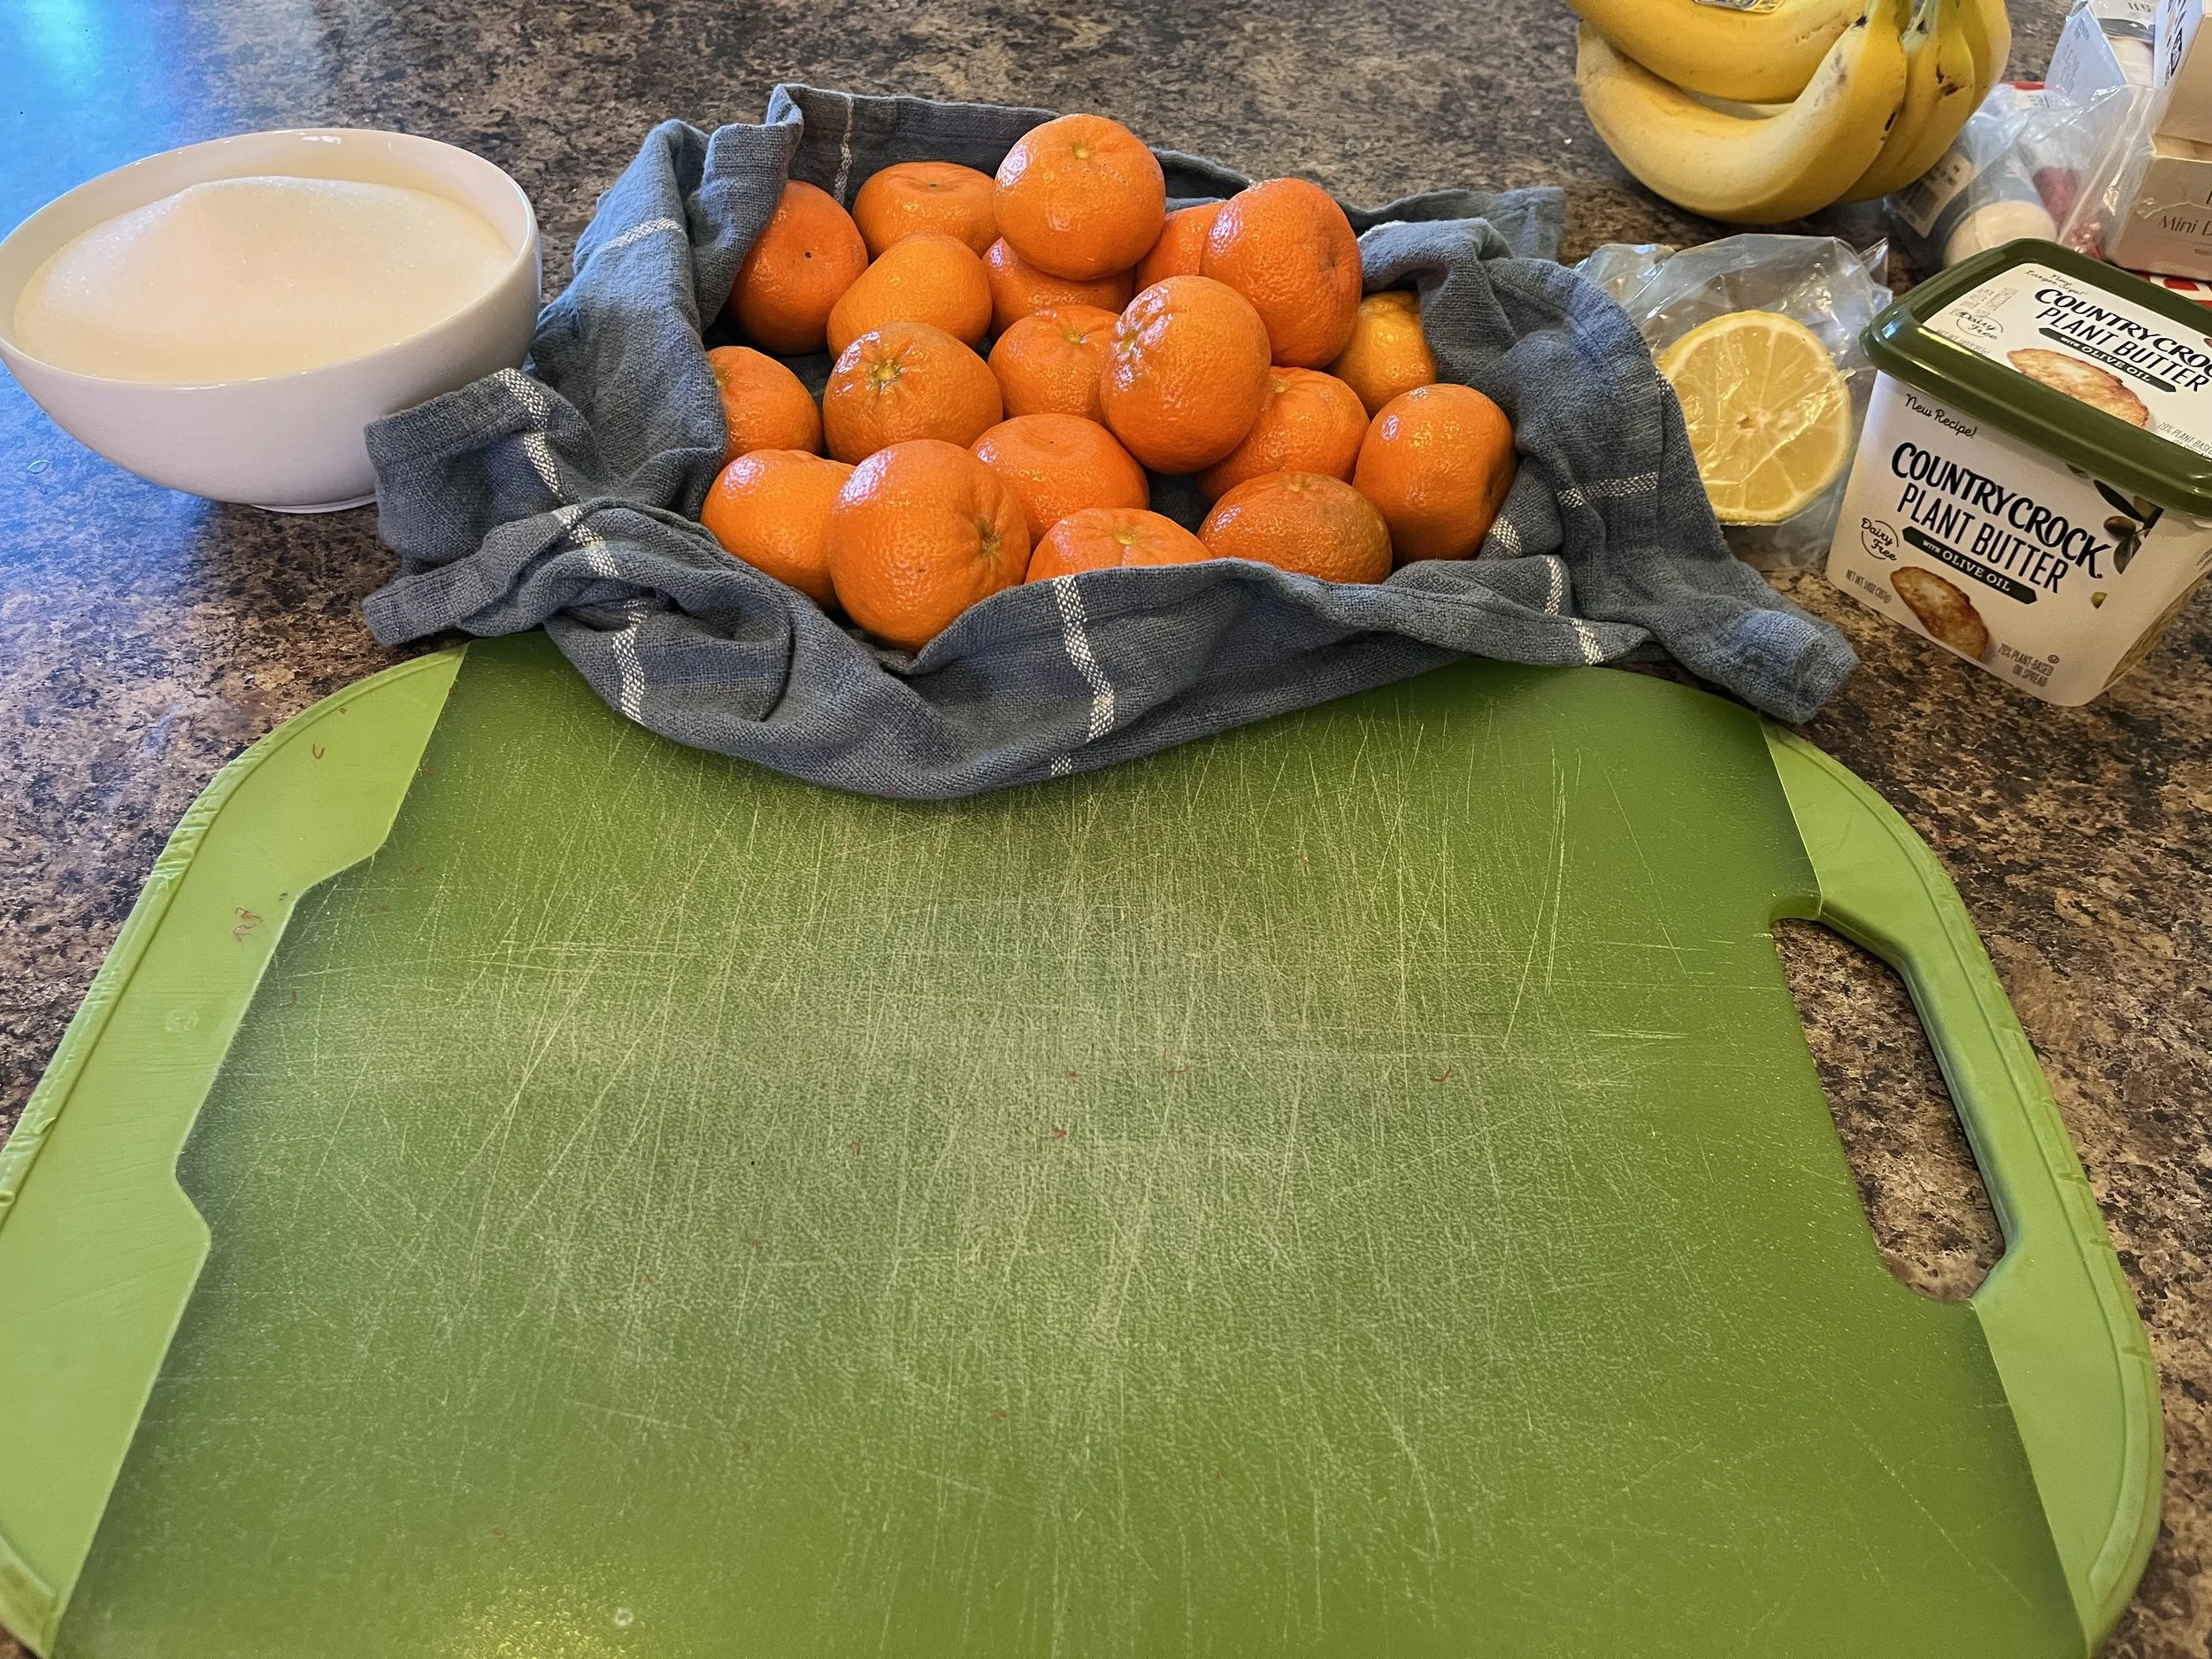
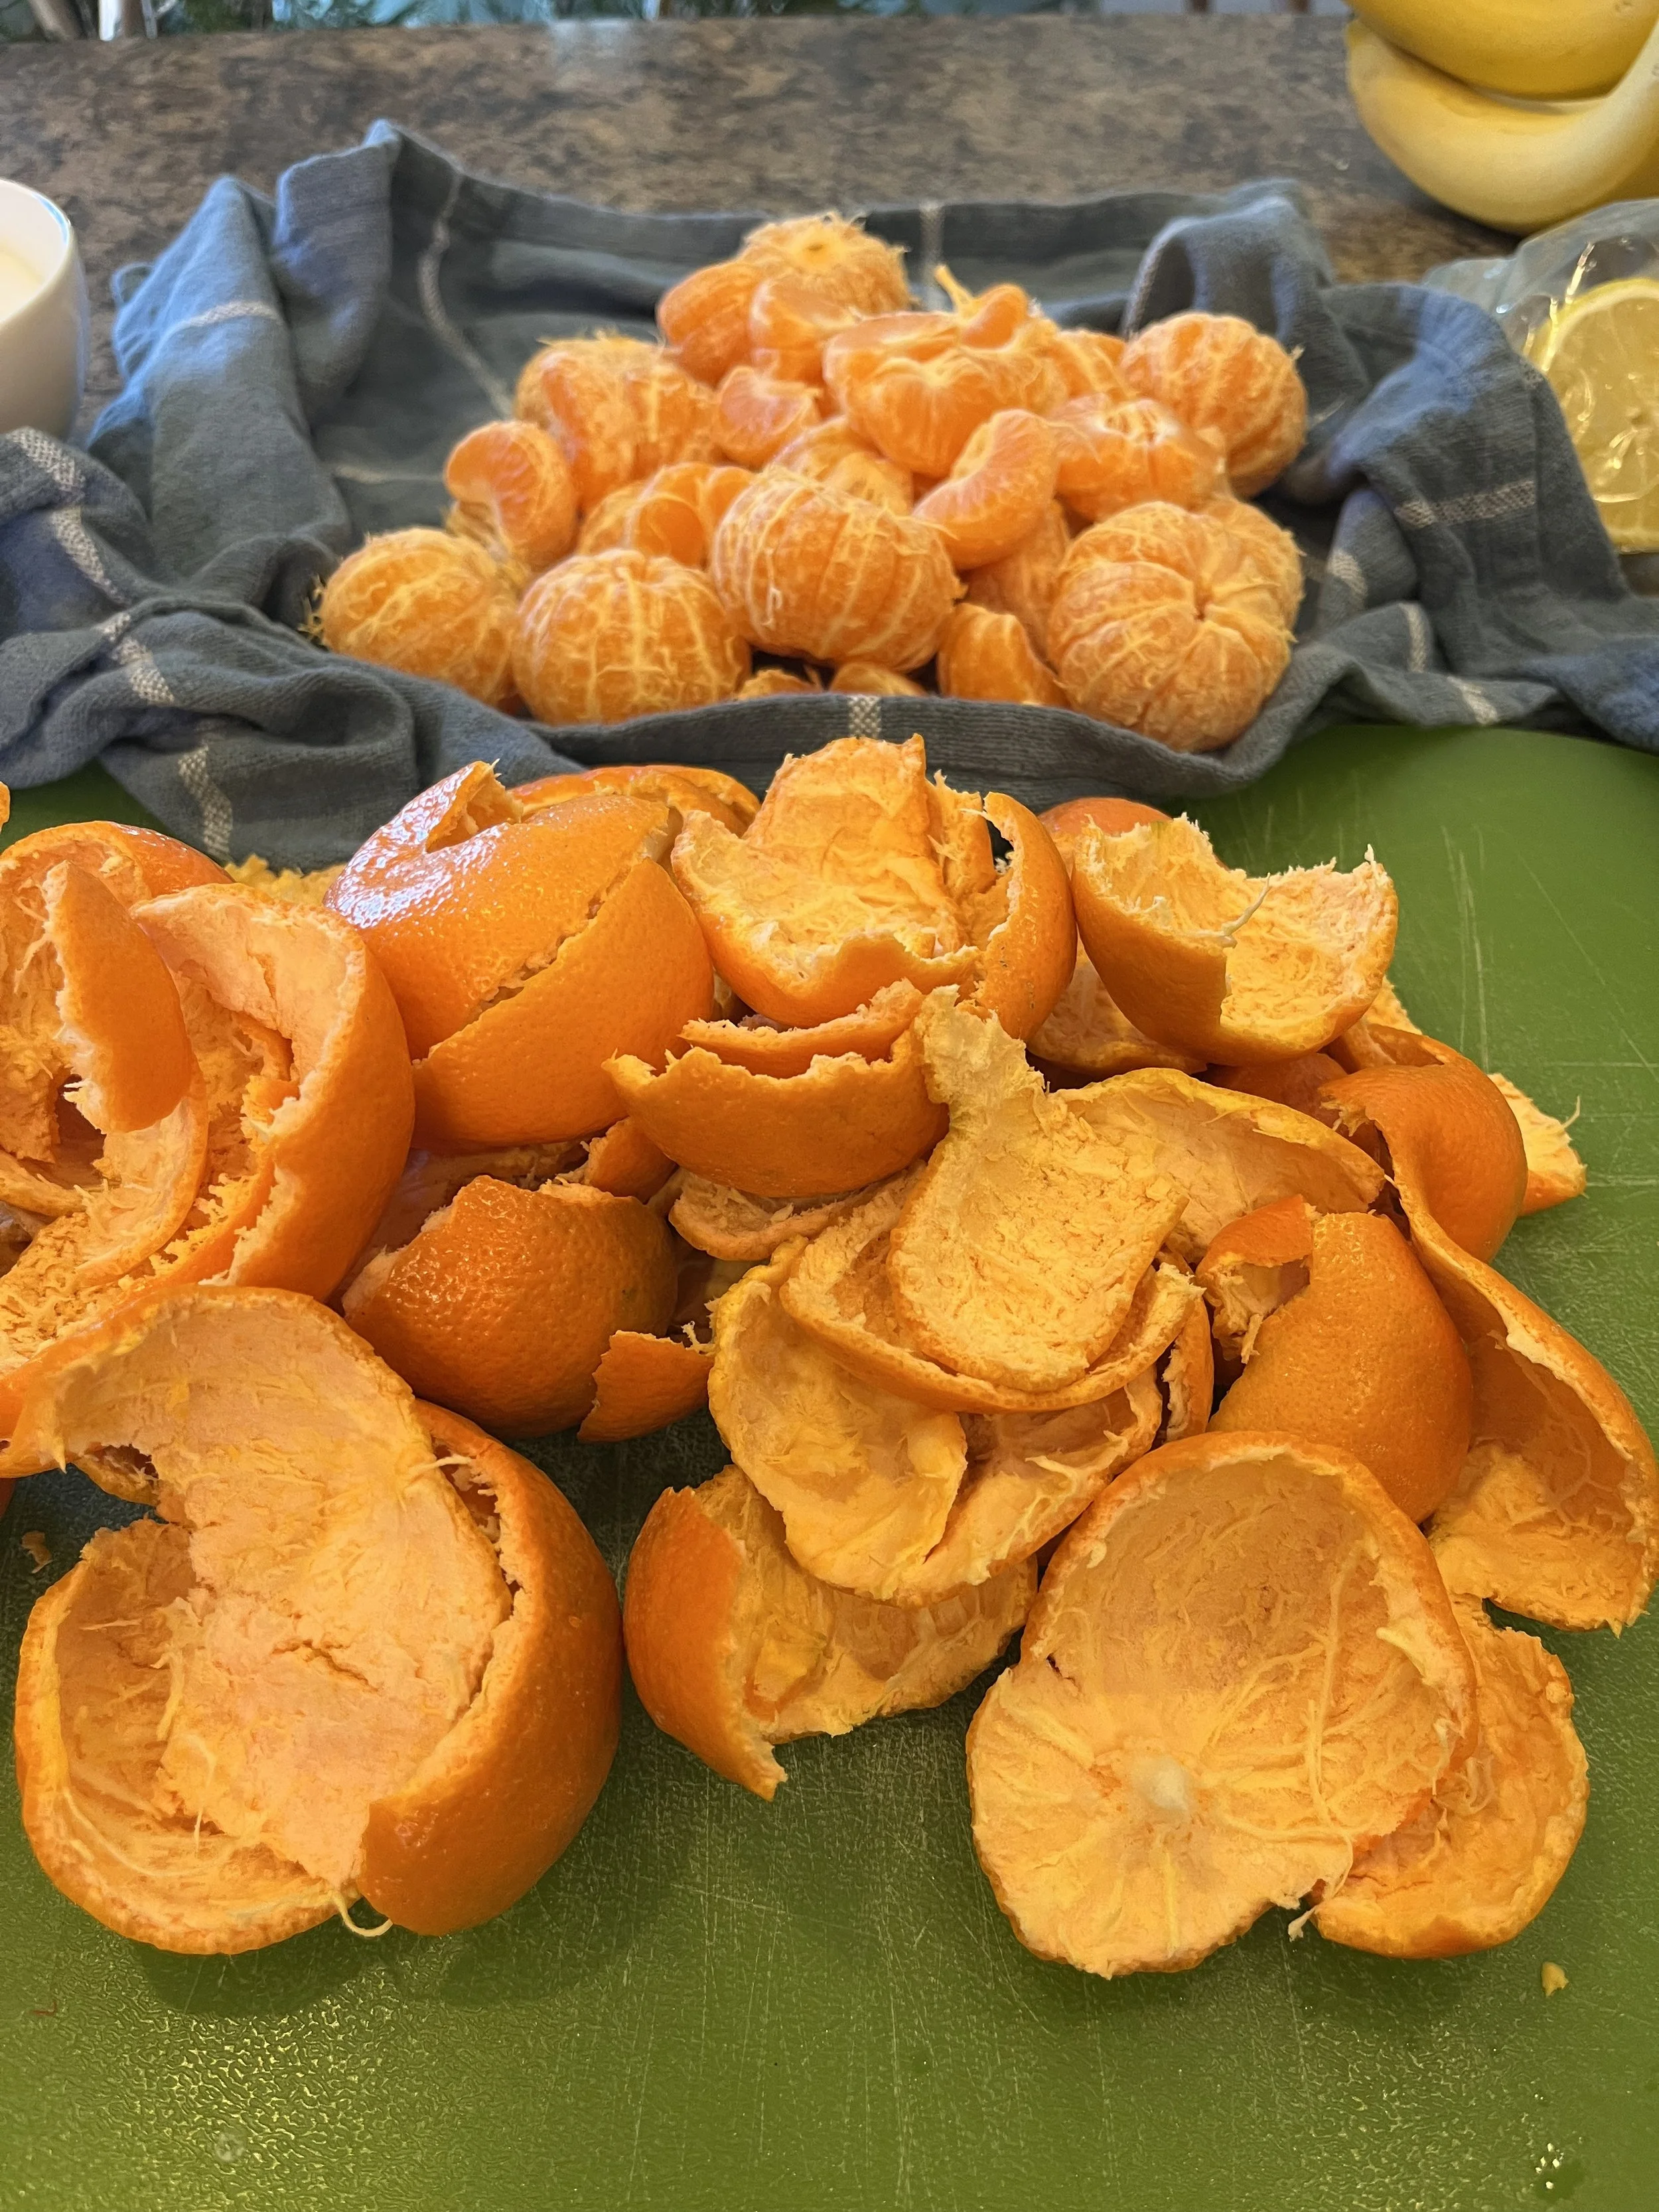
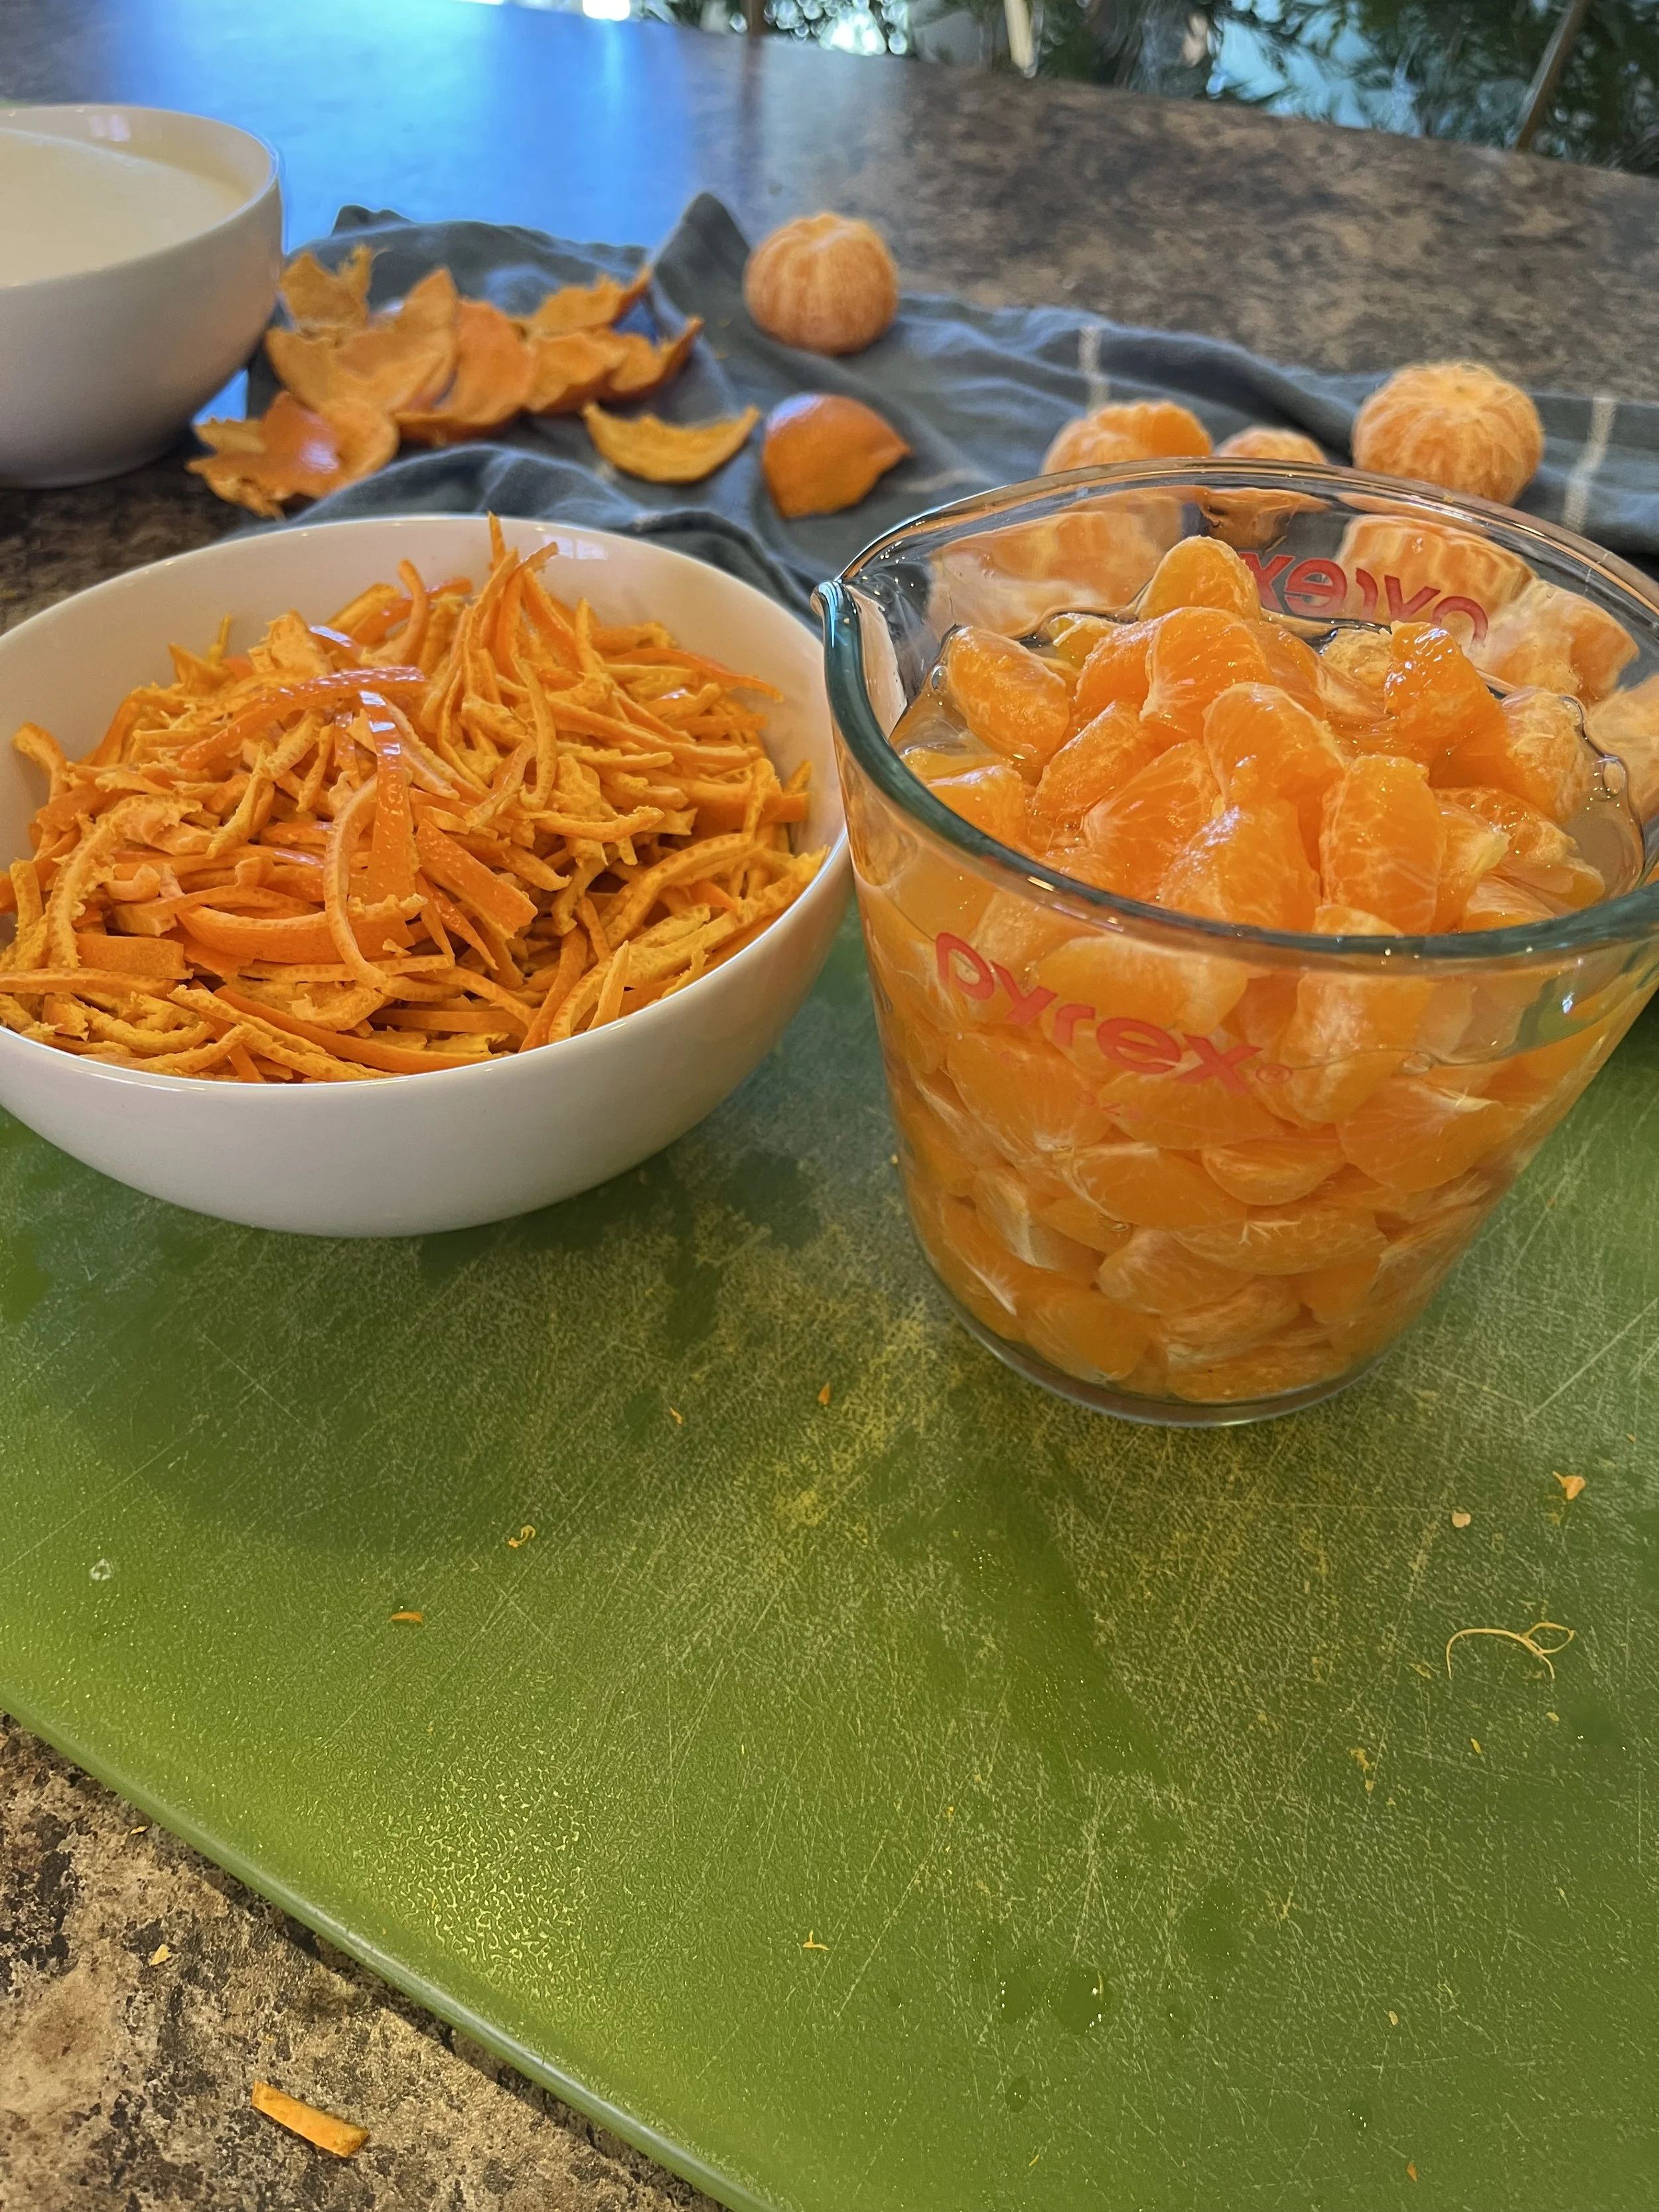
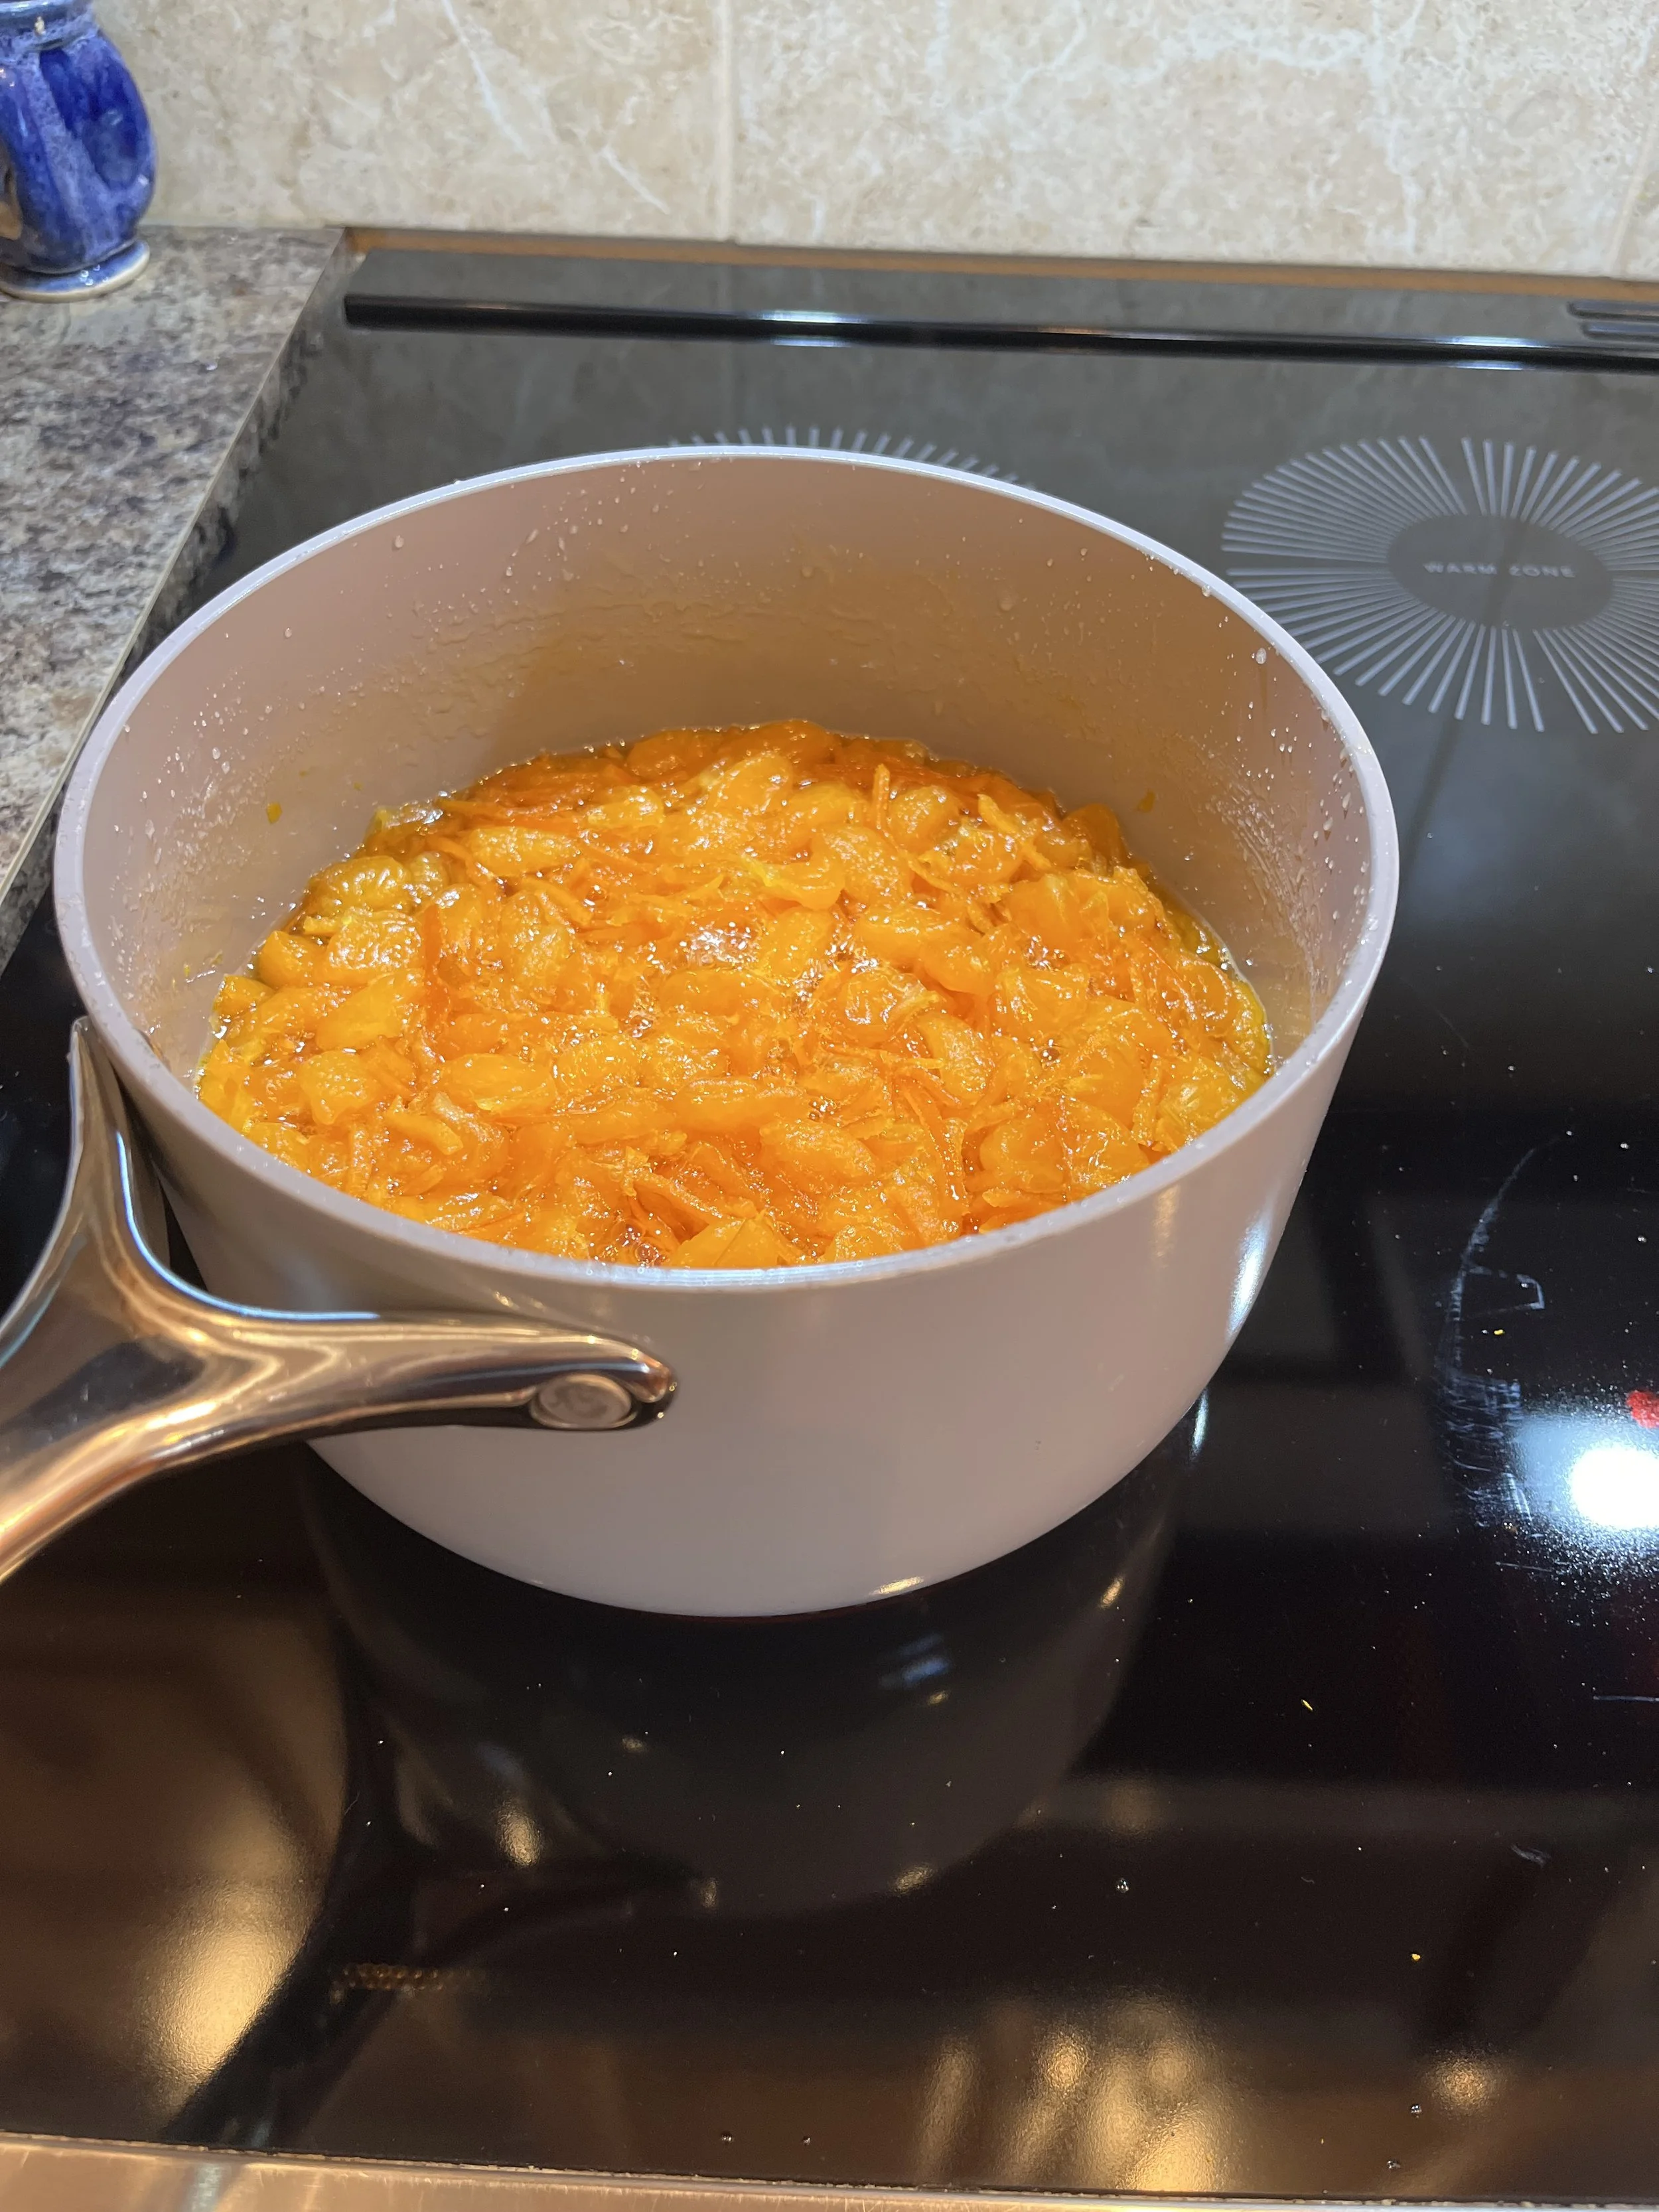
I started out washing the cuties since I was going to use the peels in the jam. I just filled up a bowl with soapy water and cleaned all the skins. The recipe I used called for 3 pounds of oranges which is exactly how much a bag of Cuties weighs (lucky me). The recipe said to use a vegetable peeler to get the skin off but I took a risk, thinking that the skins aren’t very thick on the Cuties and I just peeled all of them. I cut each of the orange sections in half and filled a 2 cup measuring cup. I ended up having some peeed cuties left over which are like candy! I read that if you leave too much of the pith it can make the jam taste bitter, so I got a little nervous about my plan and I decided to scrape the inside of the peels to make sure I cleaned off as much as I could (I just used a spoon to scrape them off ). After slicing the peels into thin little strips I put everything into the pan and cooked it up. It took a little longer than I thought it would to get up to temperature but that didn’t bother me, the house smelled AMAZING!
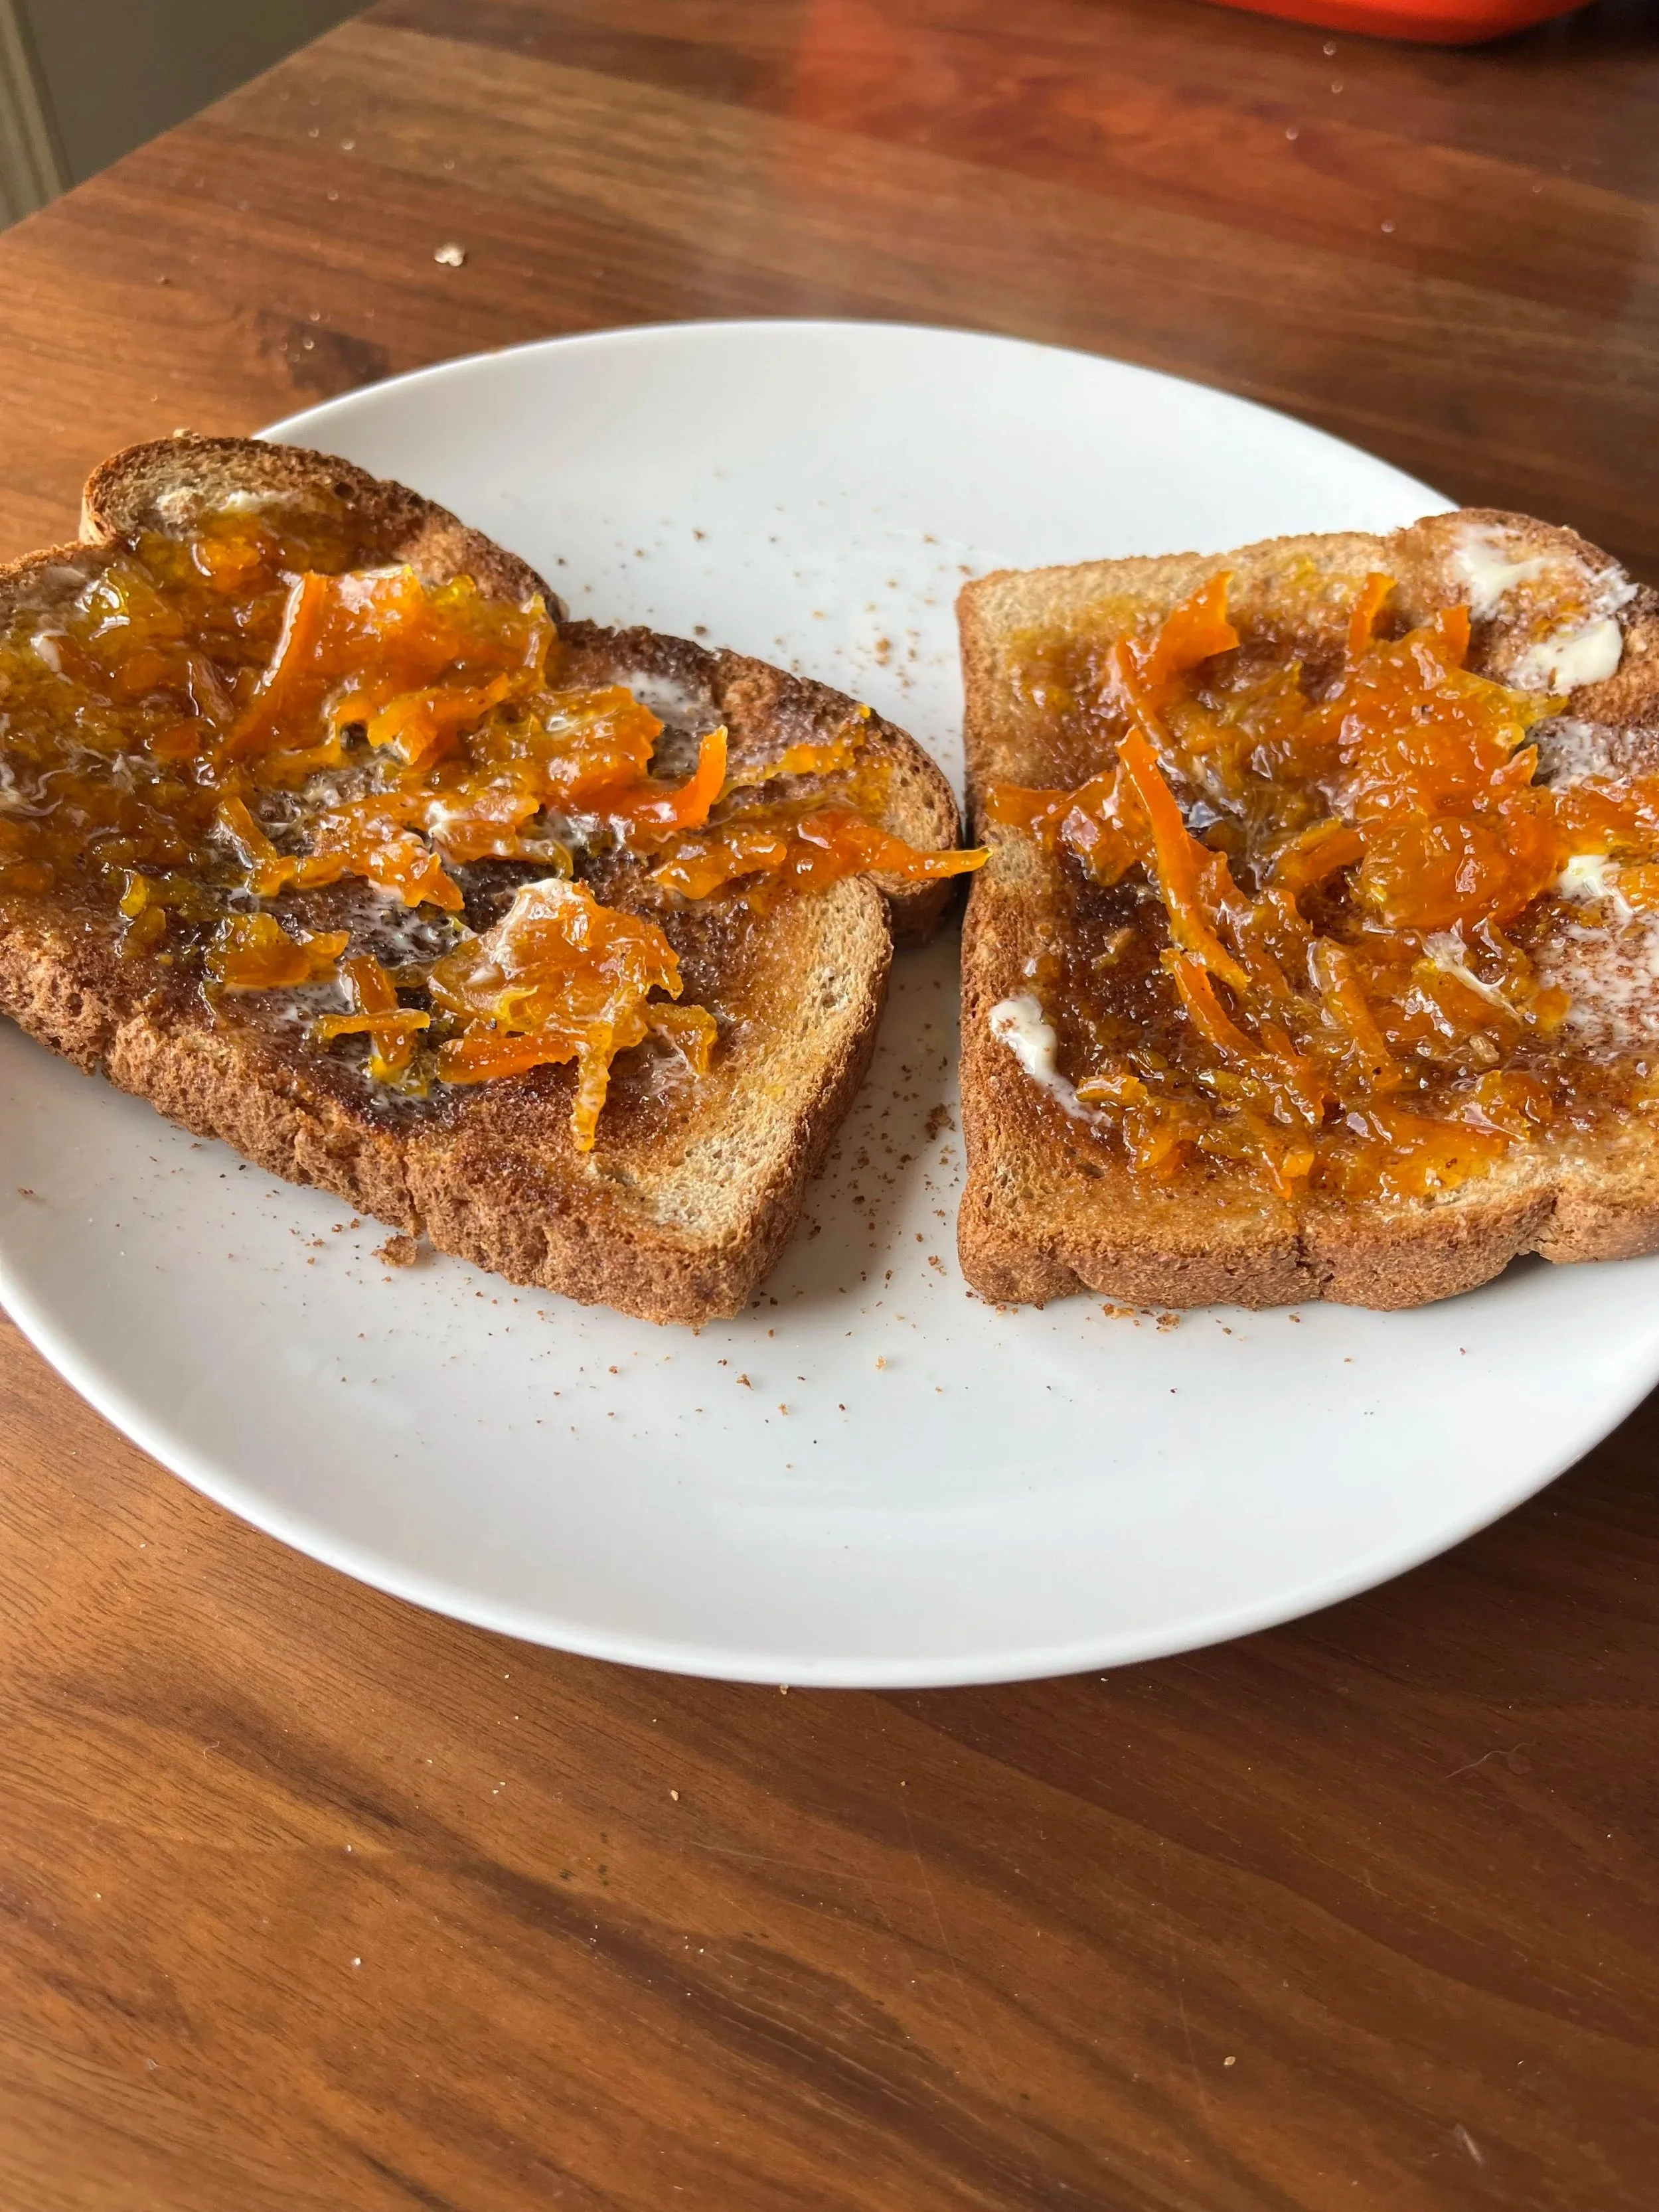
I also need to learn how to edit better because this picture is HUGE! At least we can all have a good laugh. This is what you might call a “shitty food pic” BUT it tasted amazing. I am very very happy with how it turned out. I would definitely do this again, but it was a little time consuming, not something you can just whip up quick. I ended up getting three small-ish jars so I froze a couple for when my parents come because my dad loves orange marmalade.
Burn Baby Burn
I think I’m like most people who are trying to be on their phone LESS. I’m a stay at home mom and I hate it when I realize I’ve just scrolled my day away. So, I bought this little box so I could physically put my phone away. This is actually a perfect example of buying supplies with no real plan for them. I thought I would paint something on it but then I remembered that we gave our son a woodburning kit ages ago. I remembered having one when I was a kid too so, of course I think, I can do this. Let’s see how this one goes. It’s got a pretty good possibility of failure. Here are a few of my inspiration pins to check out.
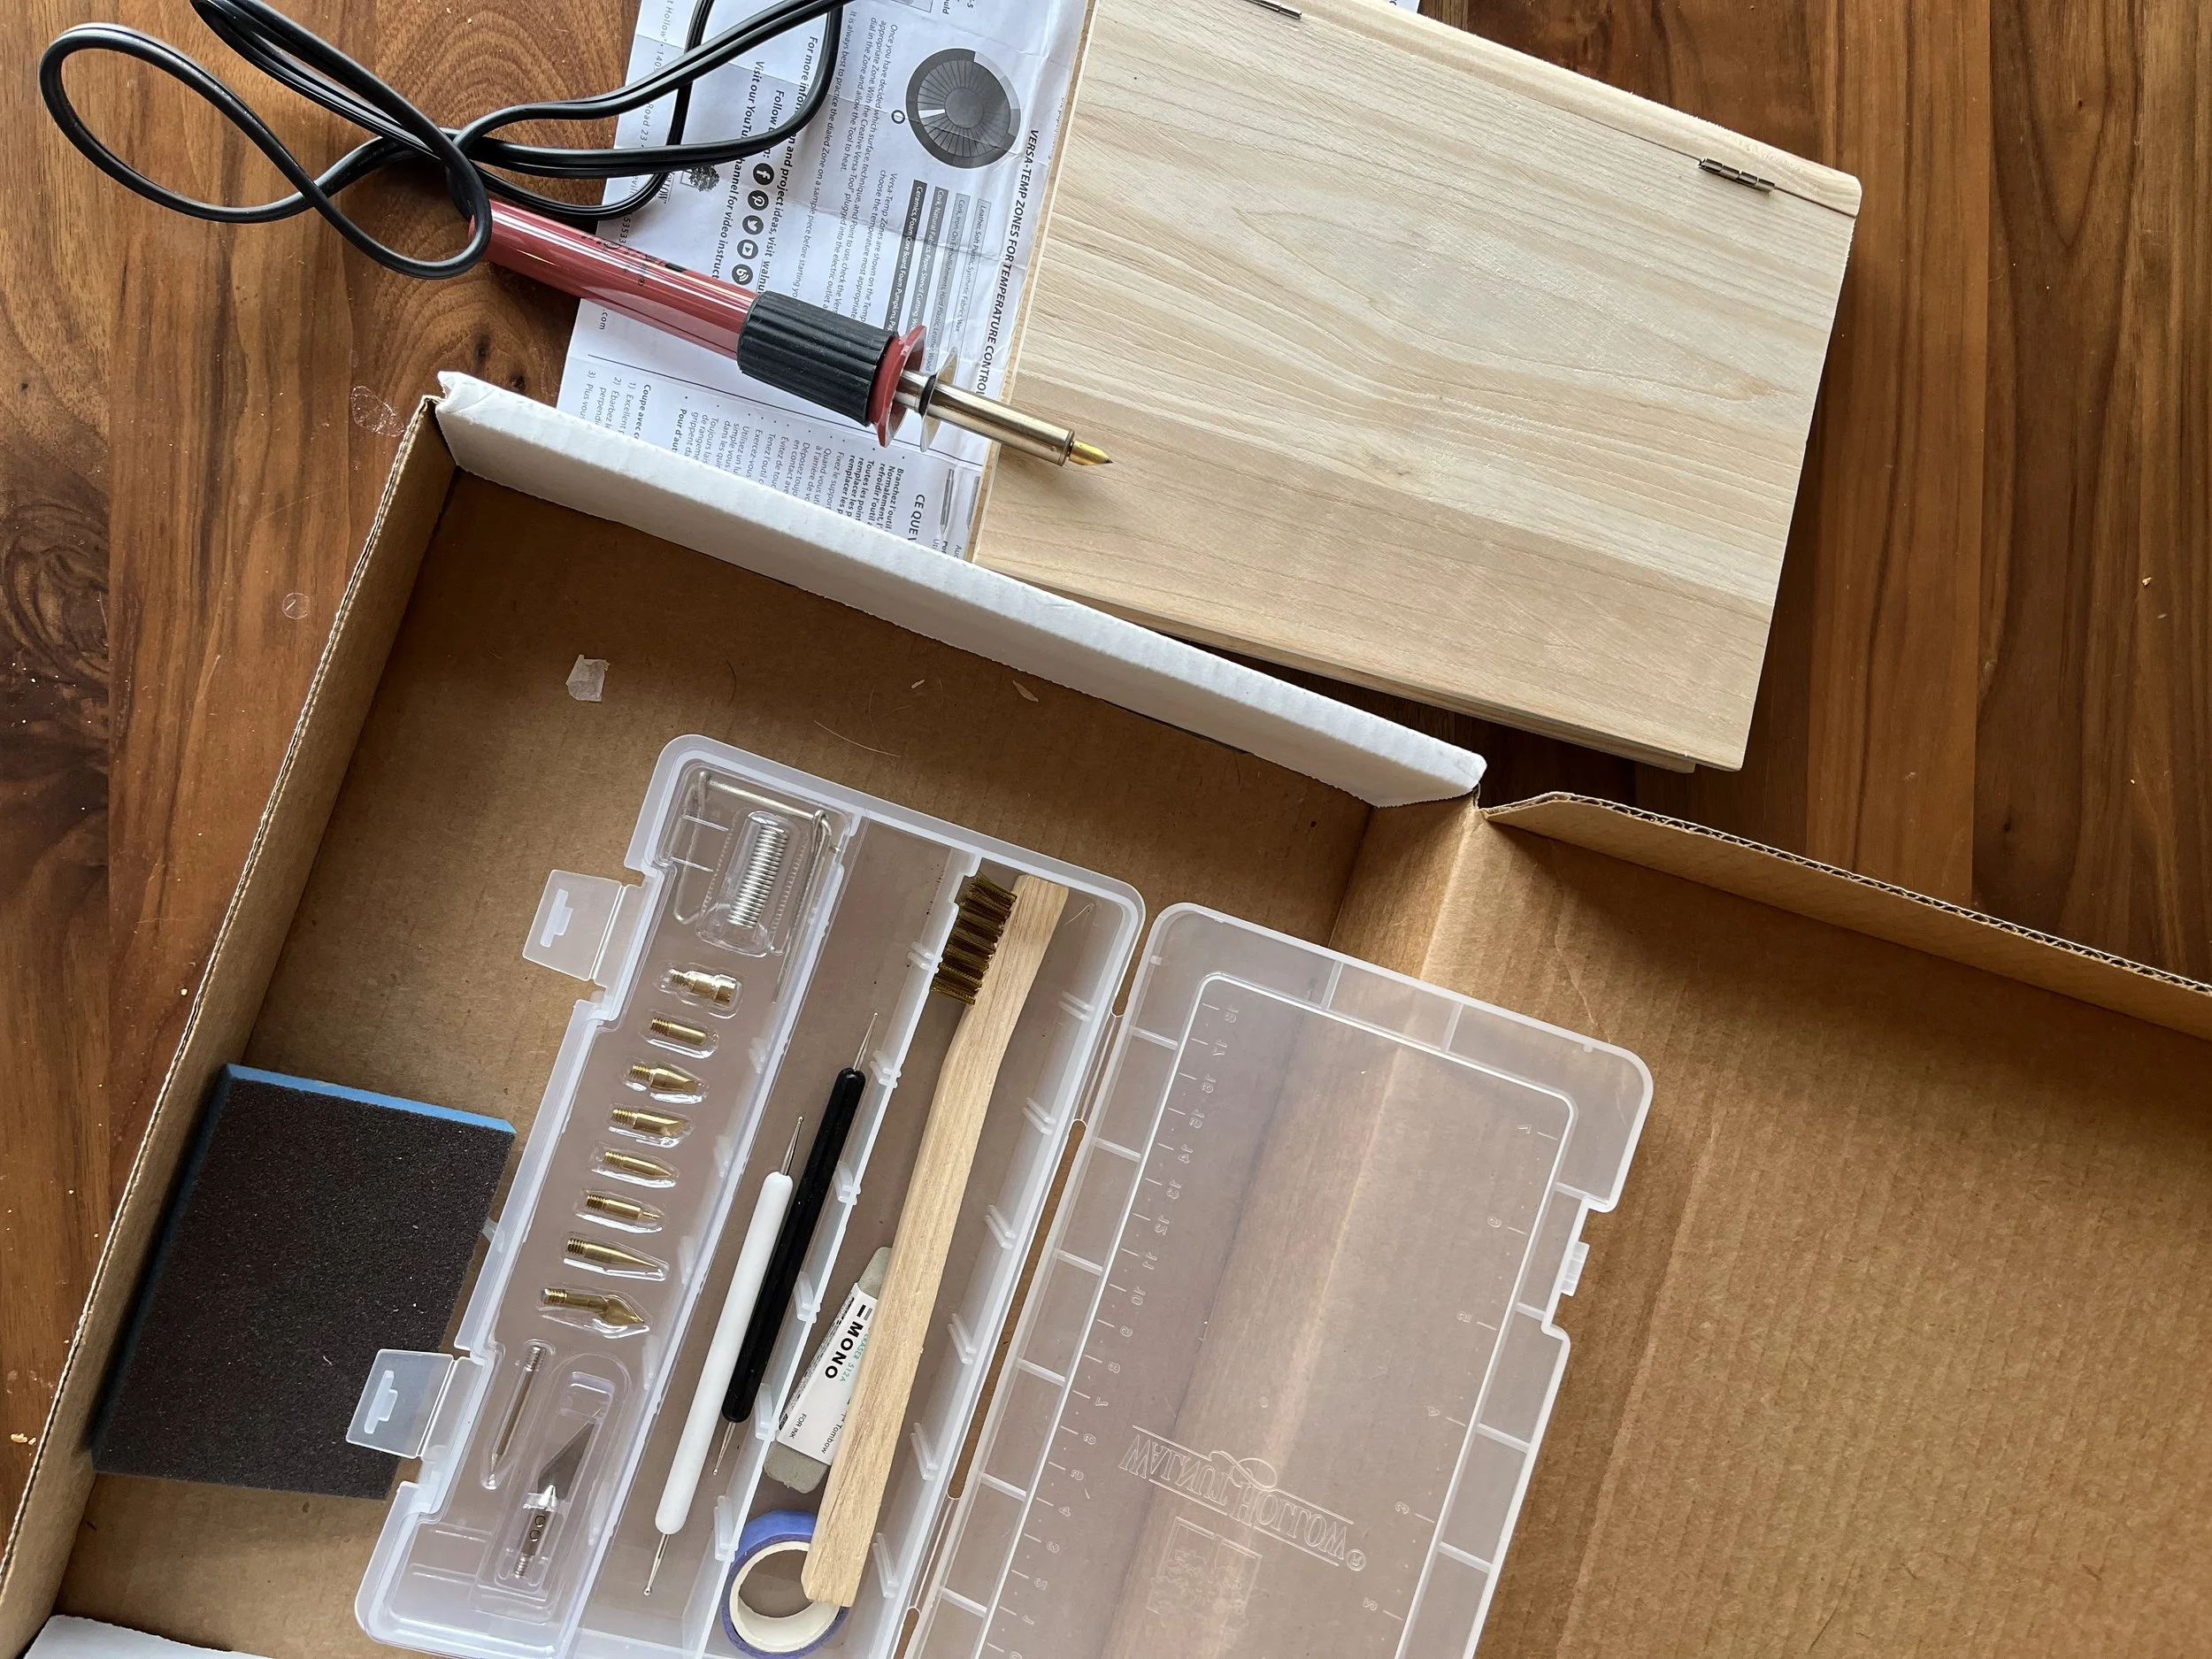
It turns out we got him a nice woodburning kit. When I opened the box I found quite a few different tips that I could use and some other tools. I did practice with it on a scrape piece of wood. One tip from that experience was to choose one of the hotter settings. I started with the lowest “wood” setting and unless you were just trying to make a mark by holding it in one spot it just didn’t work at all.
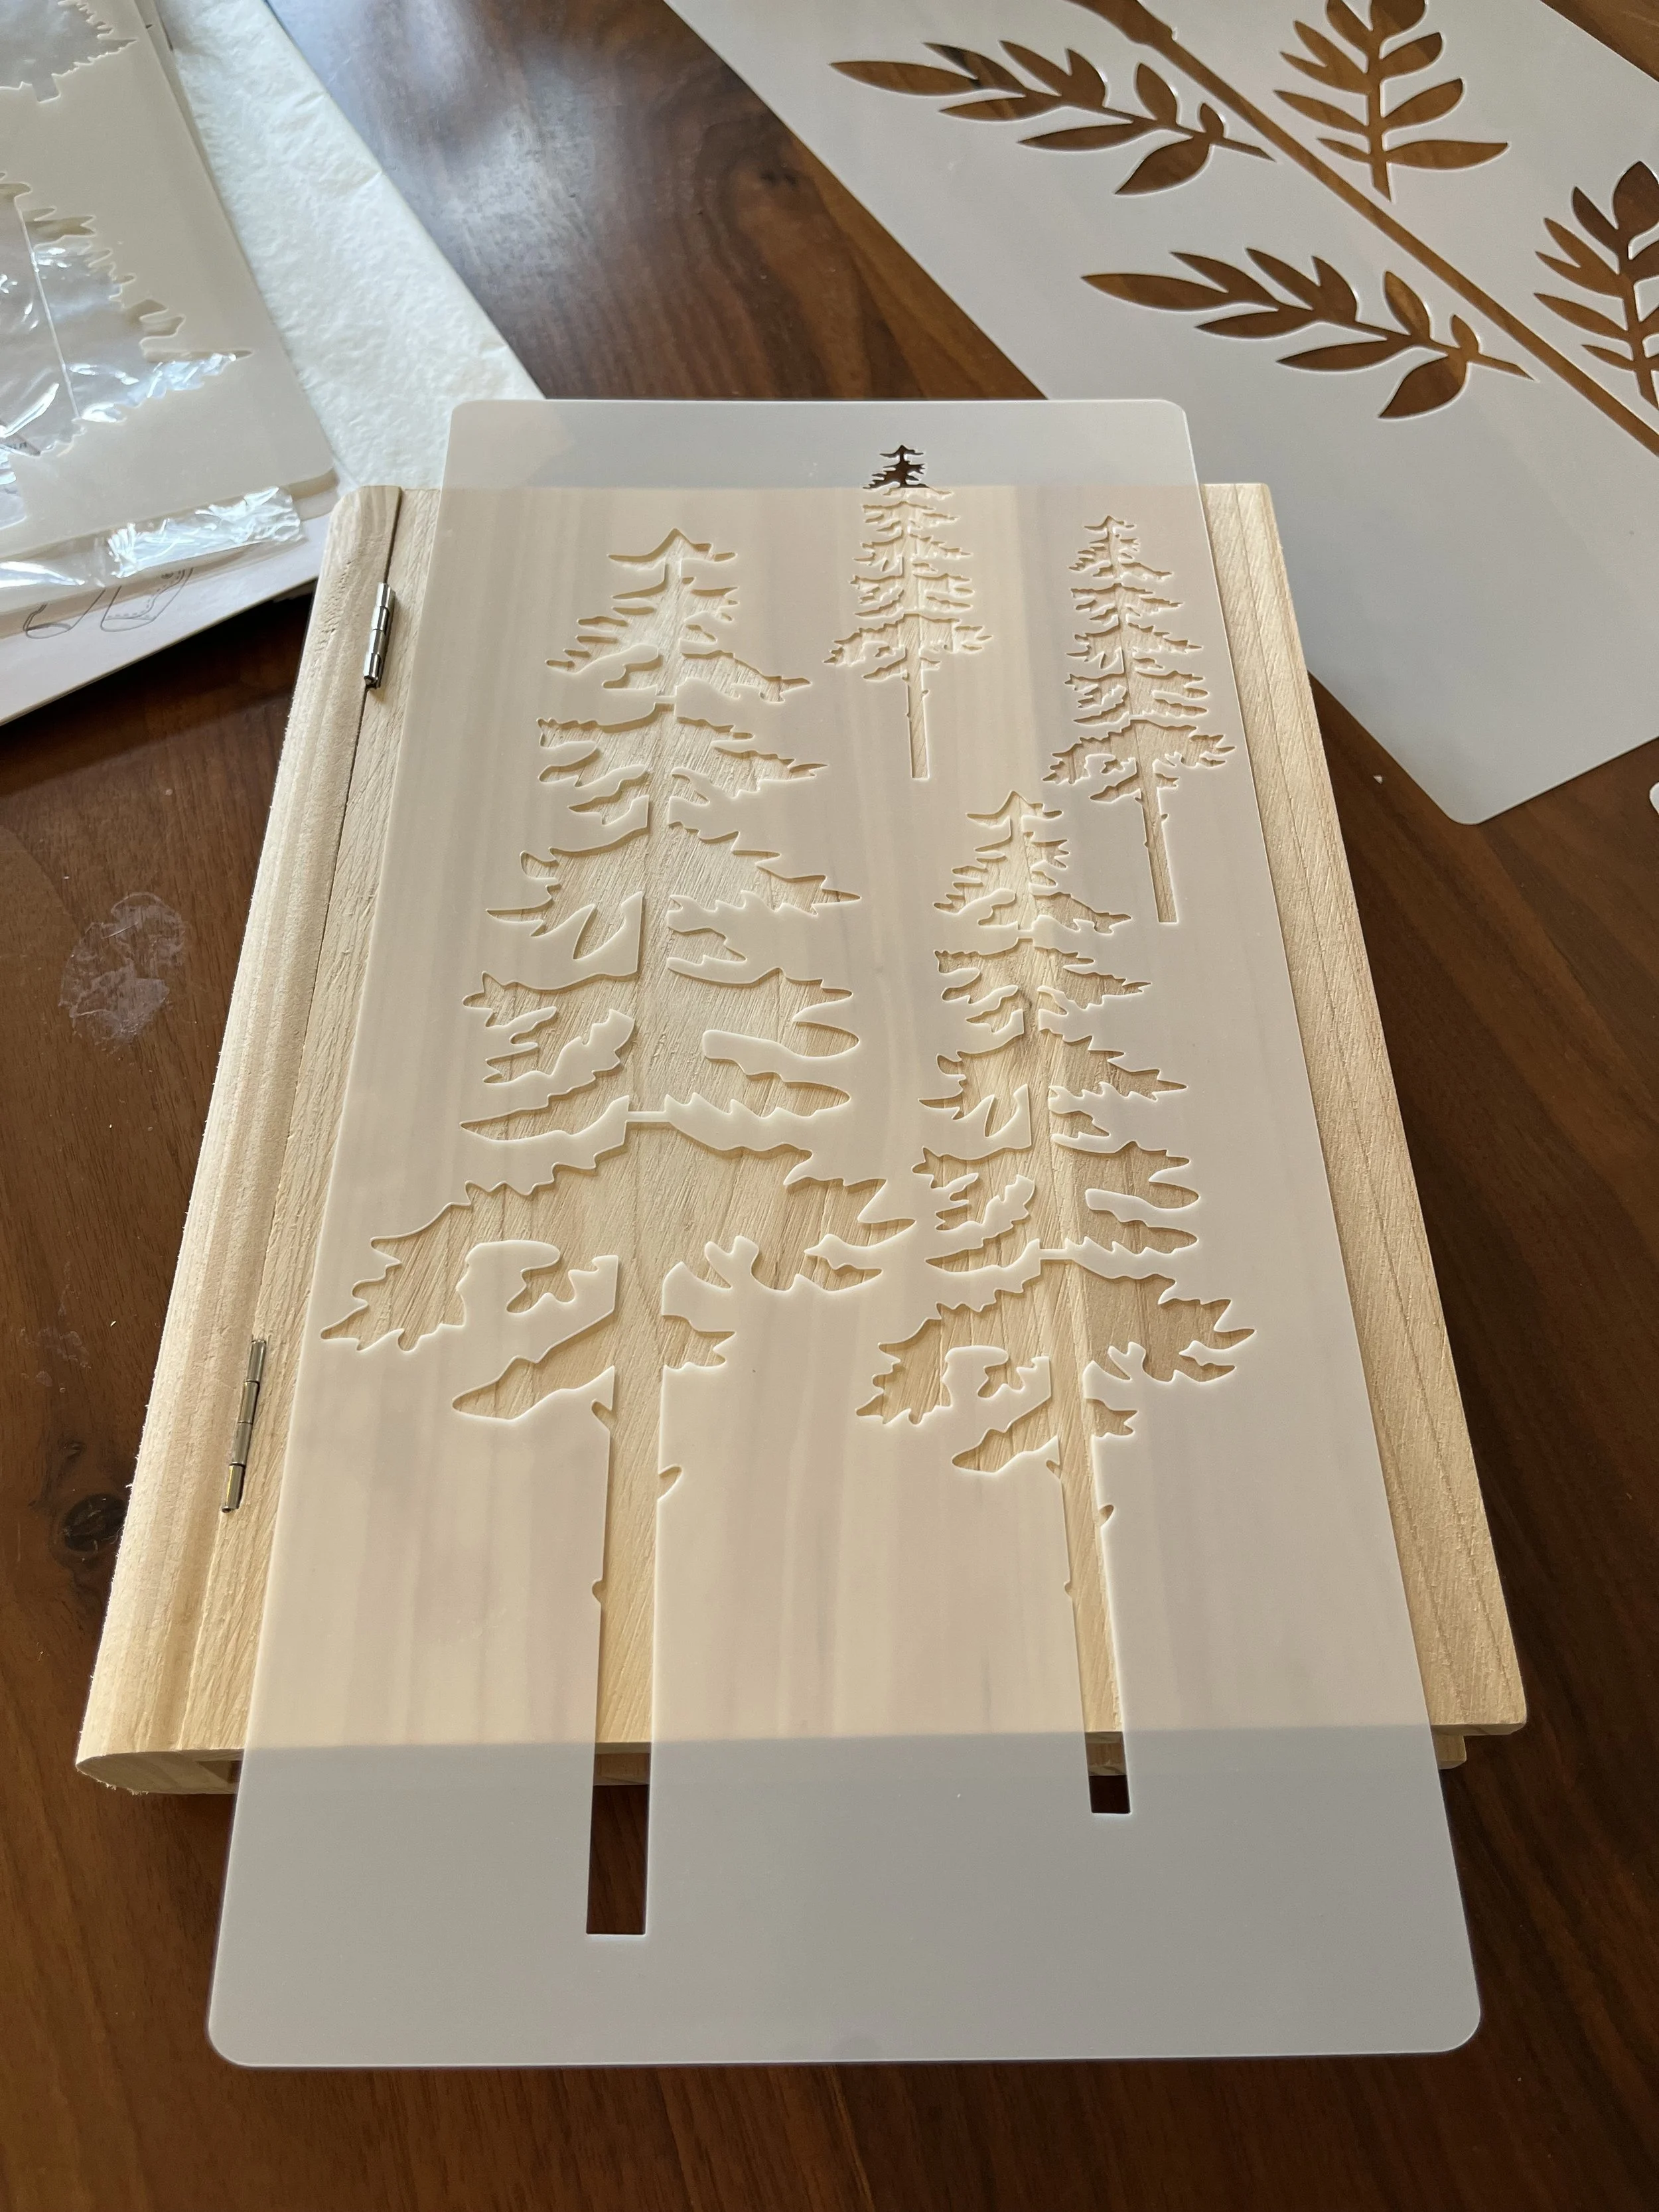
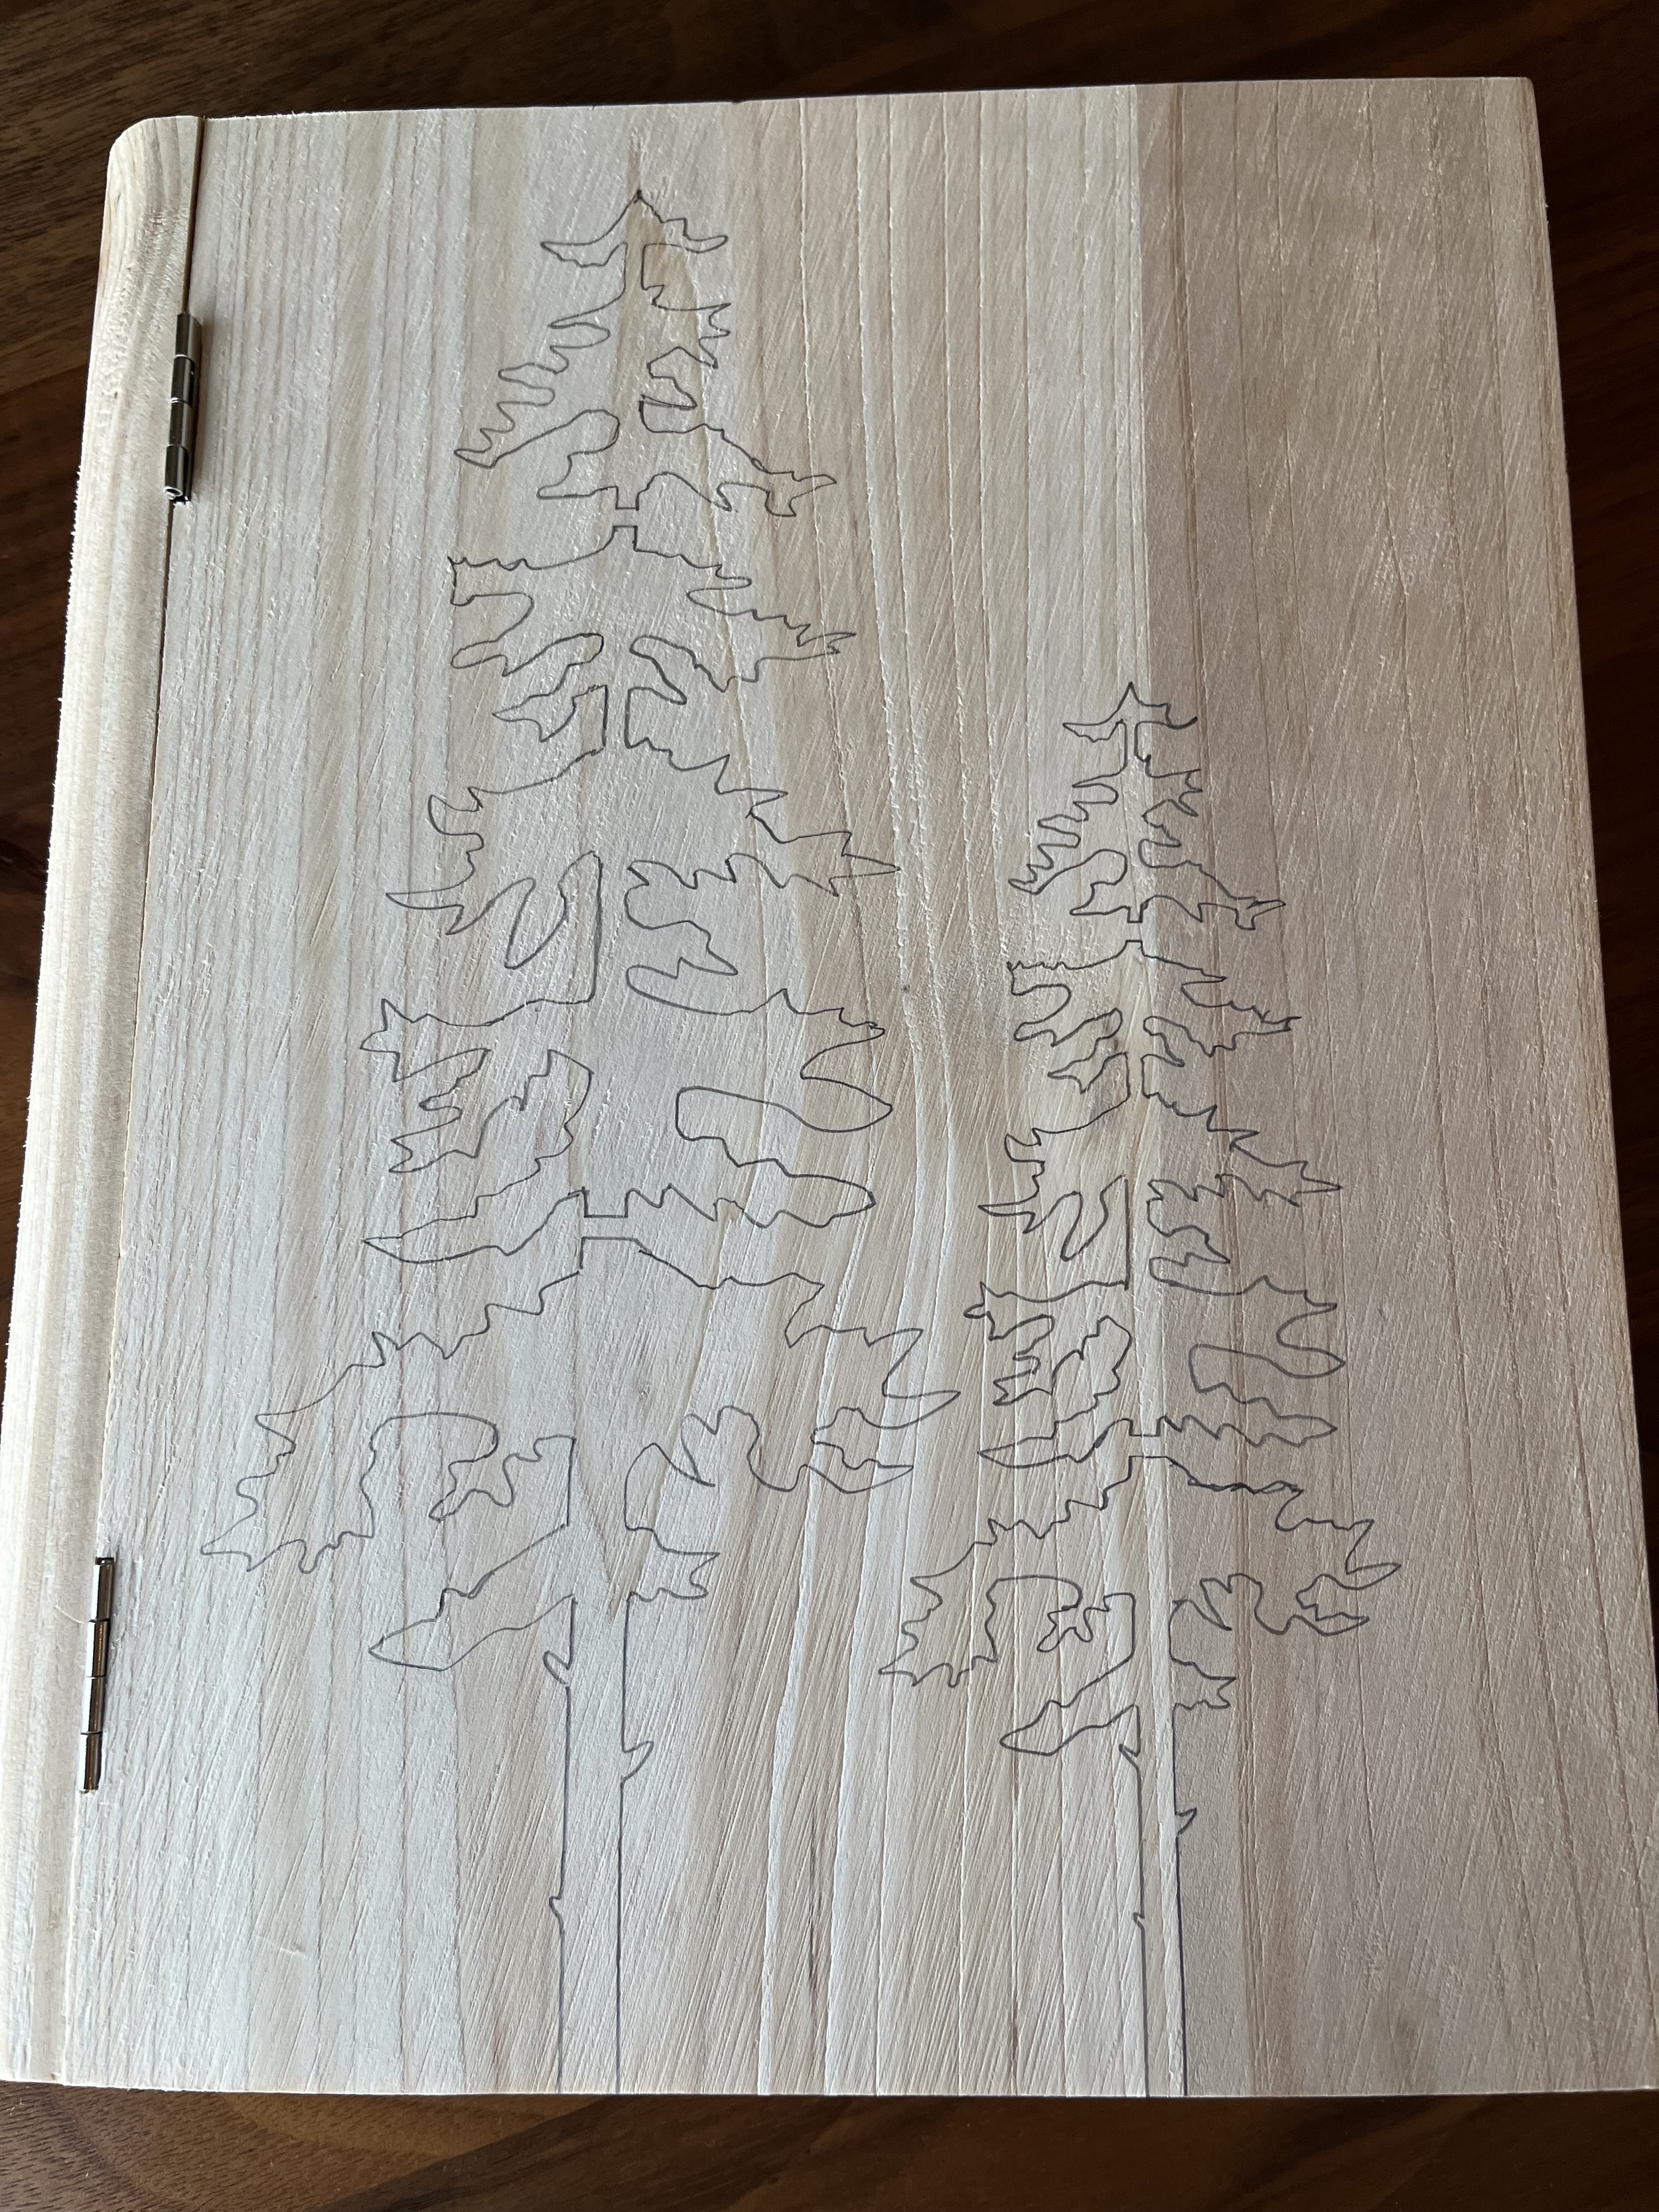
Yet again, I had some supplies floating around without any real plan for them :) I had ordered a number of different stencils for some reason. There were some flowers and some trees. The flowers weren’t quite right and I do love trees. I centered the stencil as well as I could and traced it with a pencil, easy peasy. I chose a small tip for the wood burner that was recommended for cursive patterns because the stencil pattern had a lot of small details.
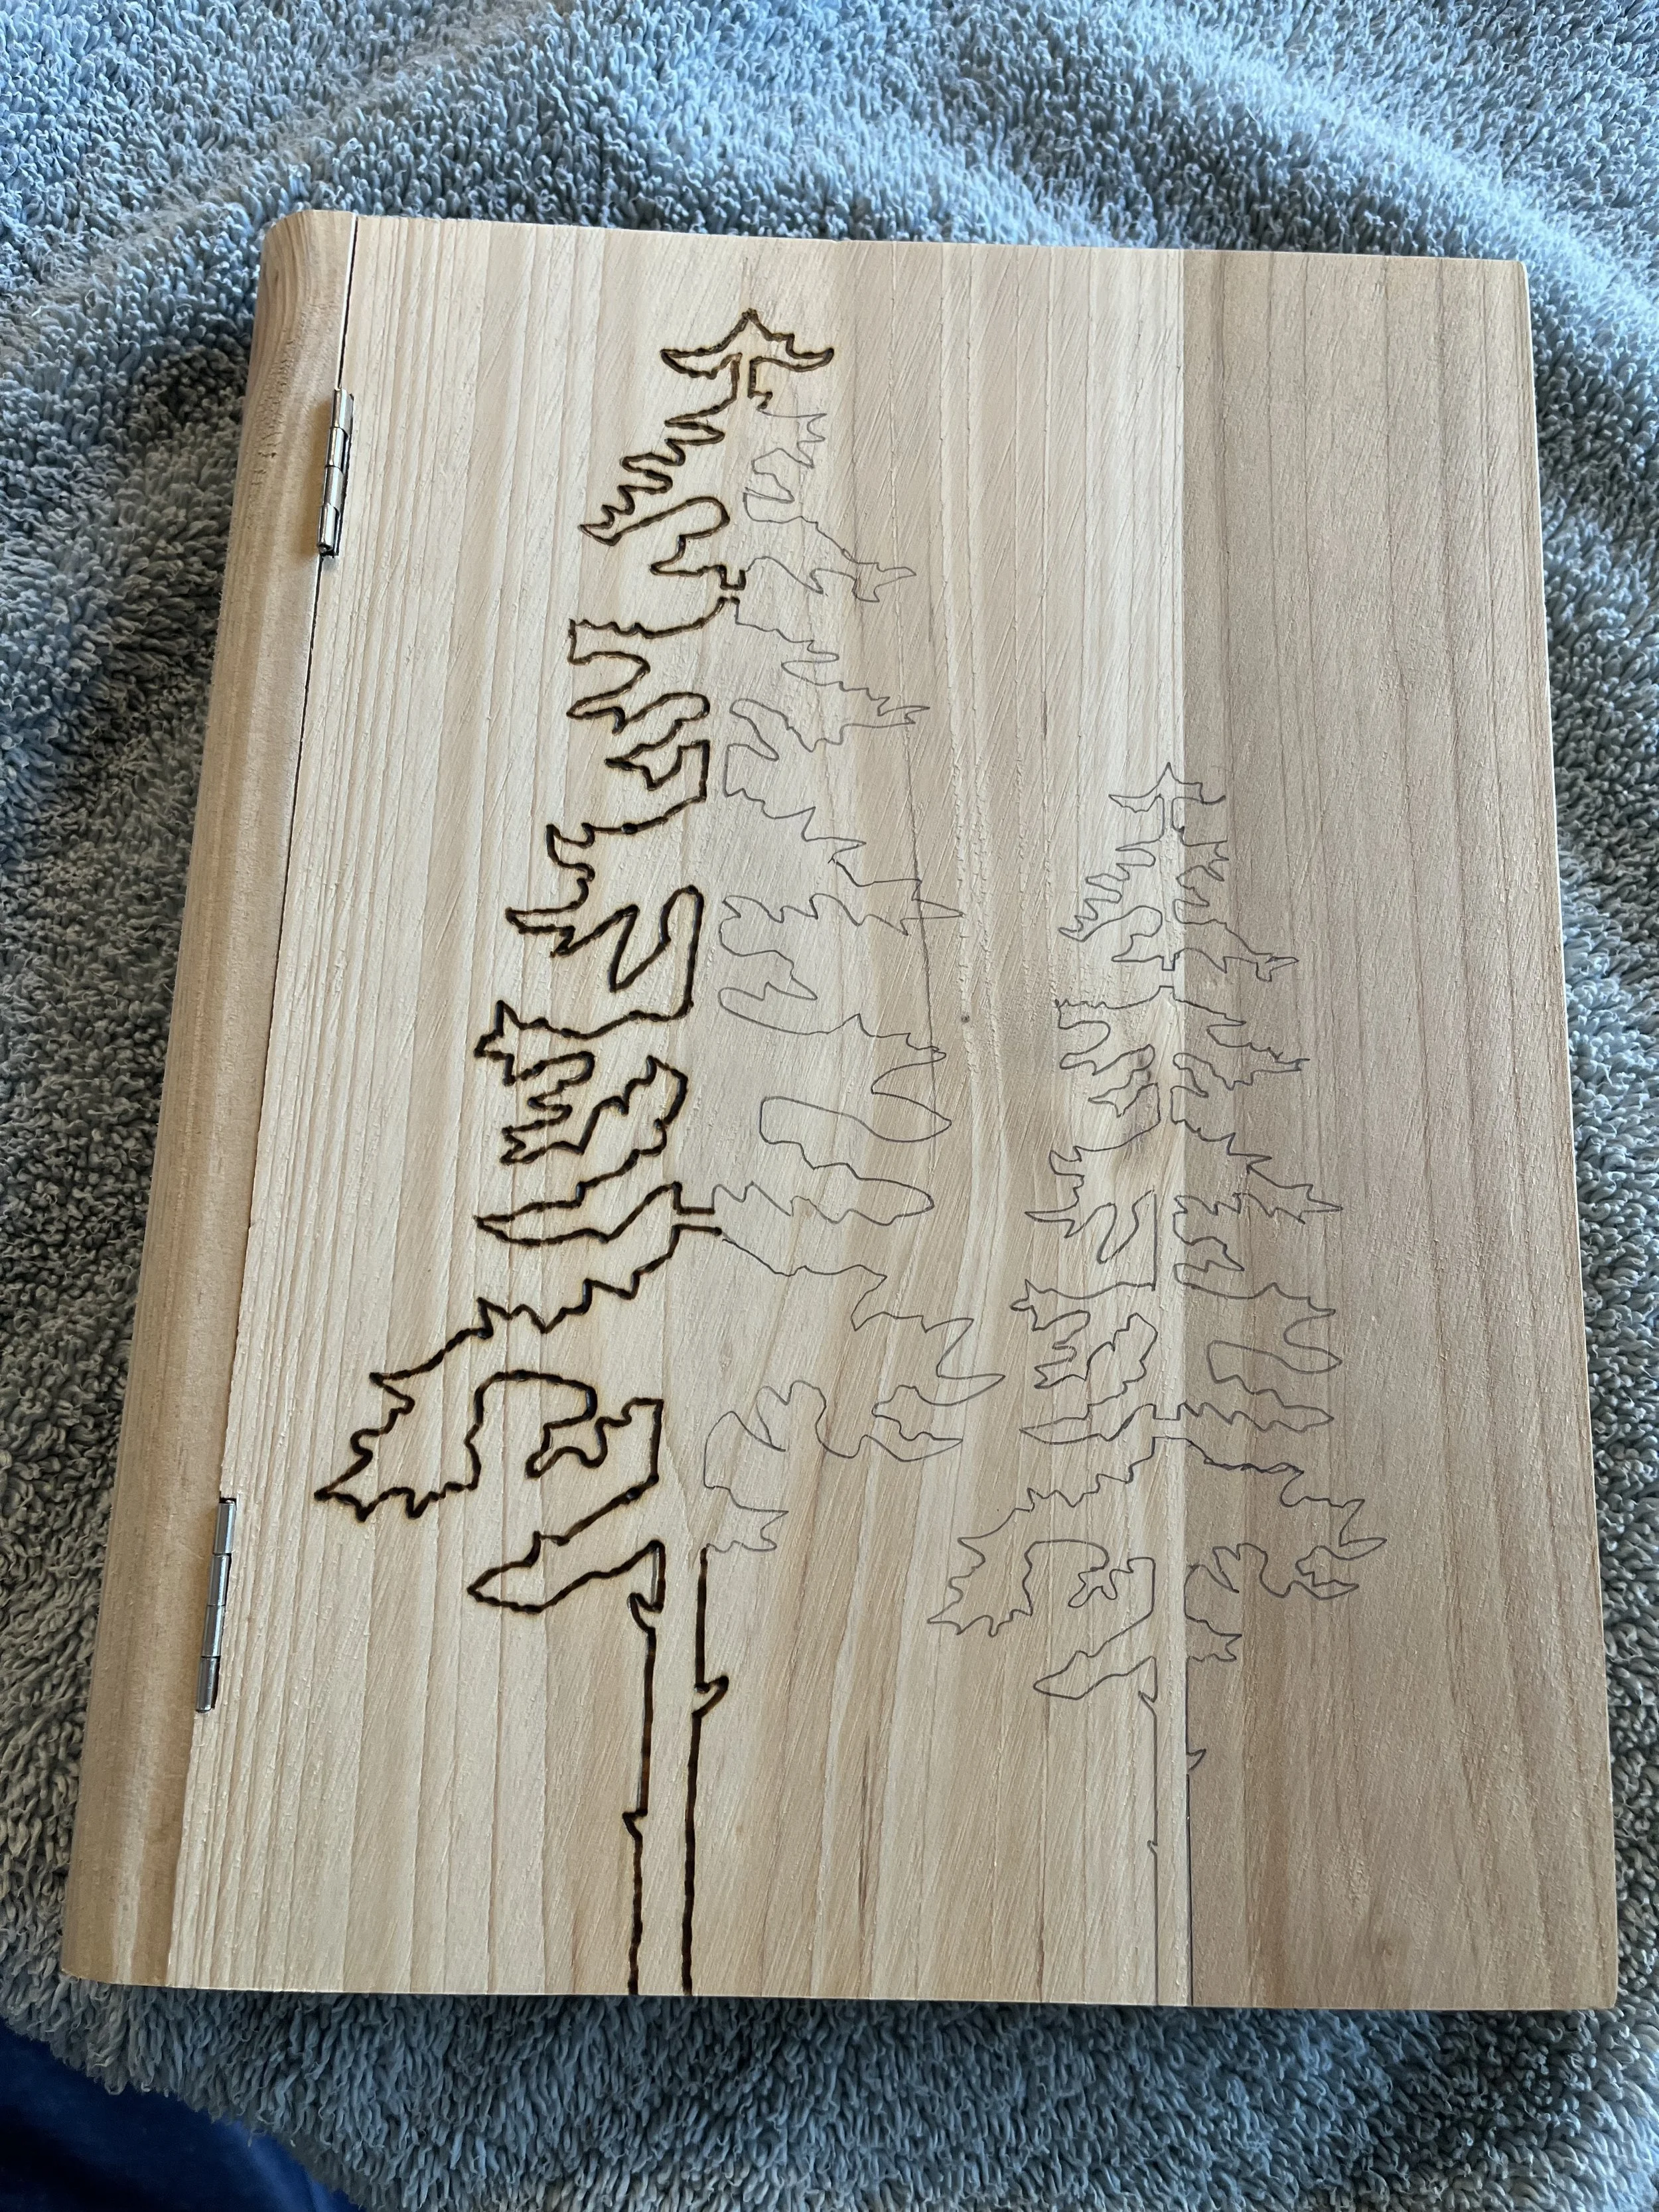
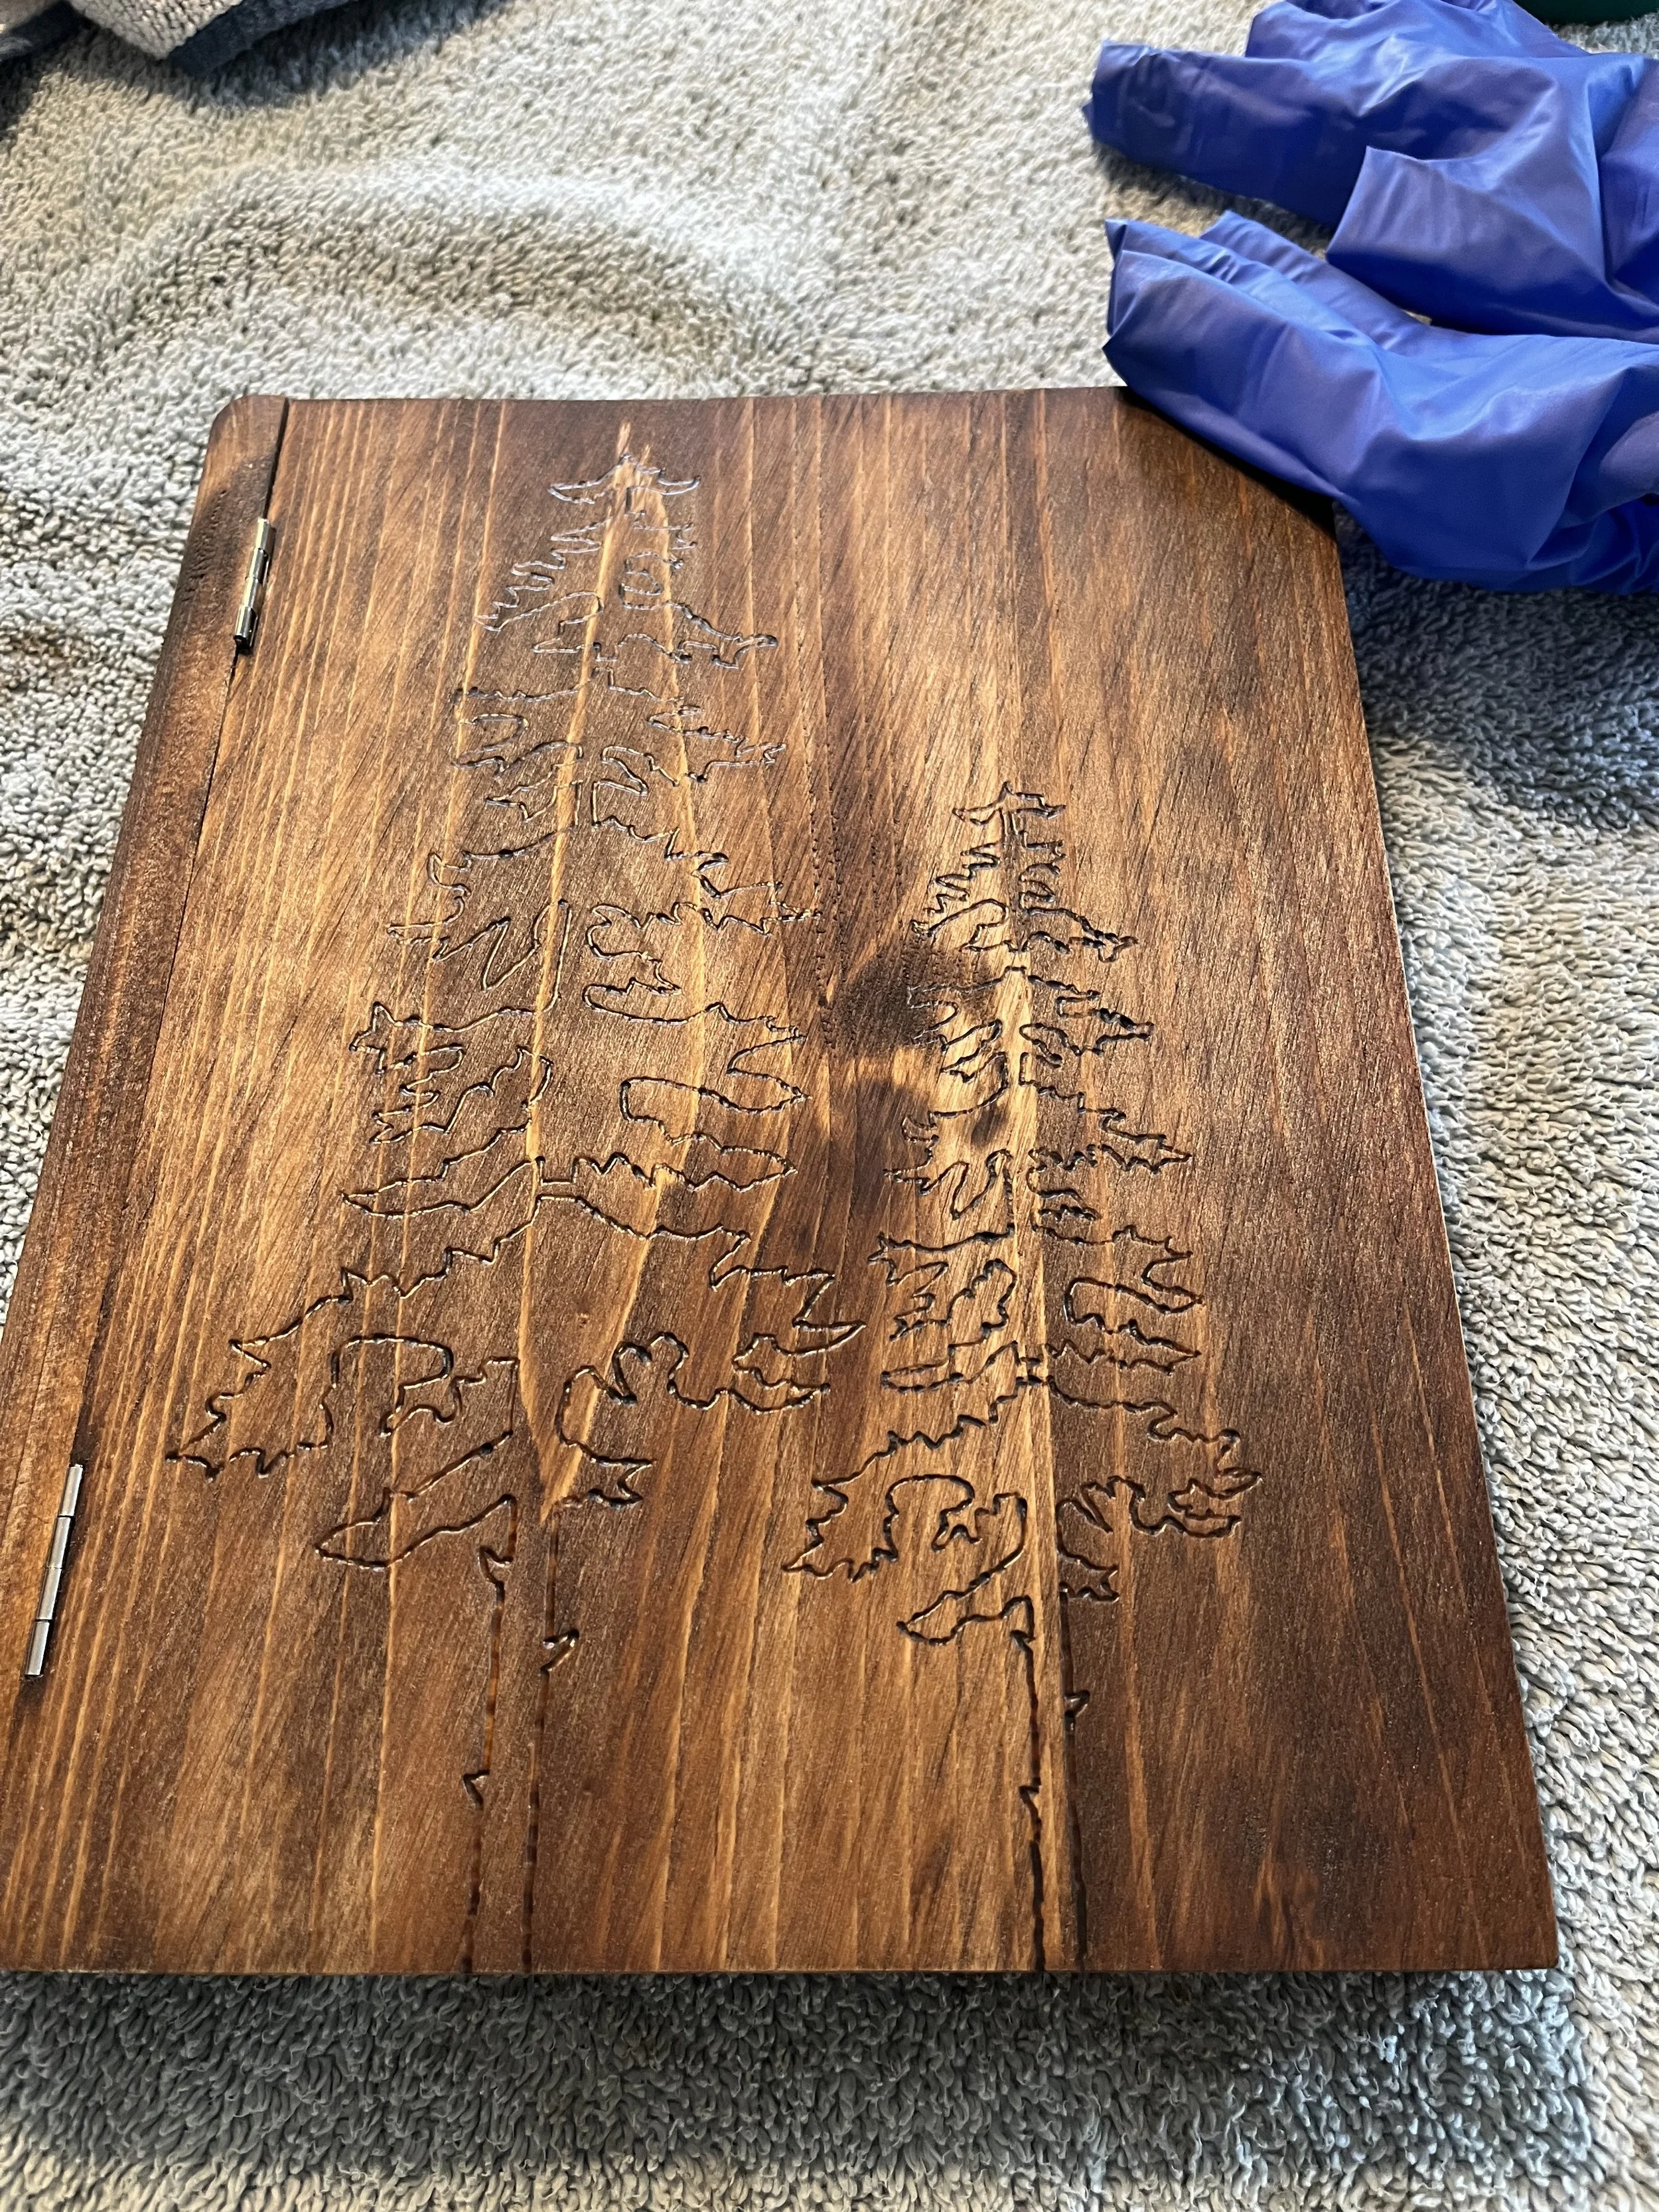
I was so nervous to make that first touch with the wood burner, there would be no going back. I was kinda whimpy at first and had to go back over my line again to make it darker. I just wasn’t going slow enough. So, the technique that worked best was moving slowly be steadily (to avoid a series of dots along my line) and I pushed down a little too but not too much. It really moved along pretty quickly and I could not believe how good it was looking.
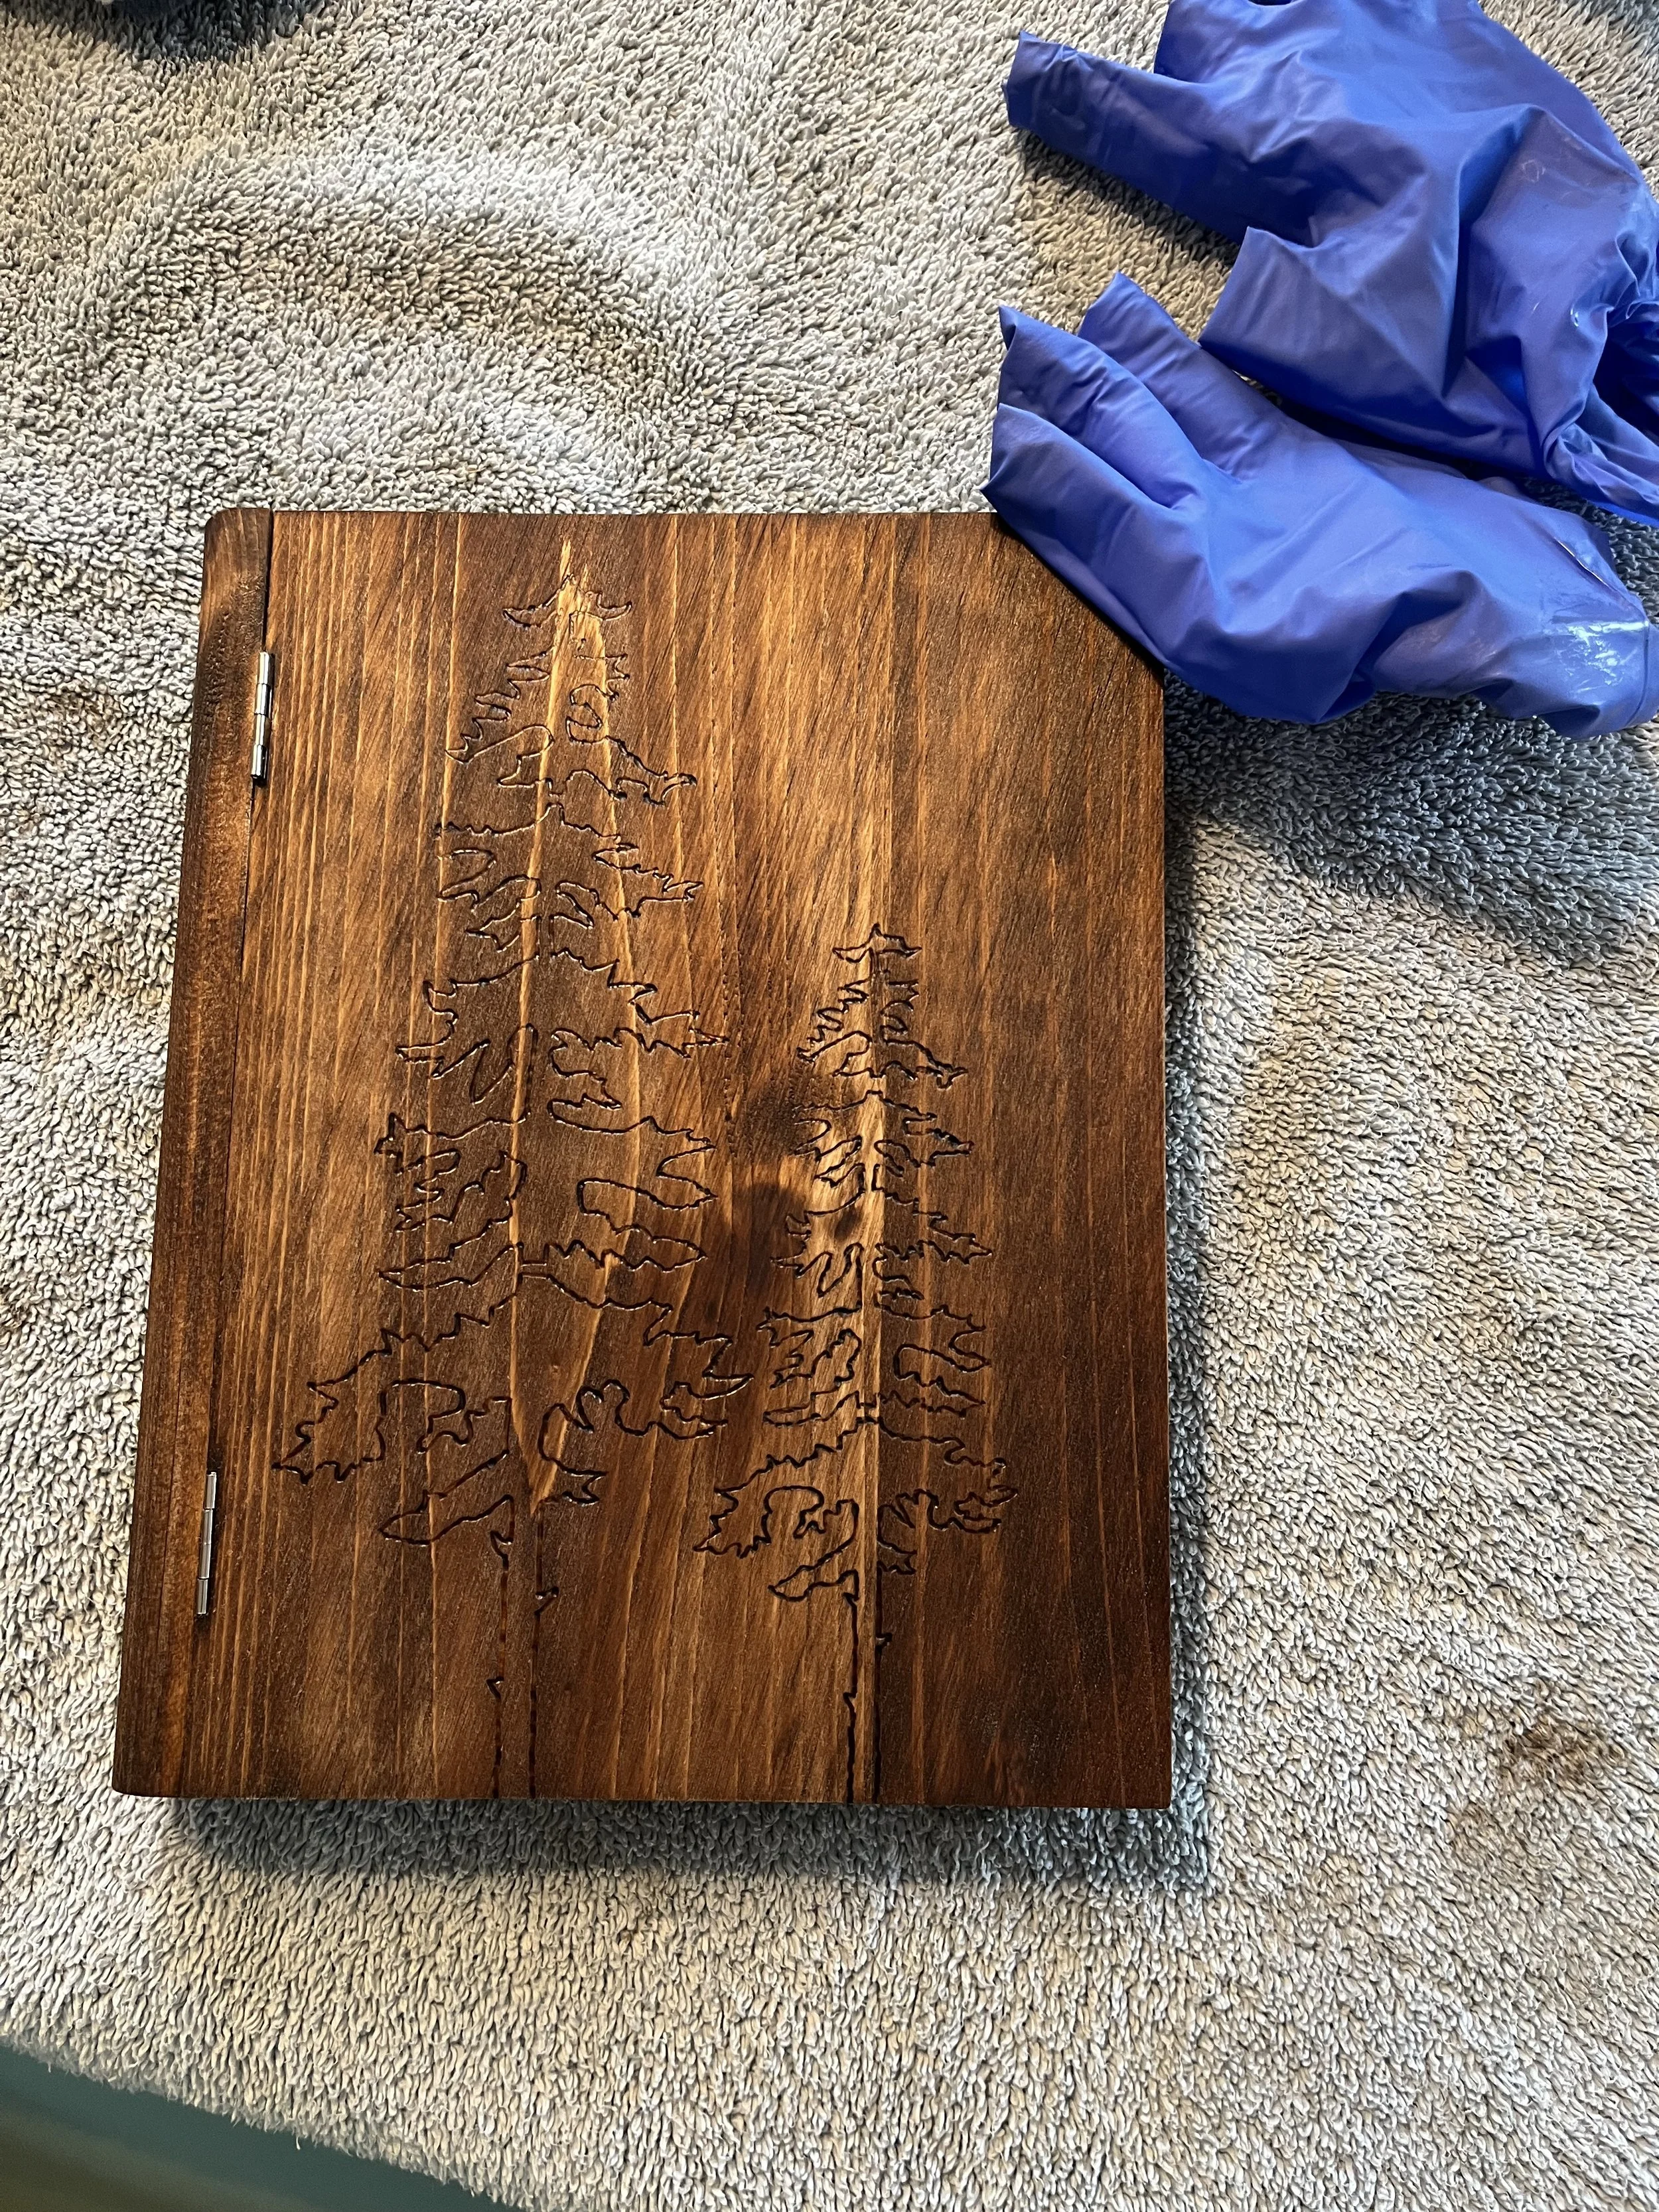
I decided to add one more element to this project. I have never stained anything before, and I wanted to give it a try. I thought it would create a nice, finished look to the box. This is where things take a turn… I was really happy with the wood burning part. The trees turned out great BUT I do not like the stain.
First of all, I probably could have added some steps, but the wood was unfinished, so I thought I was pretty good to go. I’m not sure what conditioning the wood first would have done but I think it might have made the process less fast. By that I mean the stain soaked into the wood so fast, there was no moderation available. And the second thing I would recommend is testing the stain first. This stain is just too dark, you can barely see the design. The last thing I wanted was to run to the hardware store fifteen times until I found the right stain color, but I definitely would have gone one more time for something much lighter. I will put a sealant on it to see if that changes how it looks so maybe that will help.
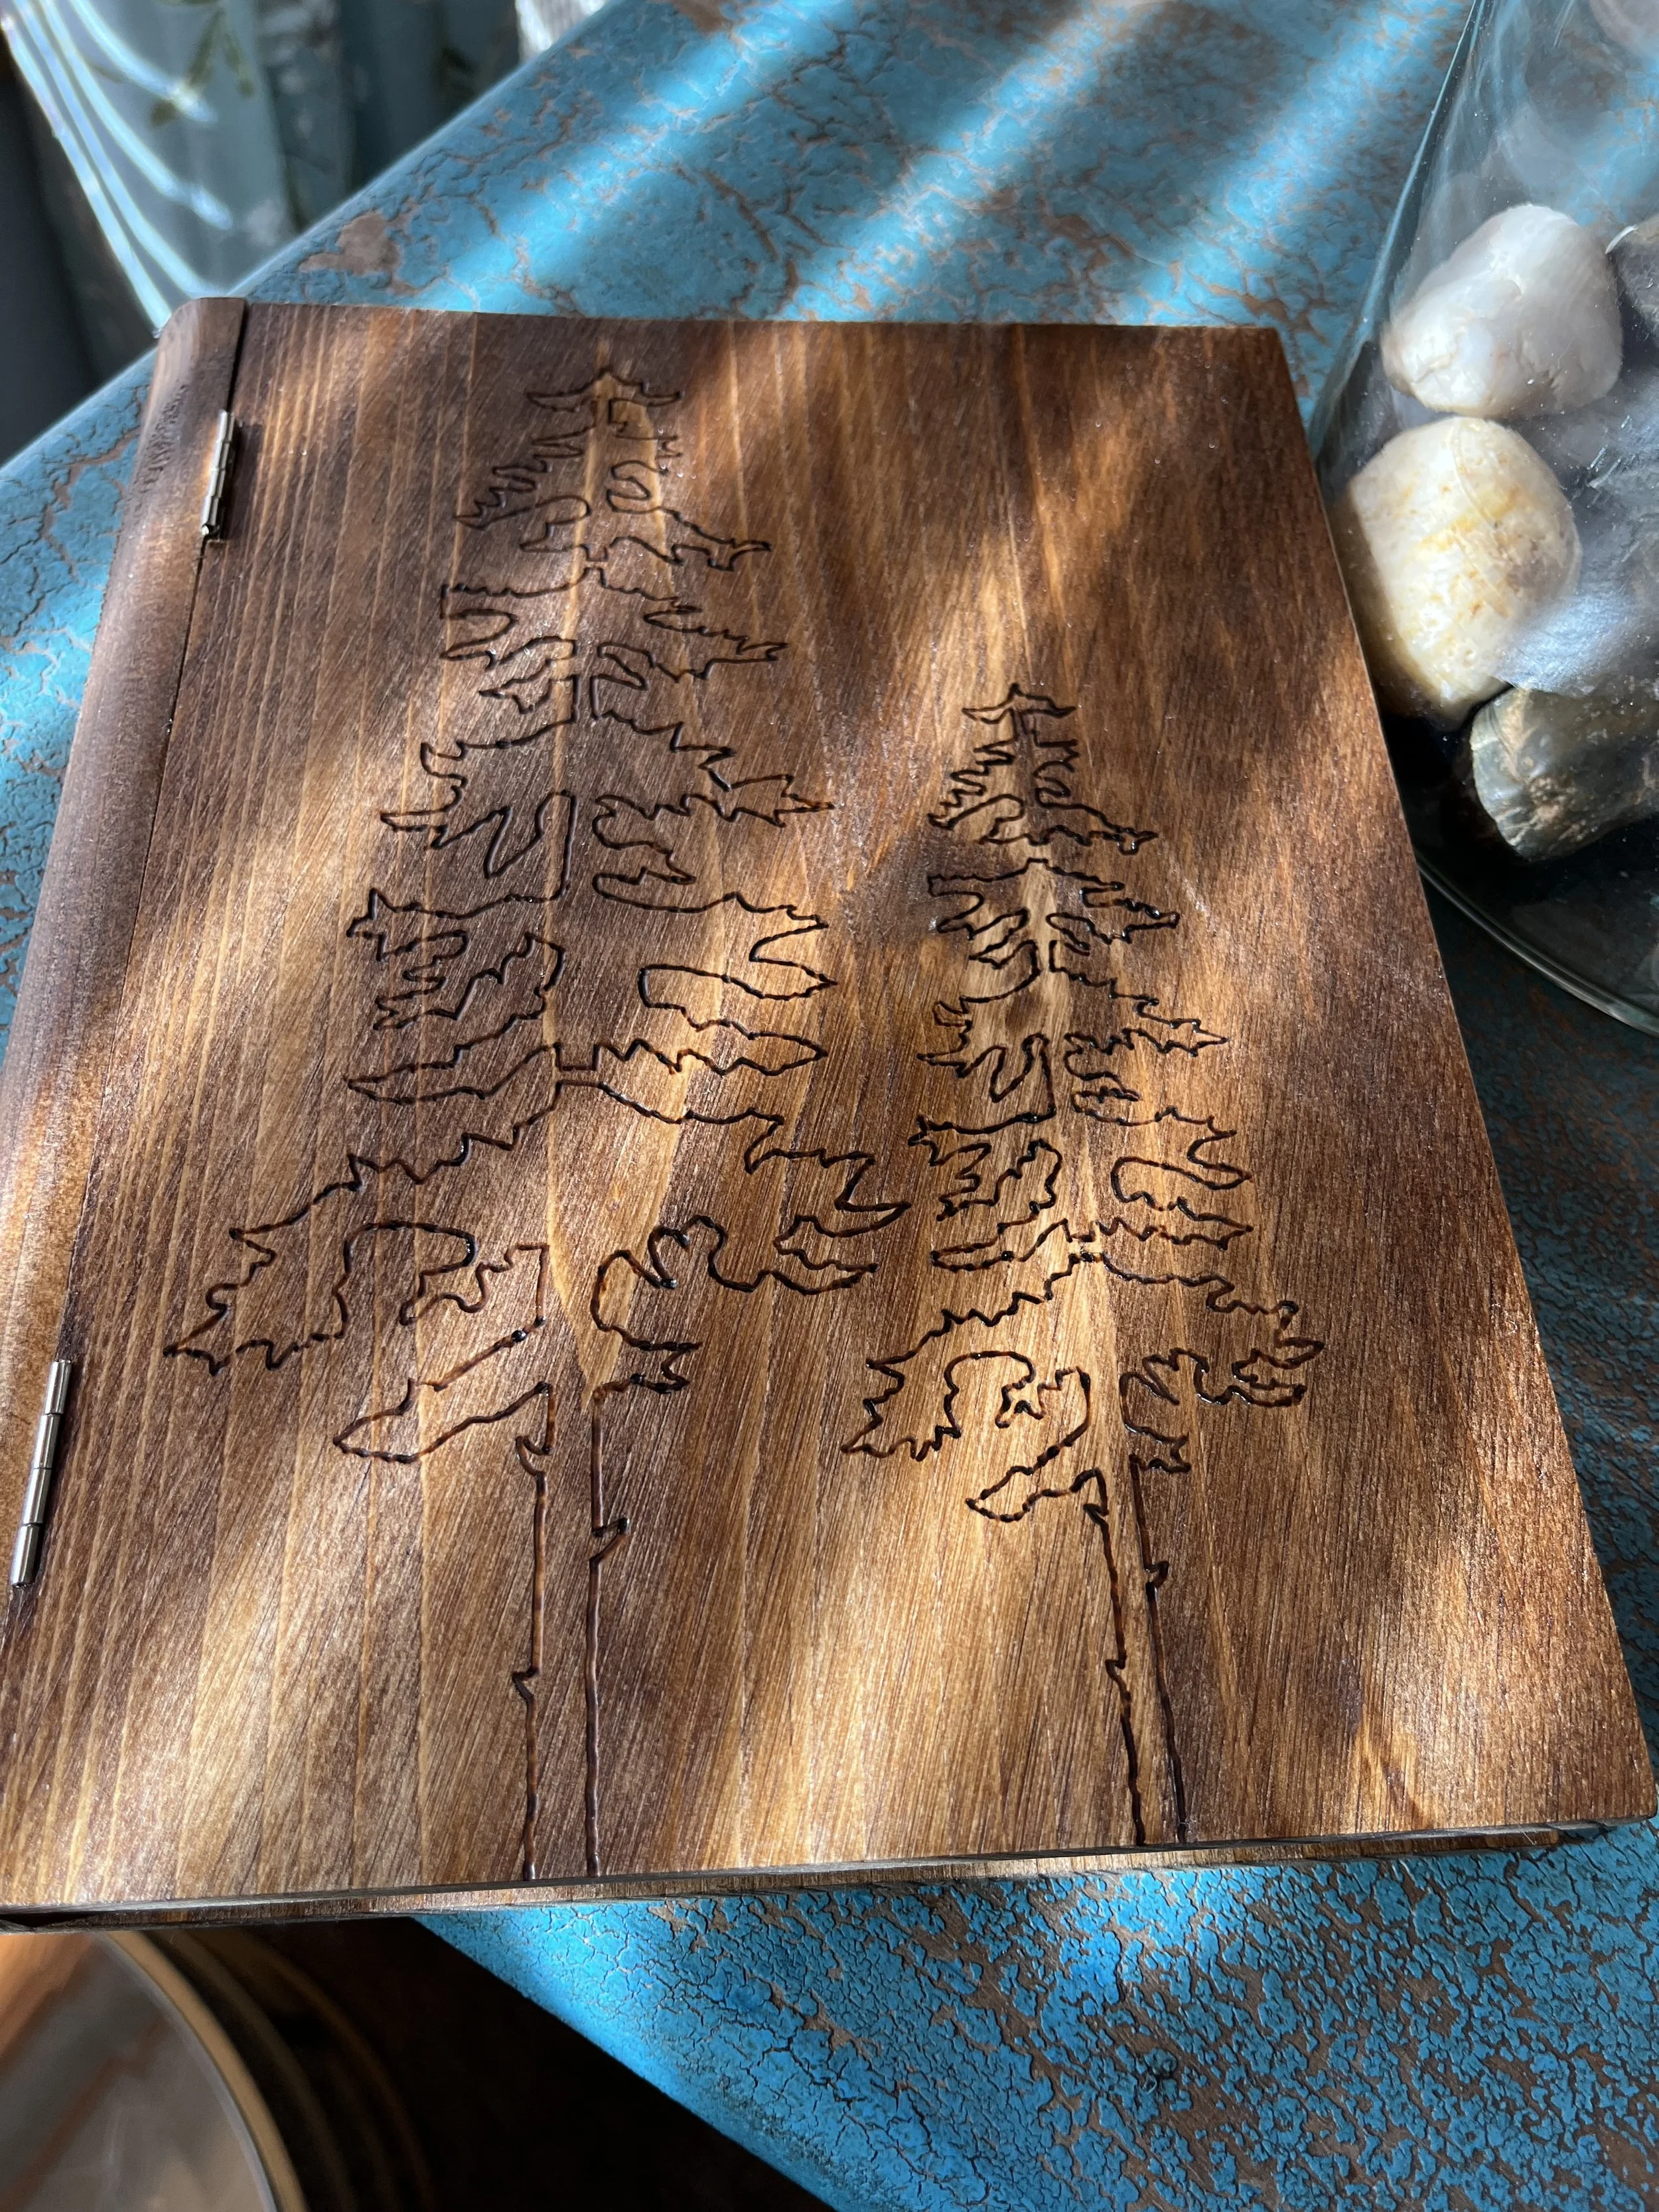

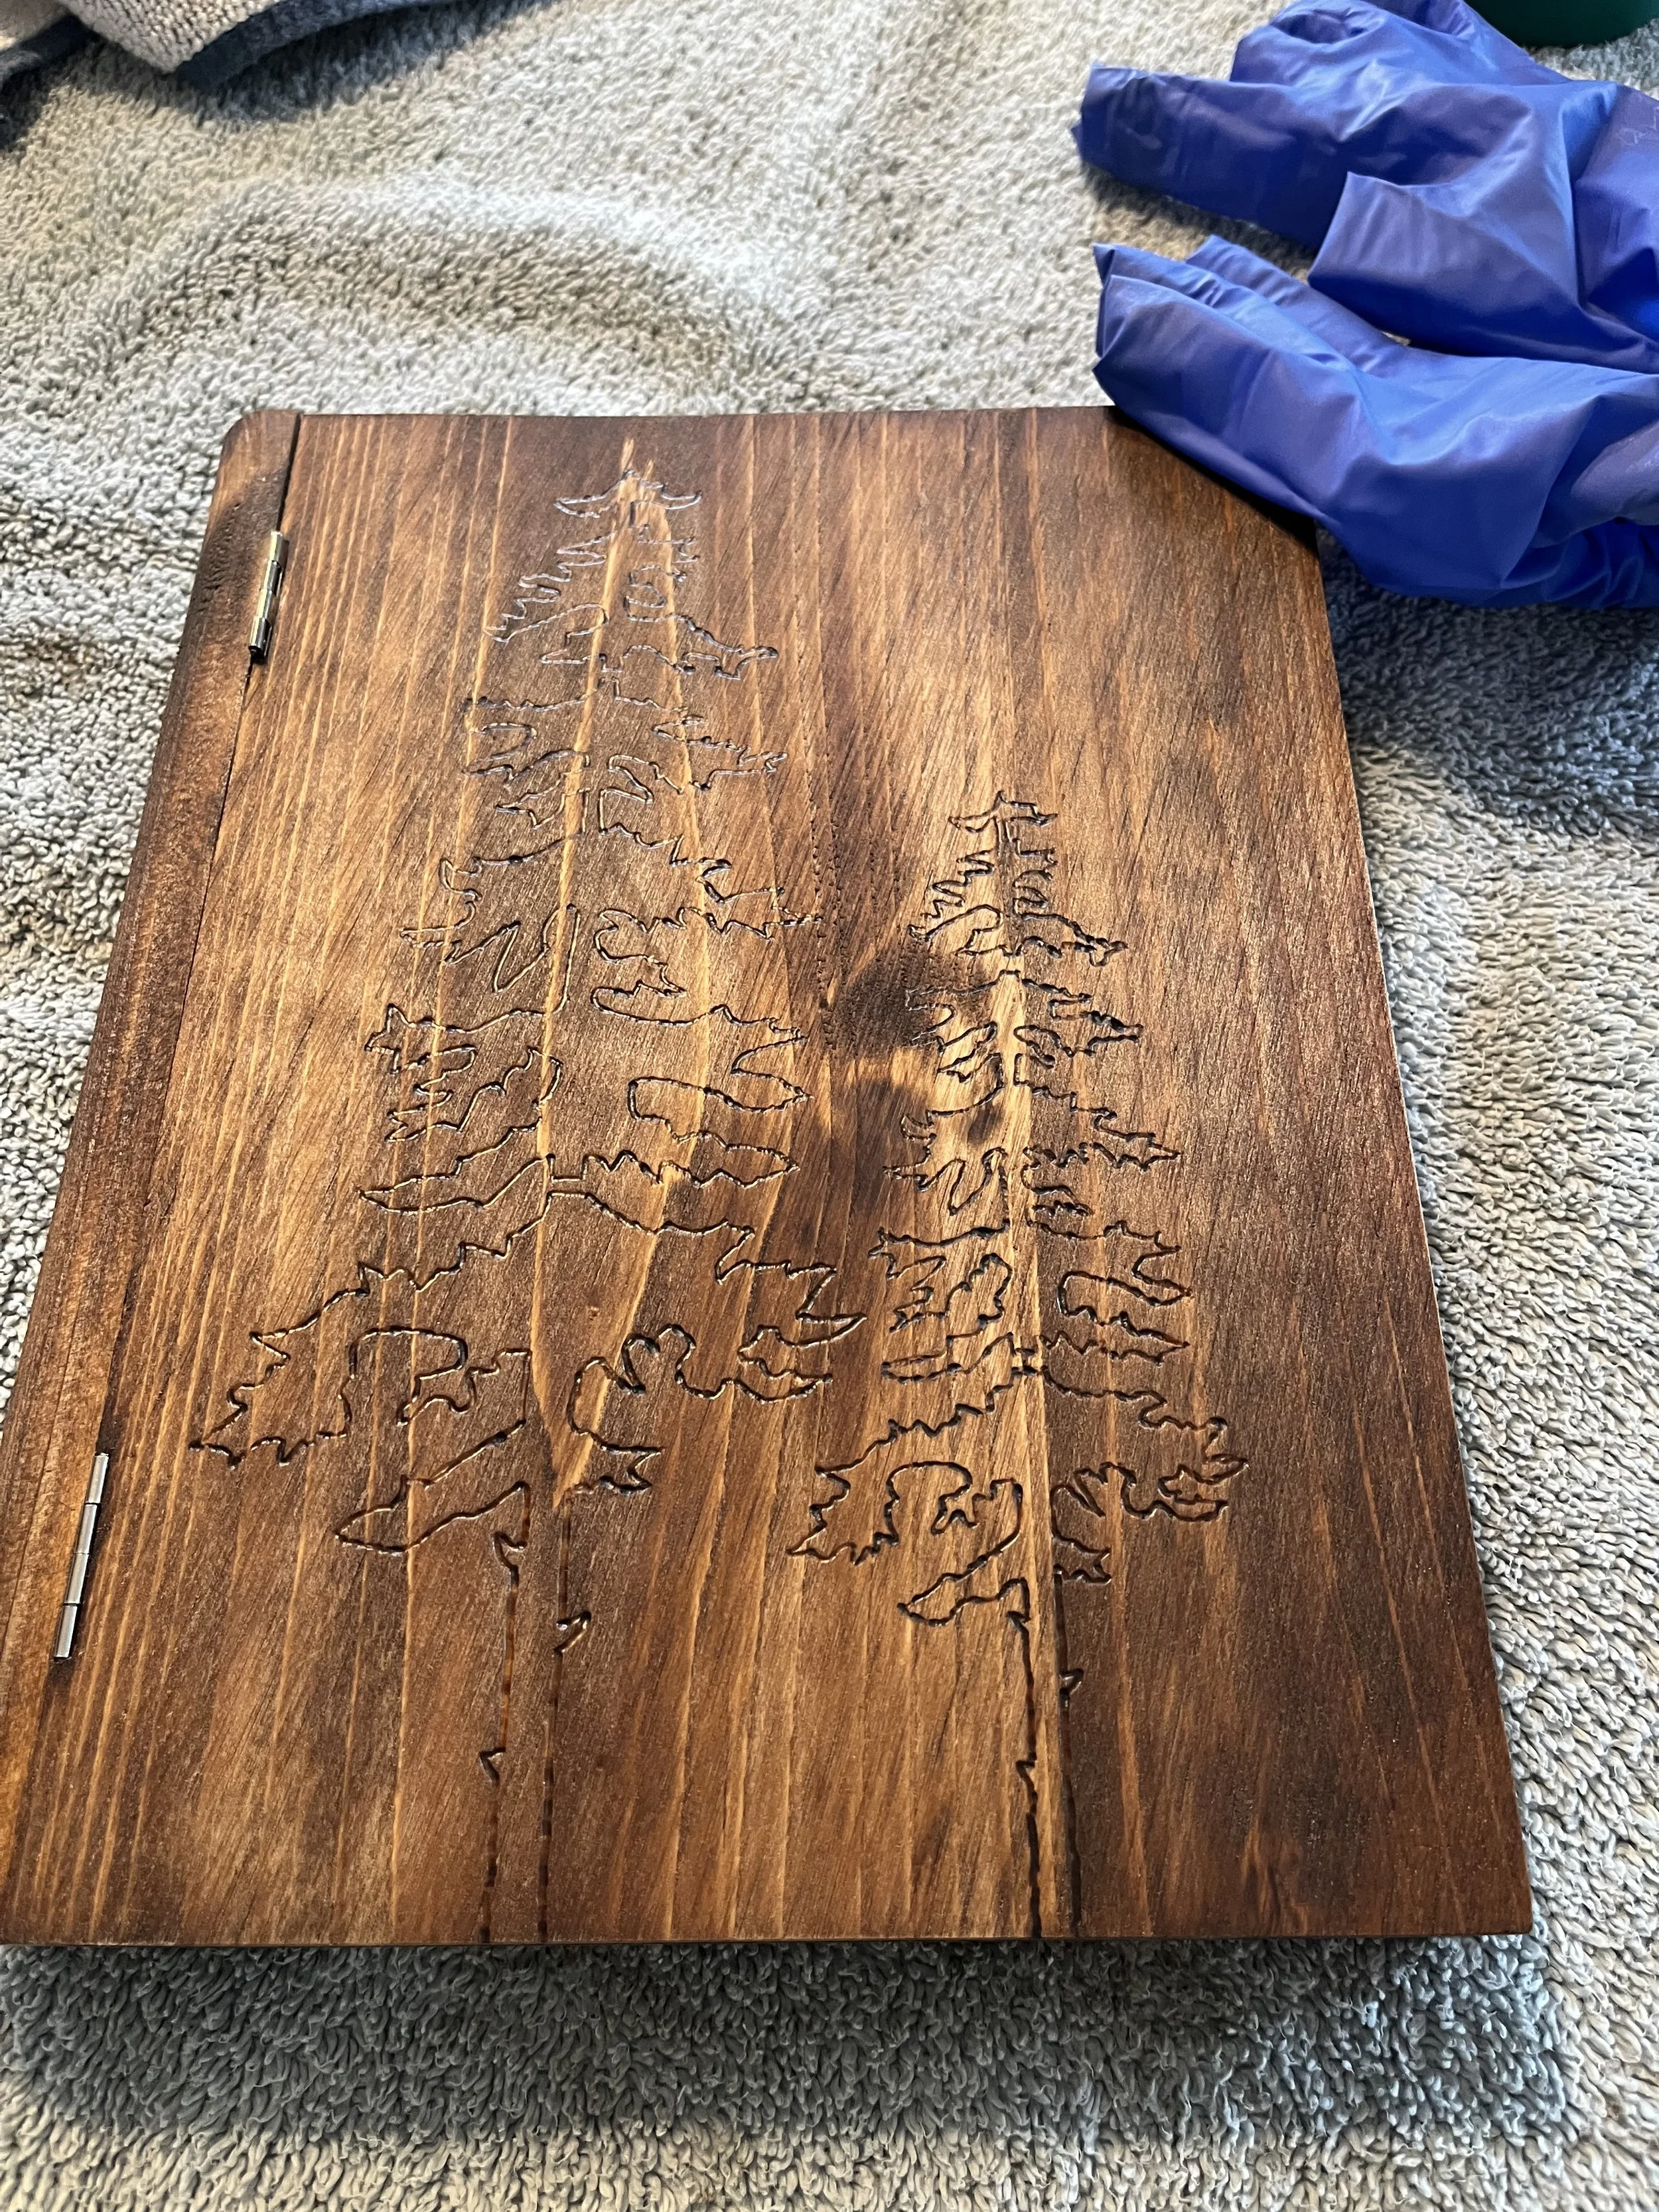
Well… there are all the photos. I tried taking all kinds of pictures and I still don’t think it looks good. But I am so glad I did it! It was fun to do. I actually love the idea of trying to fail. That changing the expectation around success or failure can be freeing. Here’s to more trying… failure or success.
My Pretty (?) Hat
I loved the idea of embroidering a pattern or design onto a knit hat the very first time I saw it! Such a cute idea and it’s not a huge project if you take a couple shortcuts, like me. These are a few of my inspiration pins from my “Possible Projects” board. This looked like something I could handle.
My main short cut is buying a hat to start. Knitting a hat will probably be a future post ;)
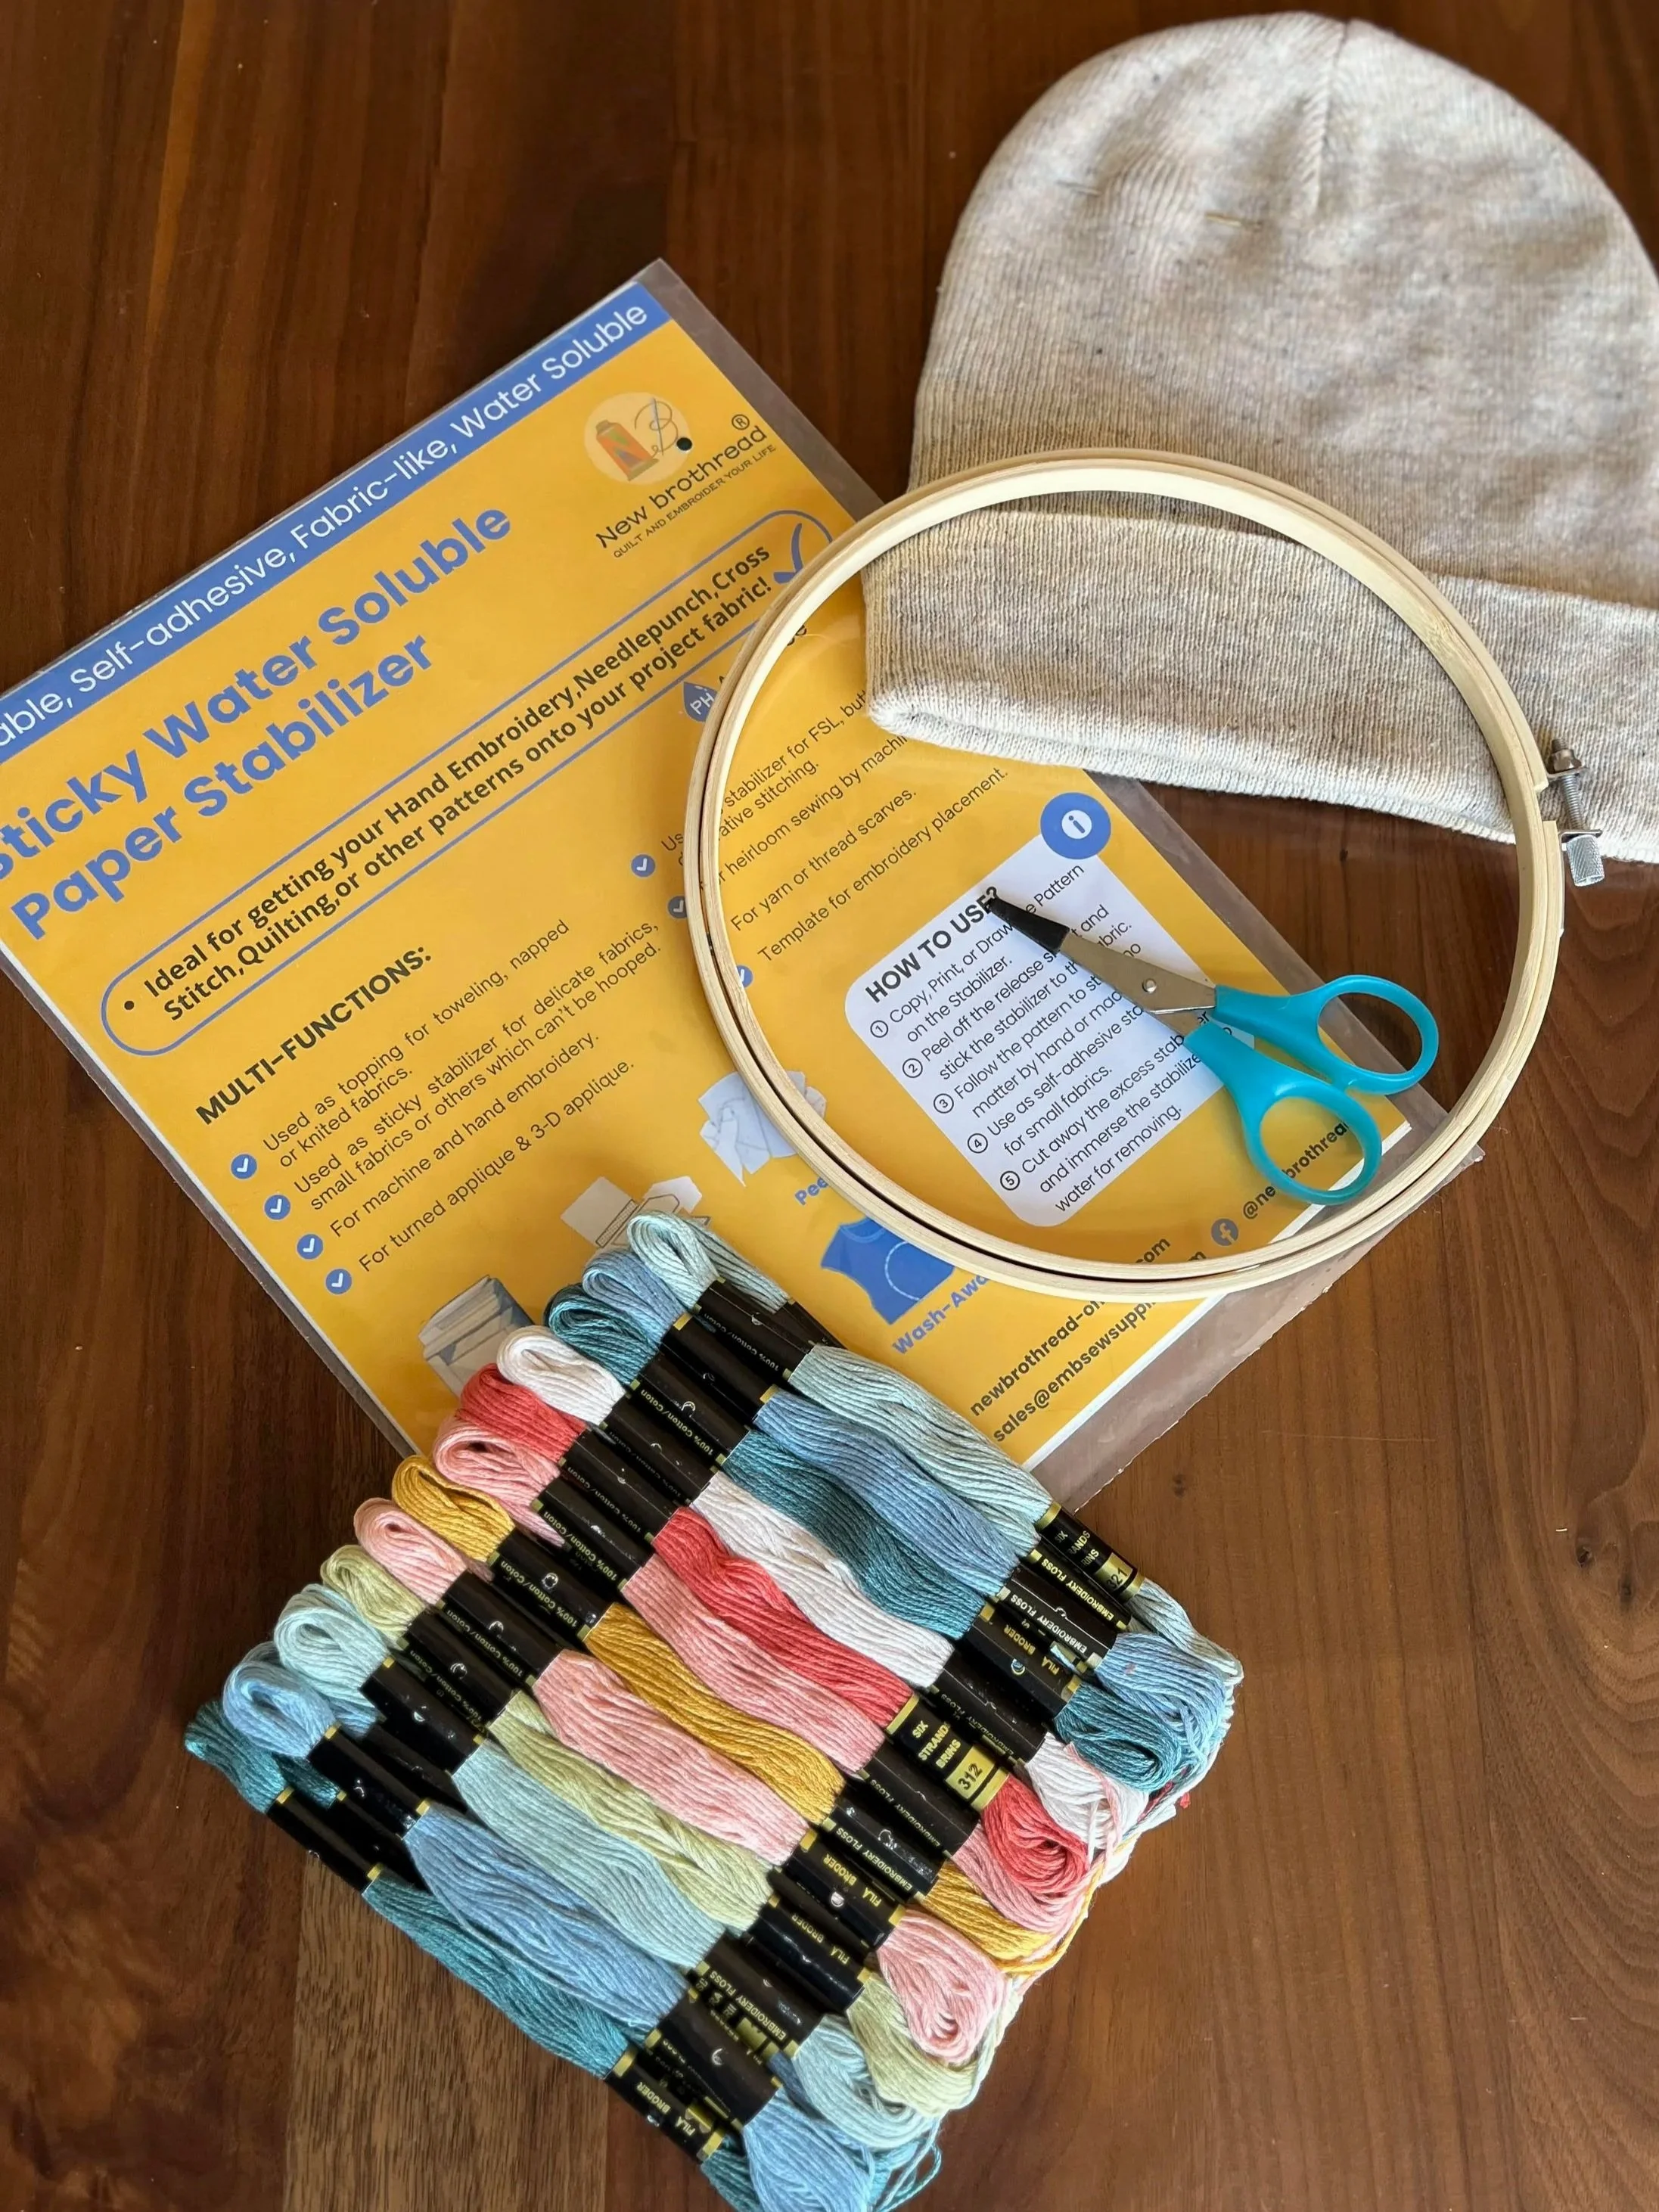
This was one of those projects where I already had some of the supplies since I do like embroidery (I have a good collection of the thread). I love these colors!
One thing I did buy was some Sticky Water Soluble Paper Stabilizer. I just had to pick a design to print. This is the hard part… you should have seen how long it took me to pick a blog template, ha ha.
Surprisingly, it didn’t take too long to choose a design. I had an idea that I wanted trees so I just went to the clip art that is available in my copy of Word. I printed it directly onto that stabilizer paper and started stitching. I didn’t really need the hoop and I think it was a little big for this project.
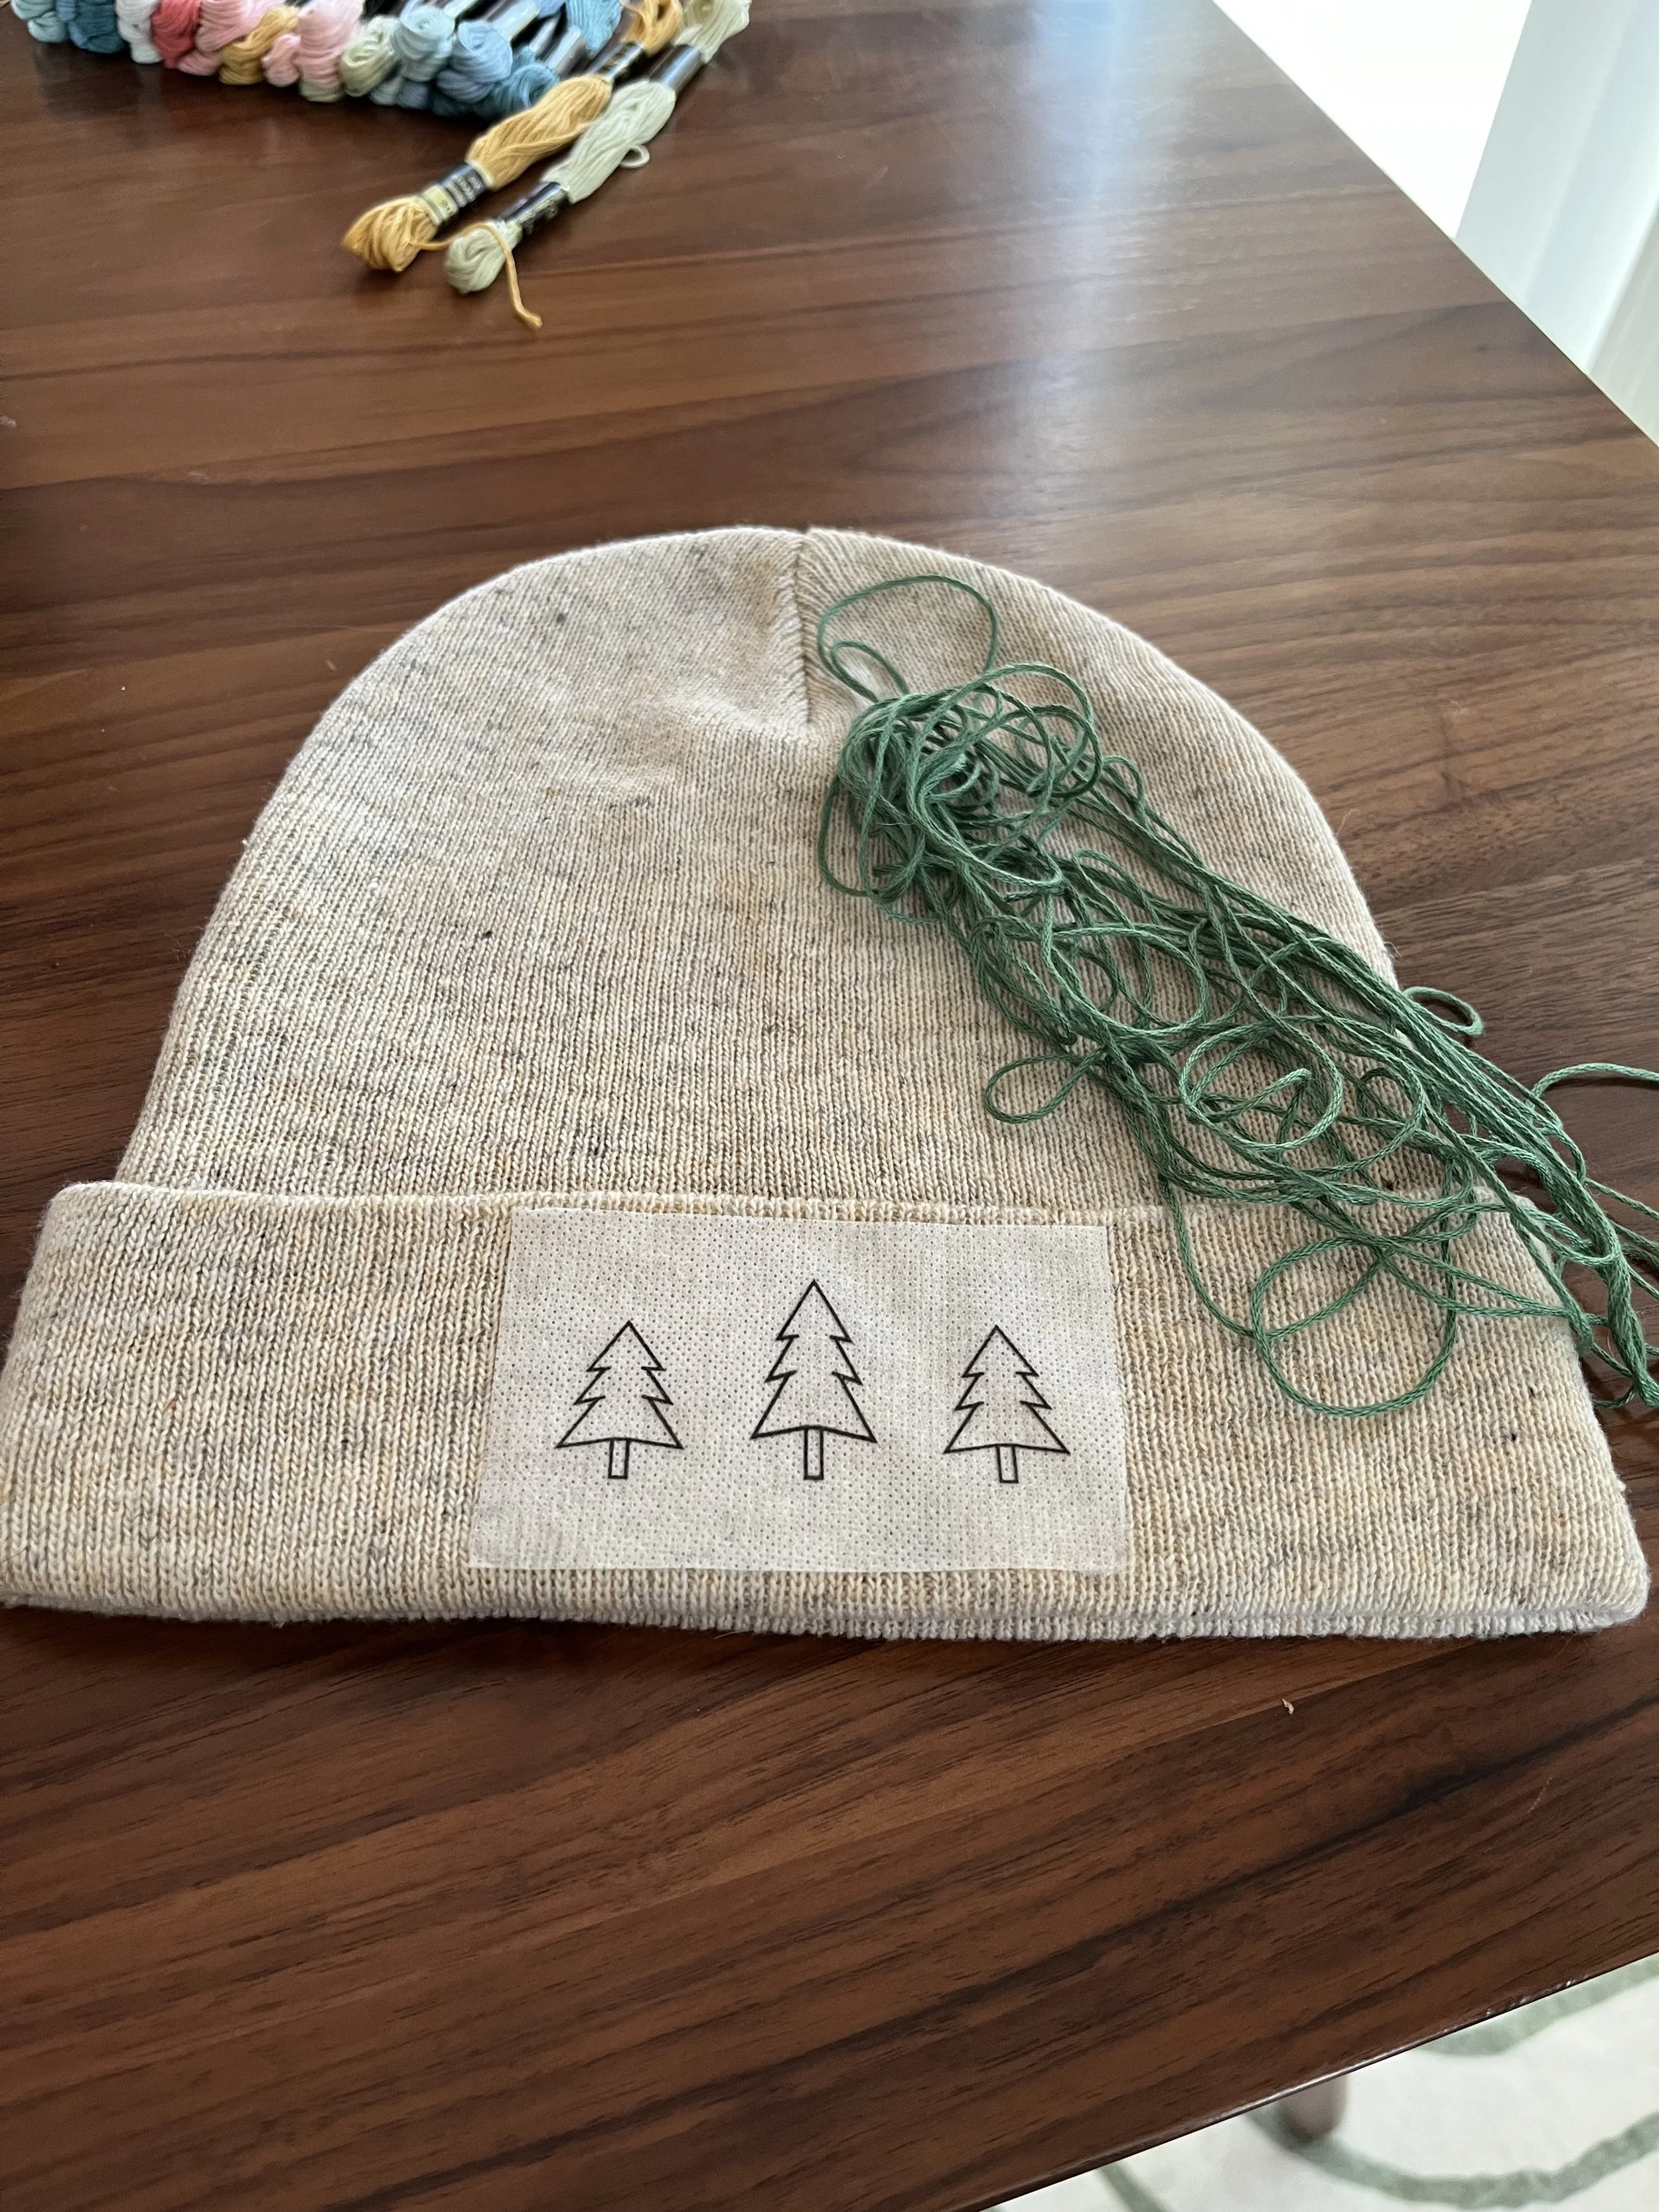

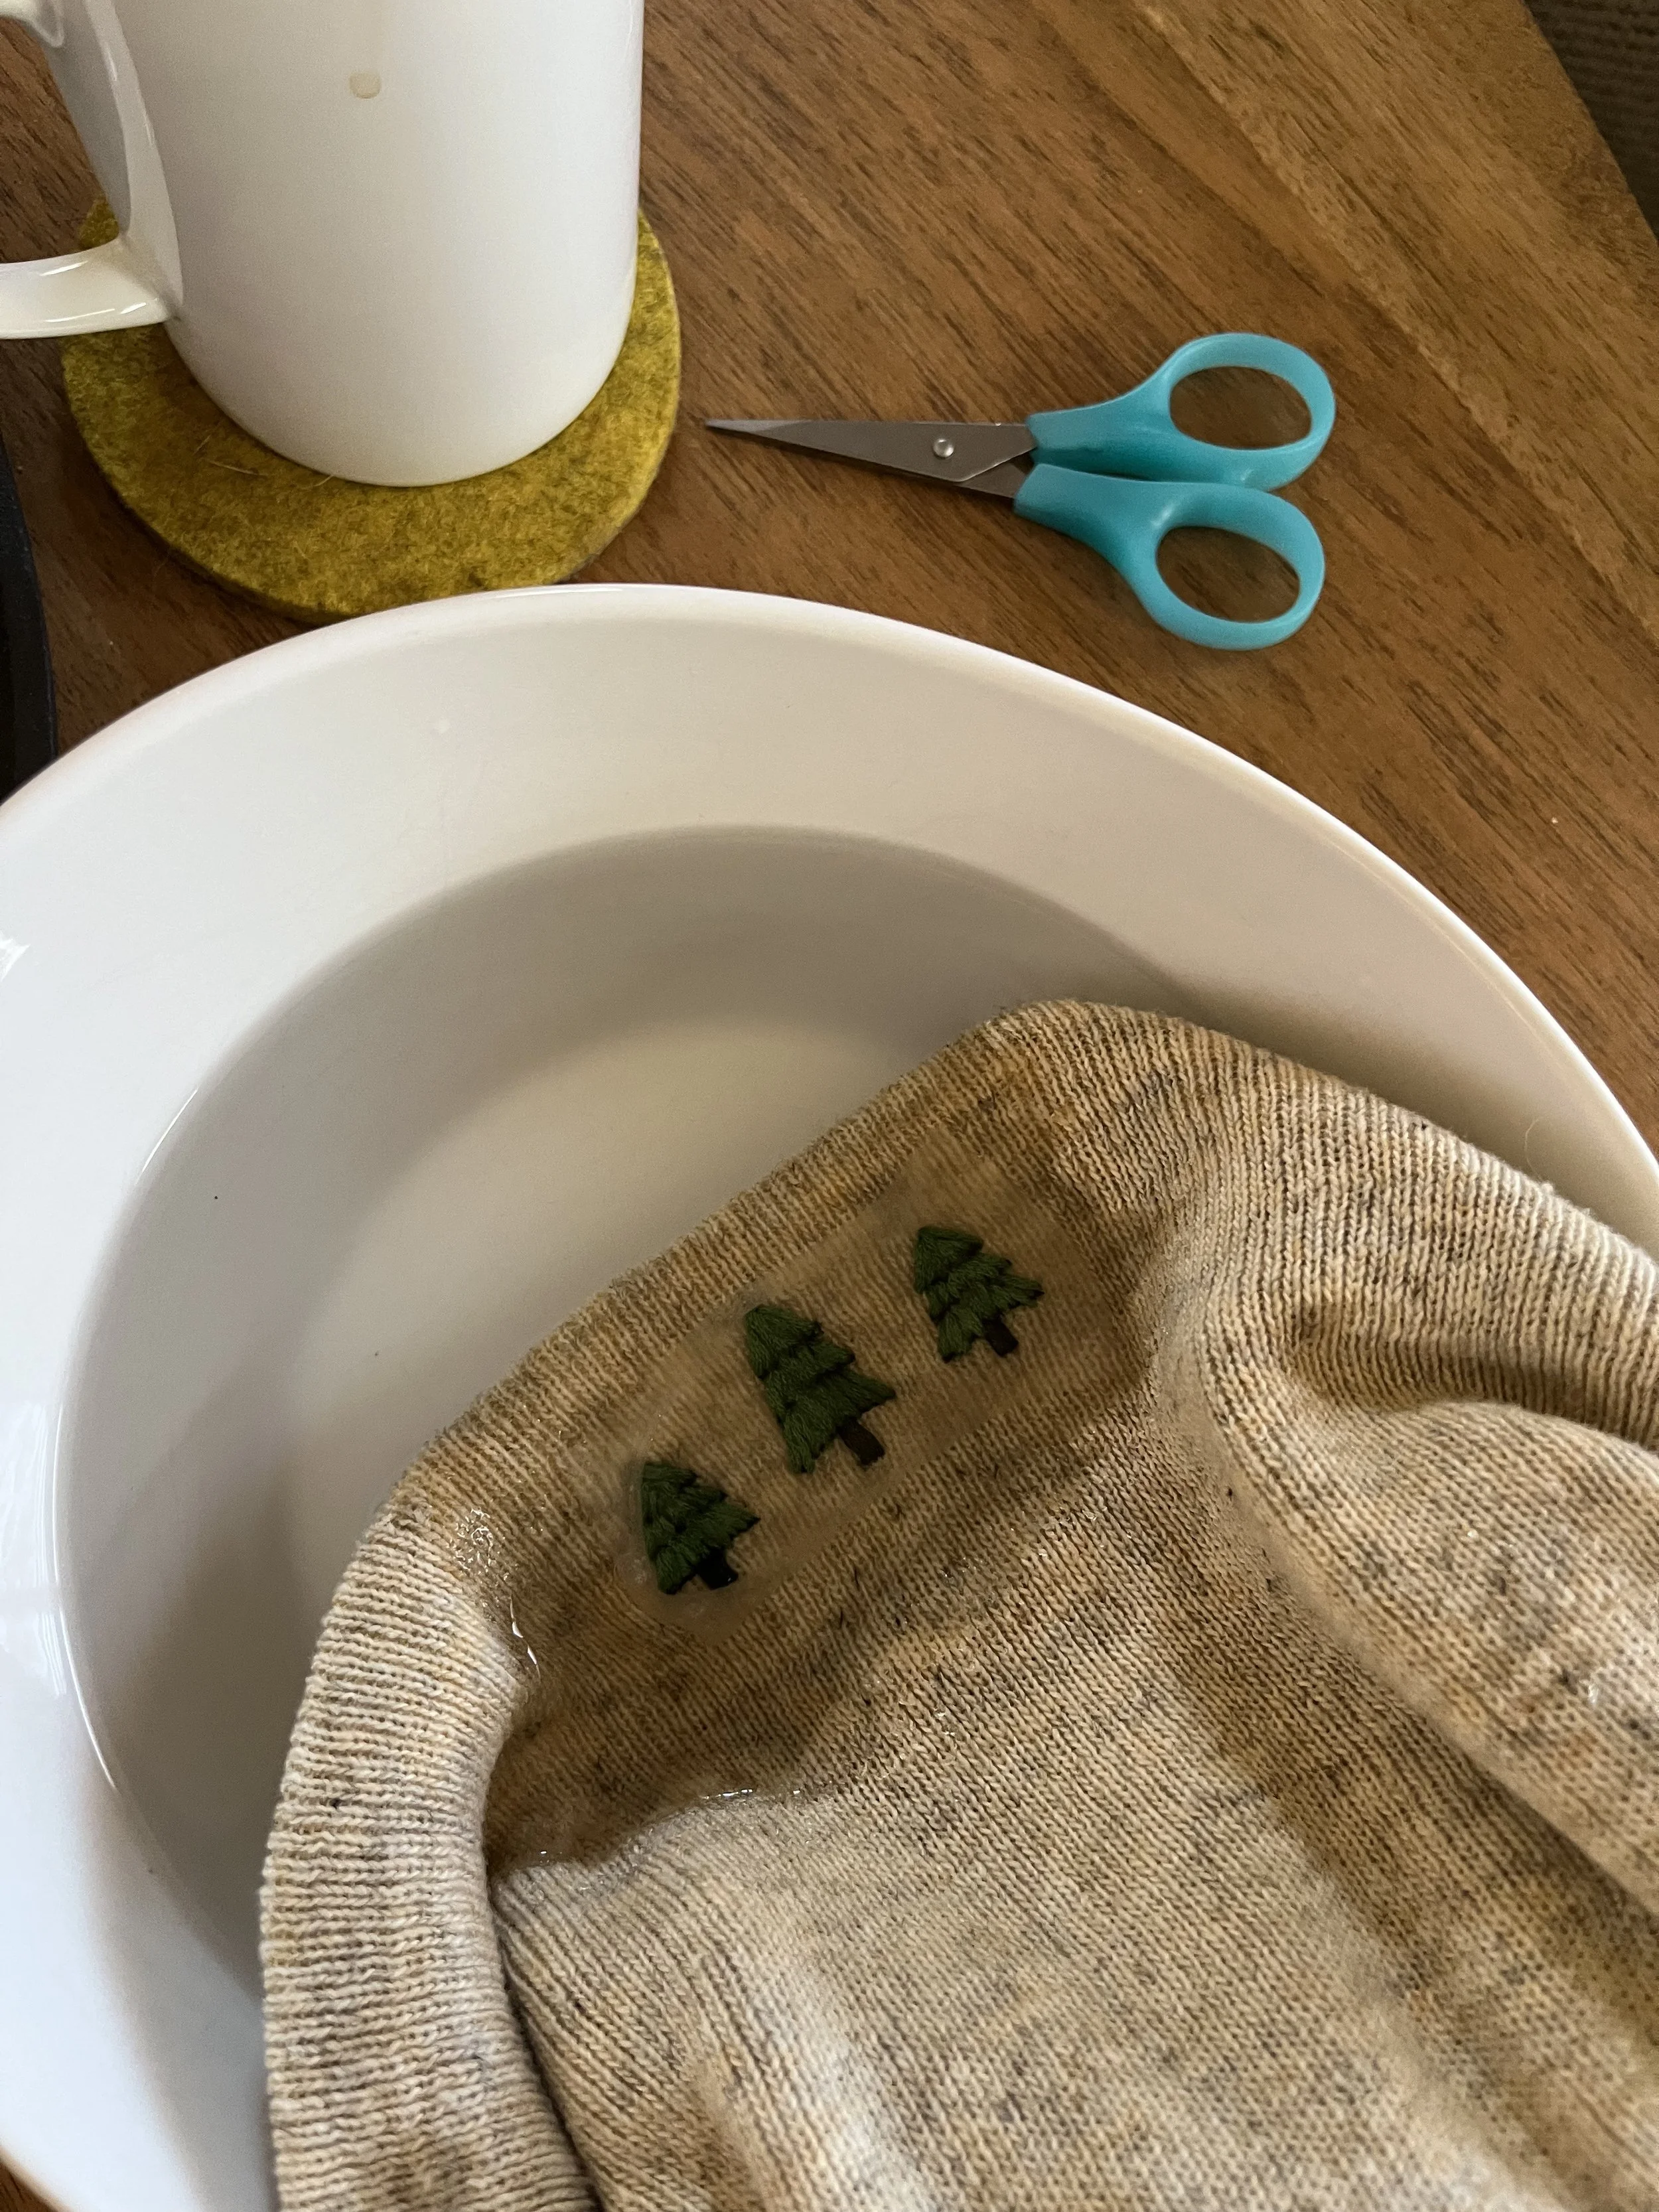
As you can see, I stitched each tree in three sections. The hardest part was threading the needle and I was wearing my glasses, maybe I need to get one of those cool helpers with a light and magnification. I could not wait to soak this in the water and dissolve that stabilizer paper. I had never worked with that before and it was so easy! Now it is laying out to dry and soon we will see how it turned out.
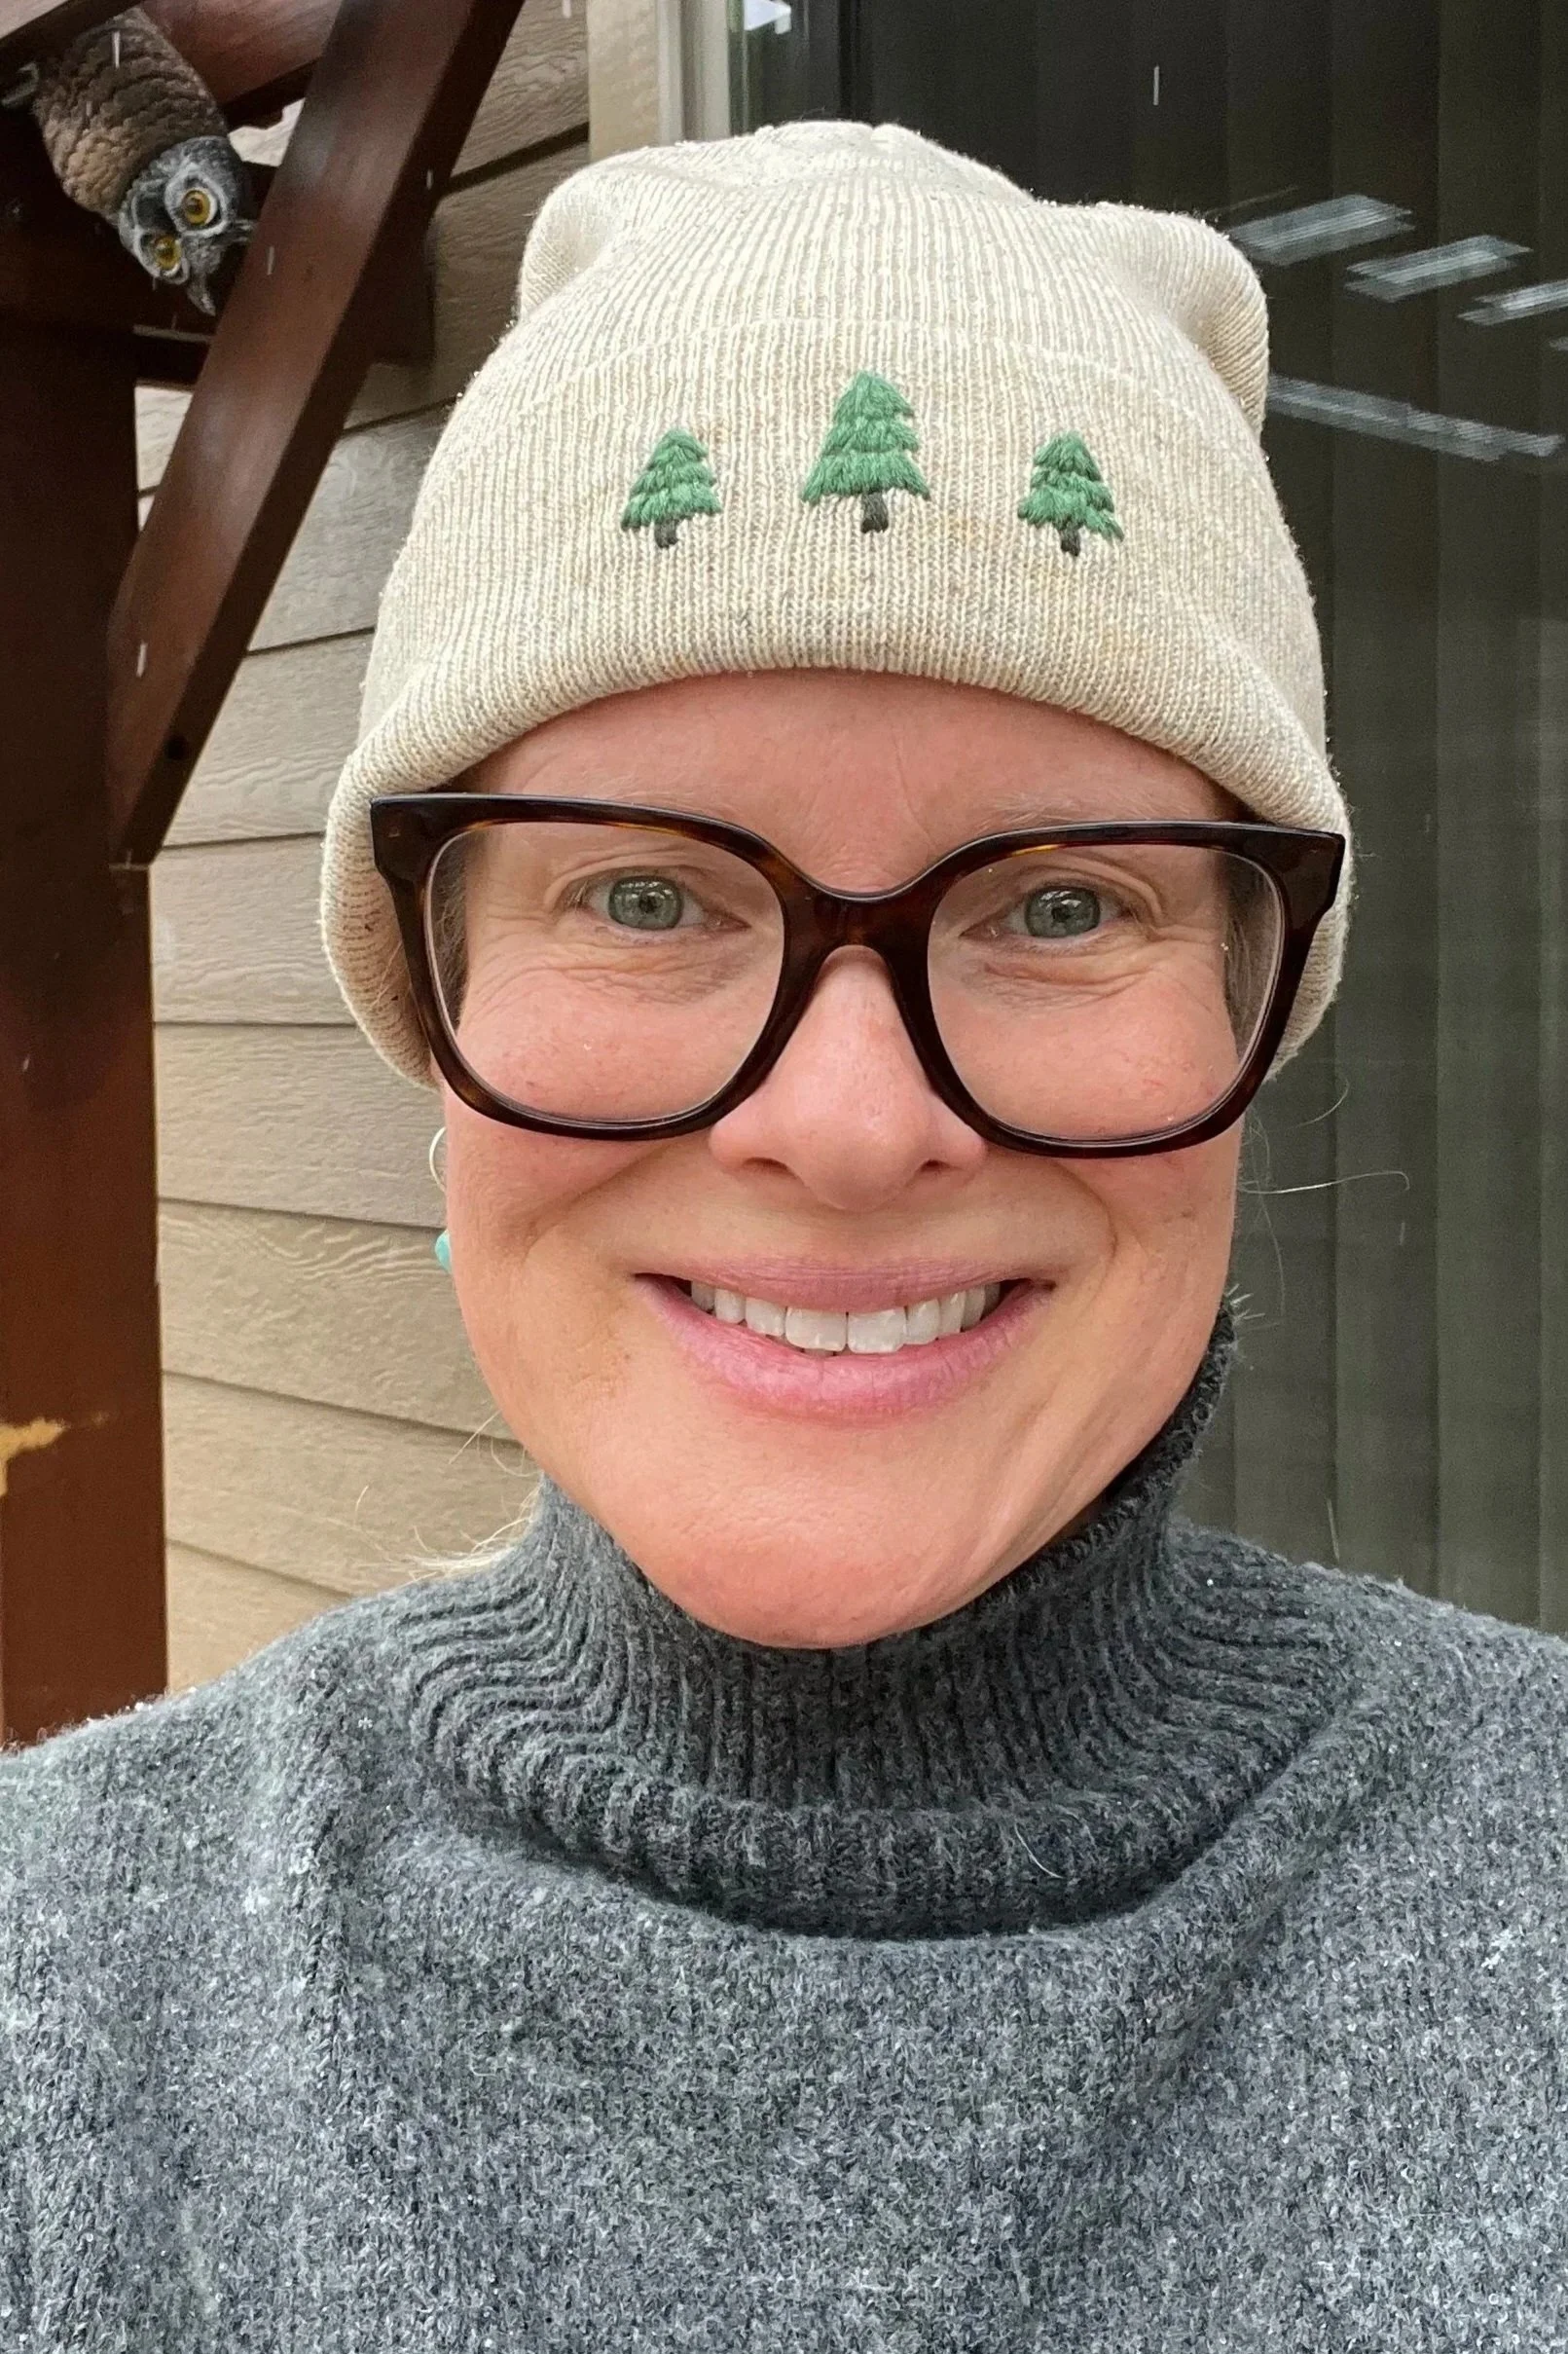
WOW! I’m so happy with this! It’s actually pretty cute. I will definitely be doing this again. It would be a great project for a gift. I’m having visions of a navy blue chunky knit hat with a couple sunflowers stitched in with yarn. Wouldn’t that be cute? And I am feeling more confident about doing a sweater… maybe a future project?
Coming Soon

under construction
Hi All!
Thanks for checking this out! I am in the process of creating my first post as we speak. Can’t wait to share it. Keep checking back and you can enter your email for all the updates.