Burn Baby Burn
I think I’m like most people who are trying to be on their phone LESS. I’m a stay at home mom and I hate it when I realize I’ve just scrolled my day away. So, I bought this little box so I could physically put my phone away. This is actually a perfect example of buying supplies with no real plan for them. I thought I would paint something on it but then I remembered that we gave our son a woodburning kit ages ago. I remembered having one when I was a kid too so, of course I think, I can do this. Let’s see how this one goes. It’s got a pretty good possibility of failure. Here are a few of my inspiration pins to check out.
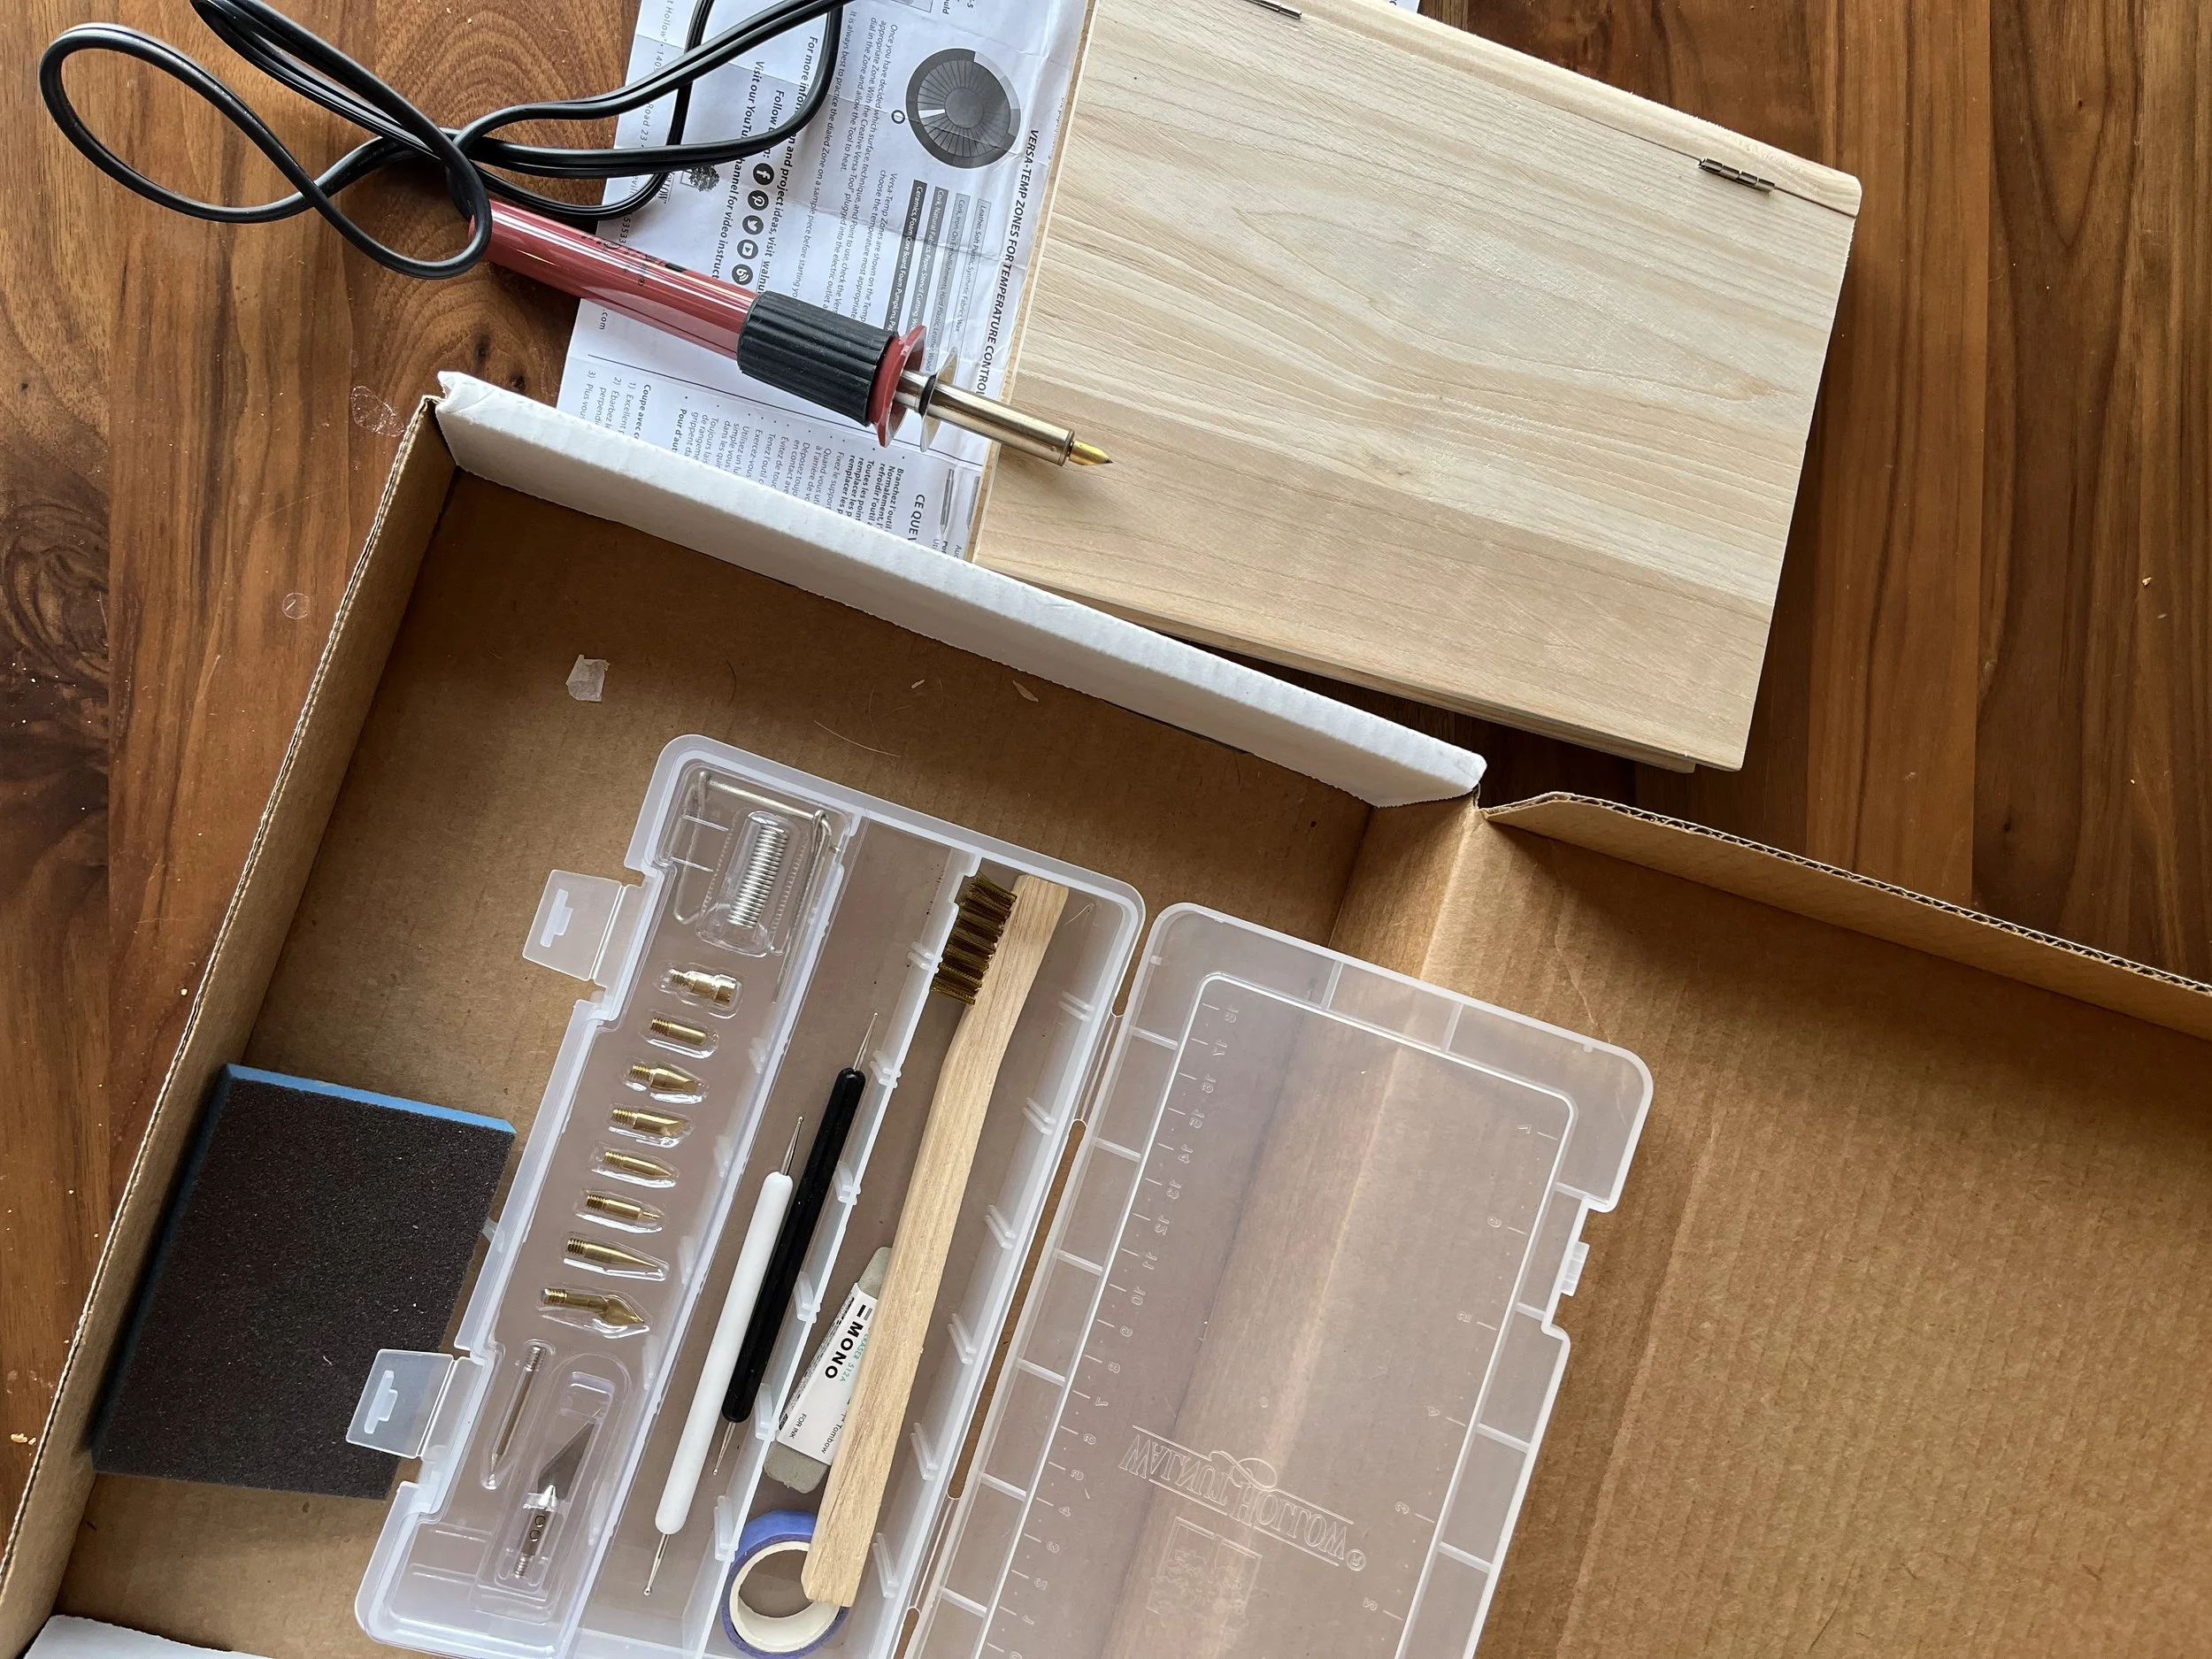
It turns out we got him a nice woodburning kit. When I opened the box I found quite a few different tips that I could use and some other tools. I did practice with it on a scrape piece of wood. One tip from that experience was to choose one of the hotter settings. I started with the lowest “wood” setting and unless you were just trying to make a mark by holding it in one spot it just didn’t work at all.
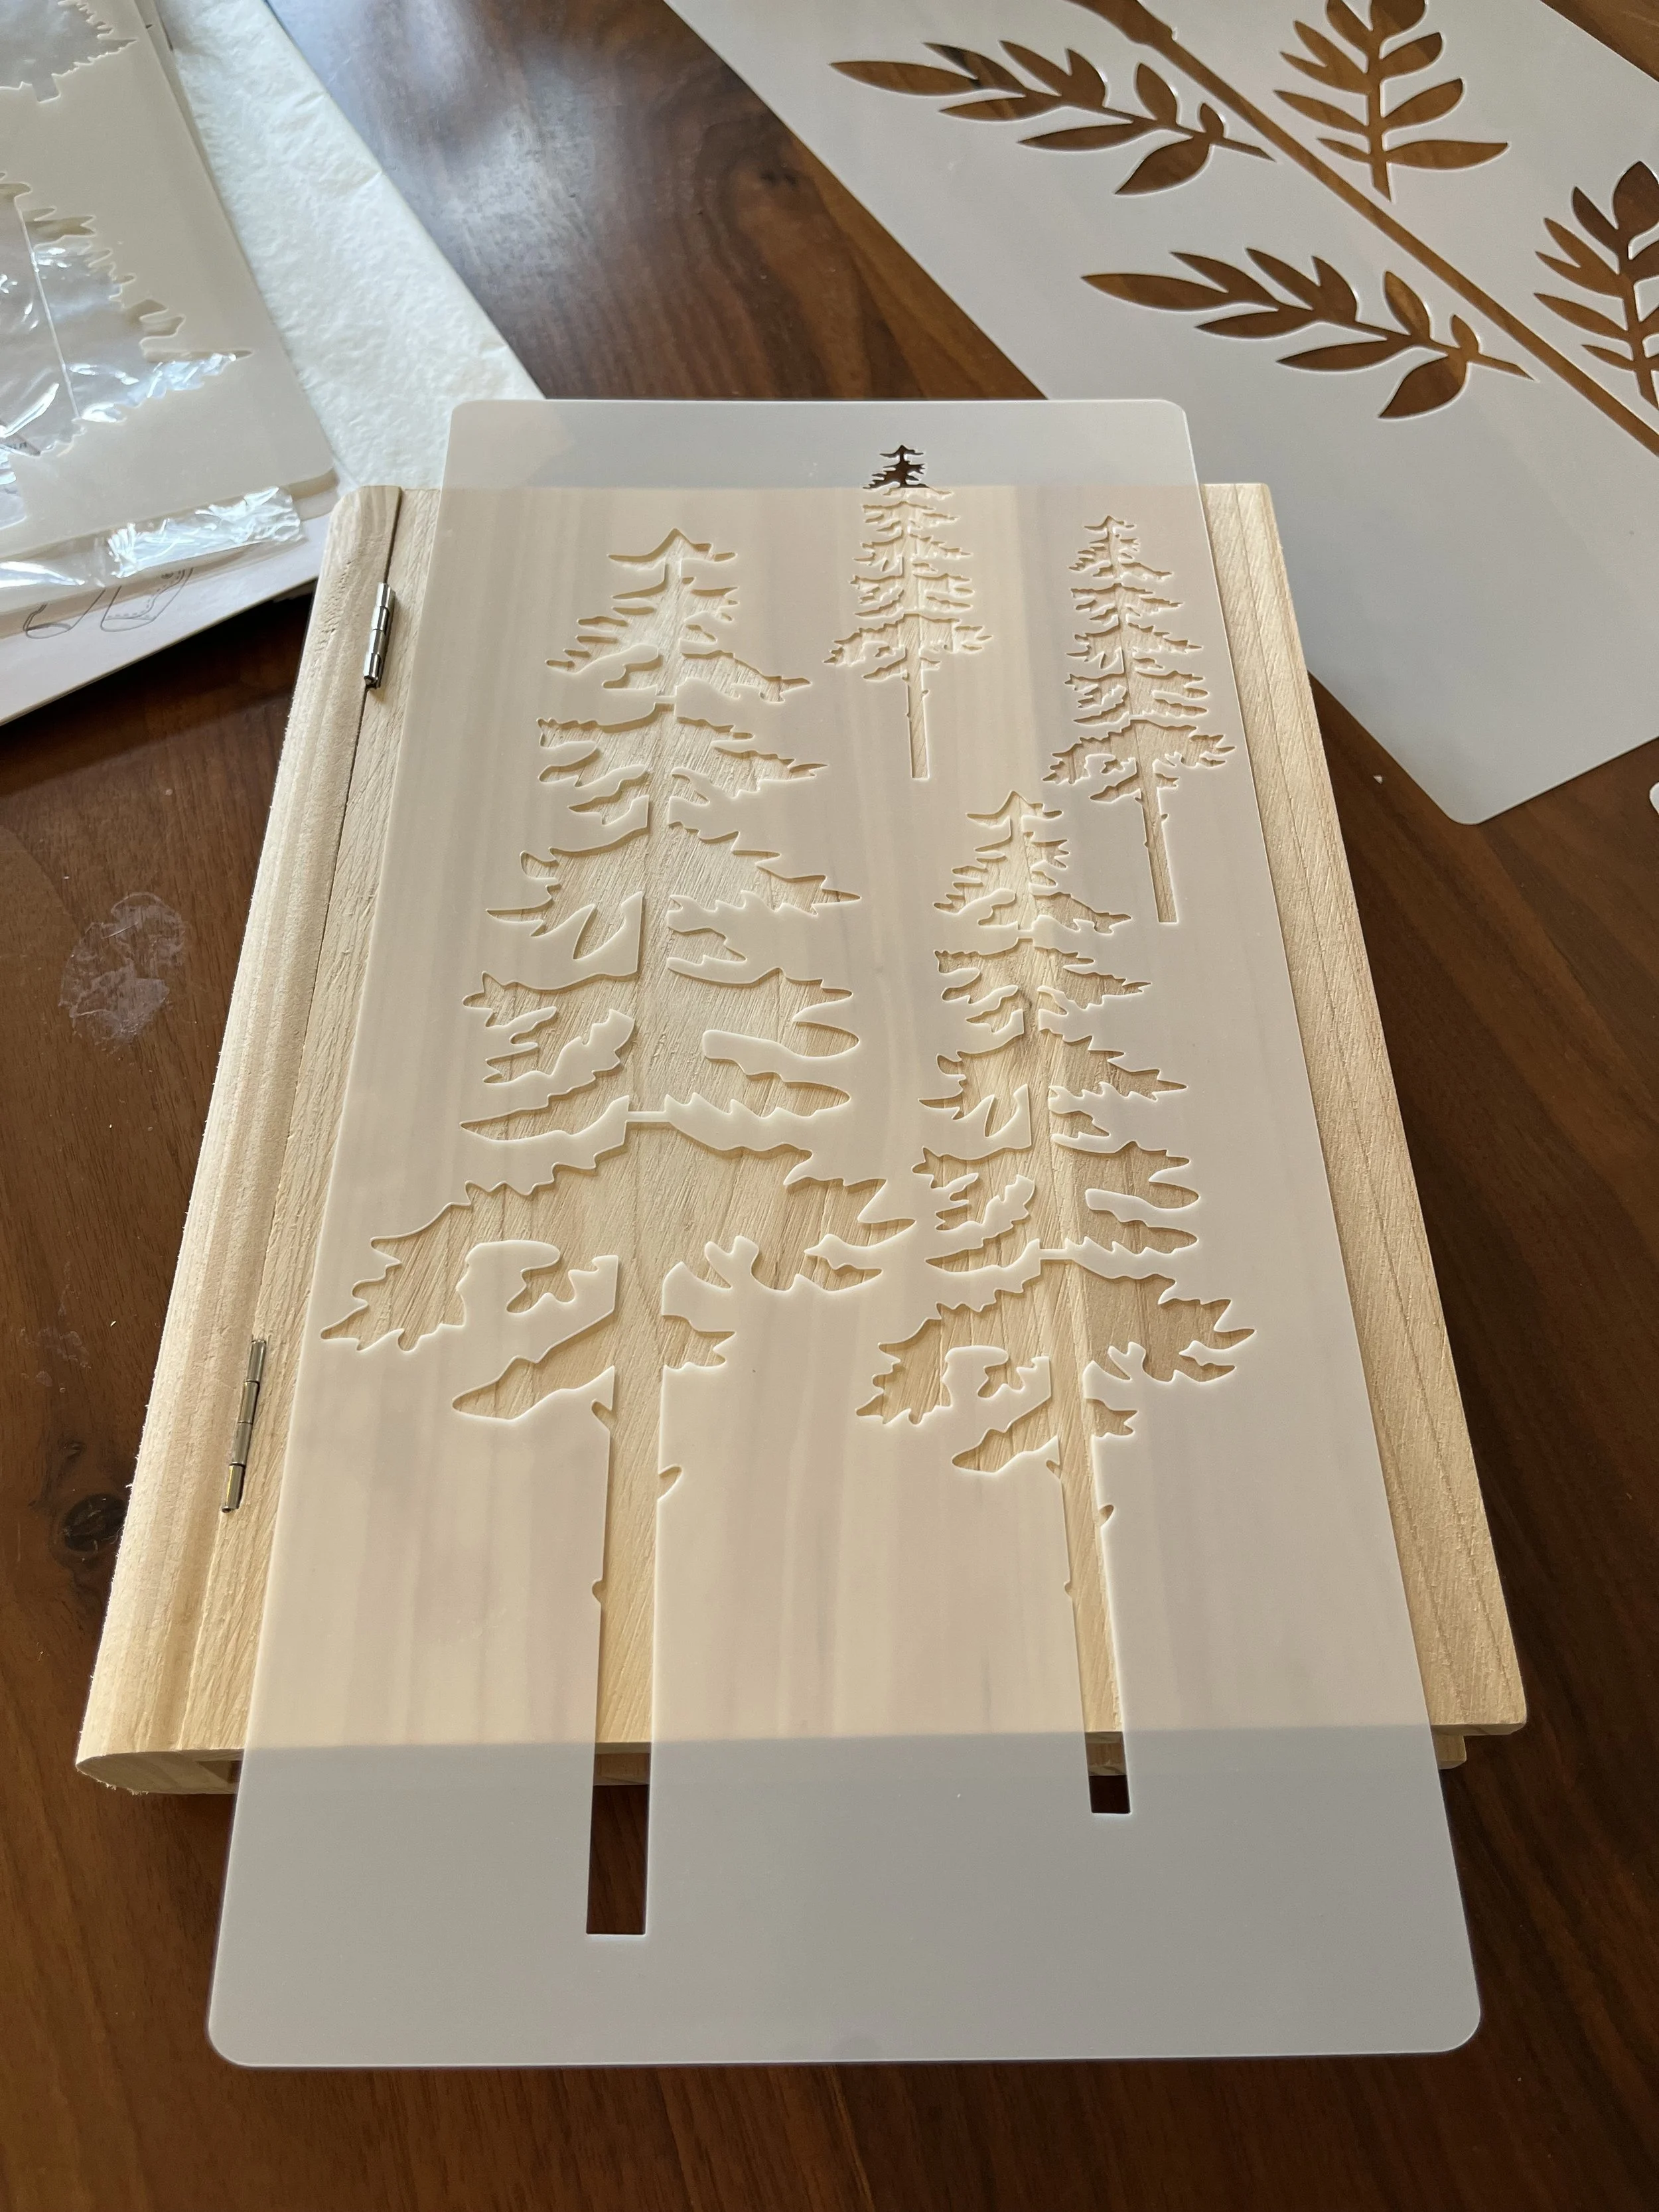
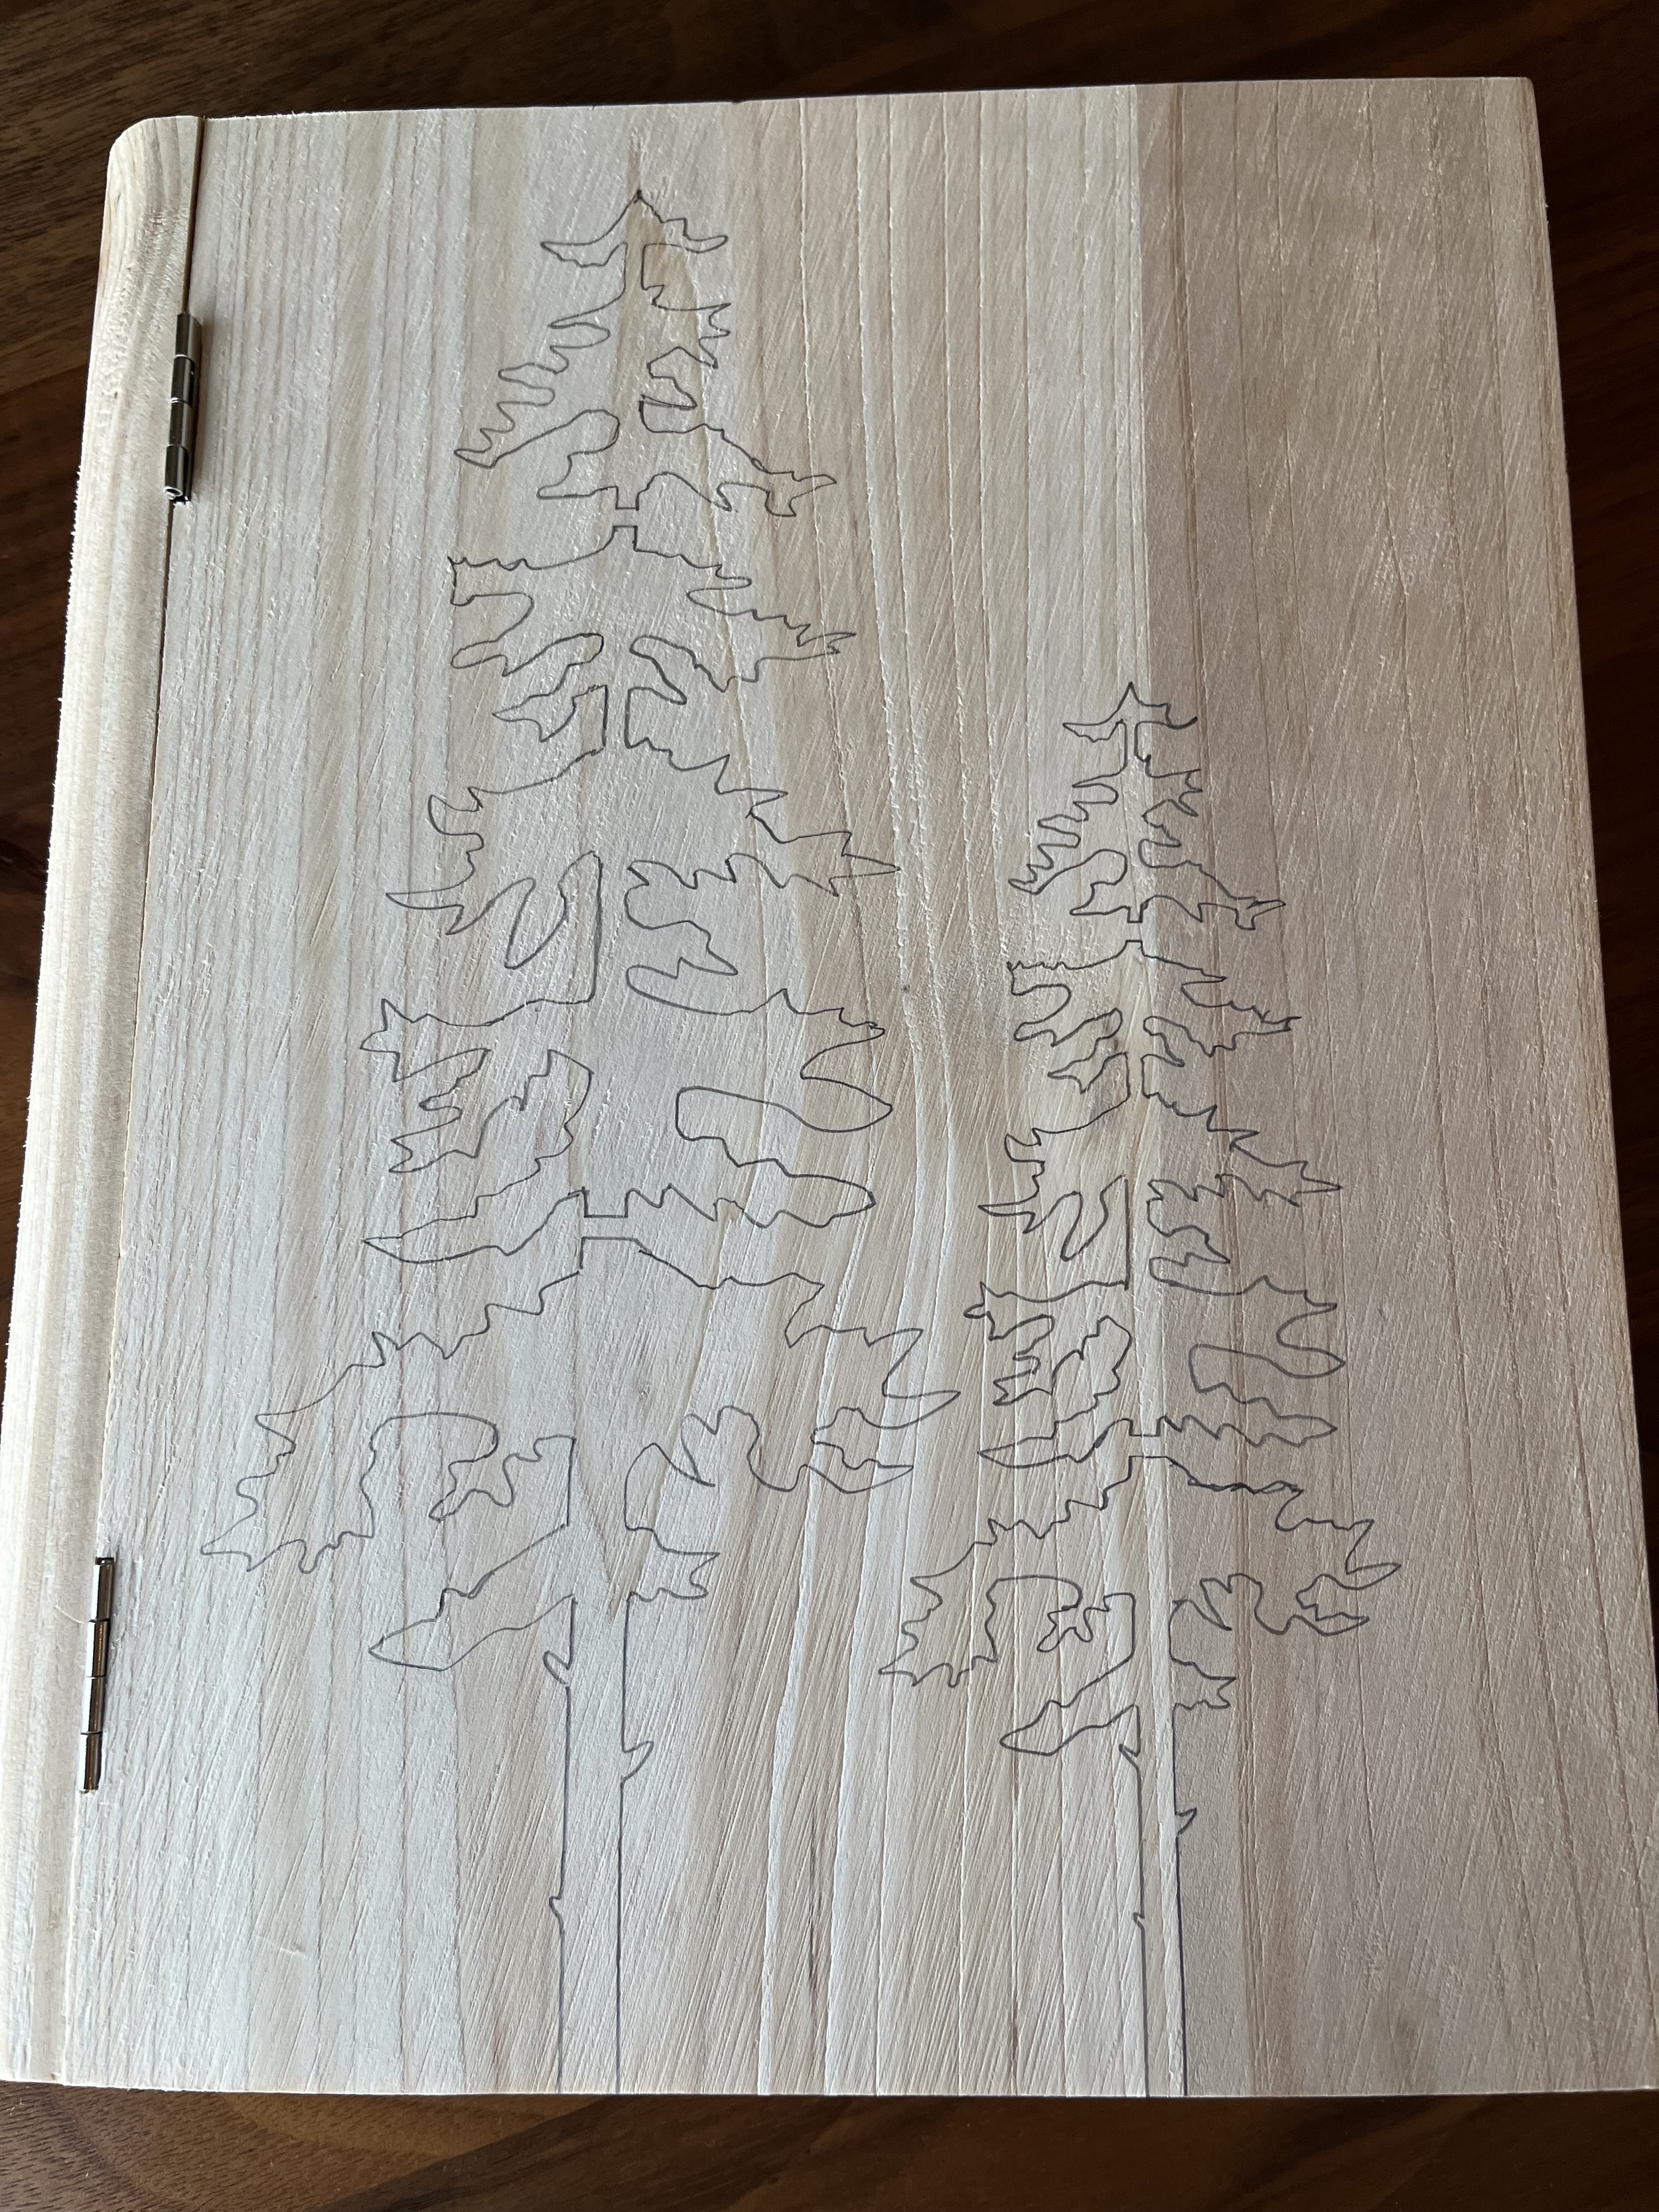
Yet again, I had some supplies floating around without any real plan for them :) I had ordered a number of different stencils for some reason. There were some flowers and some trees. The flowers weren’t quite right and I do love trees. I centered the stencil as well as I could and traced it with a pencil, easy peasy. I chose a small tip for the wood burner that was recommended for cursive patterns because the stencil pattern had a lot of small details.
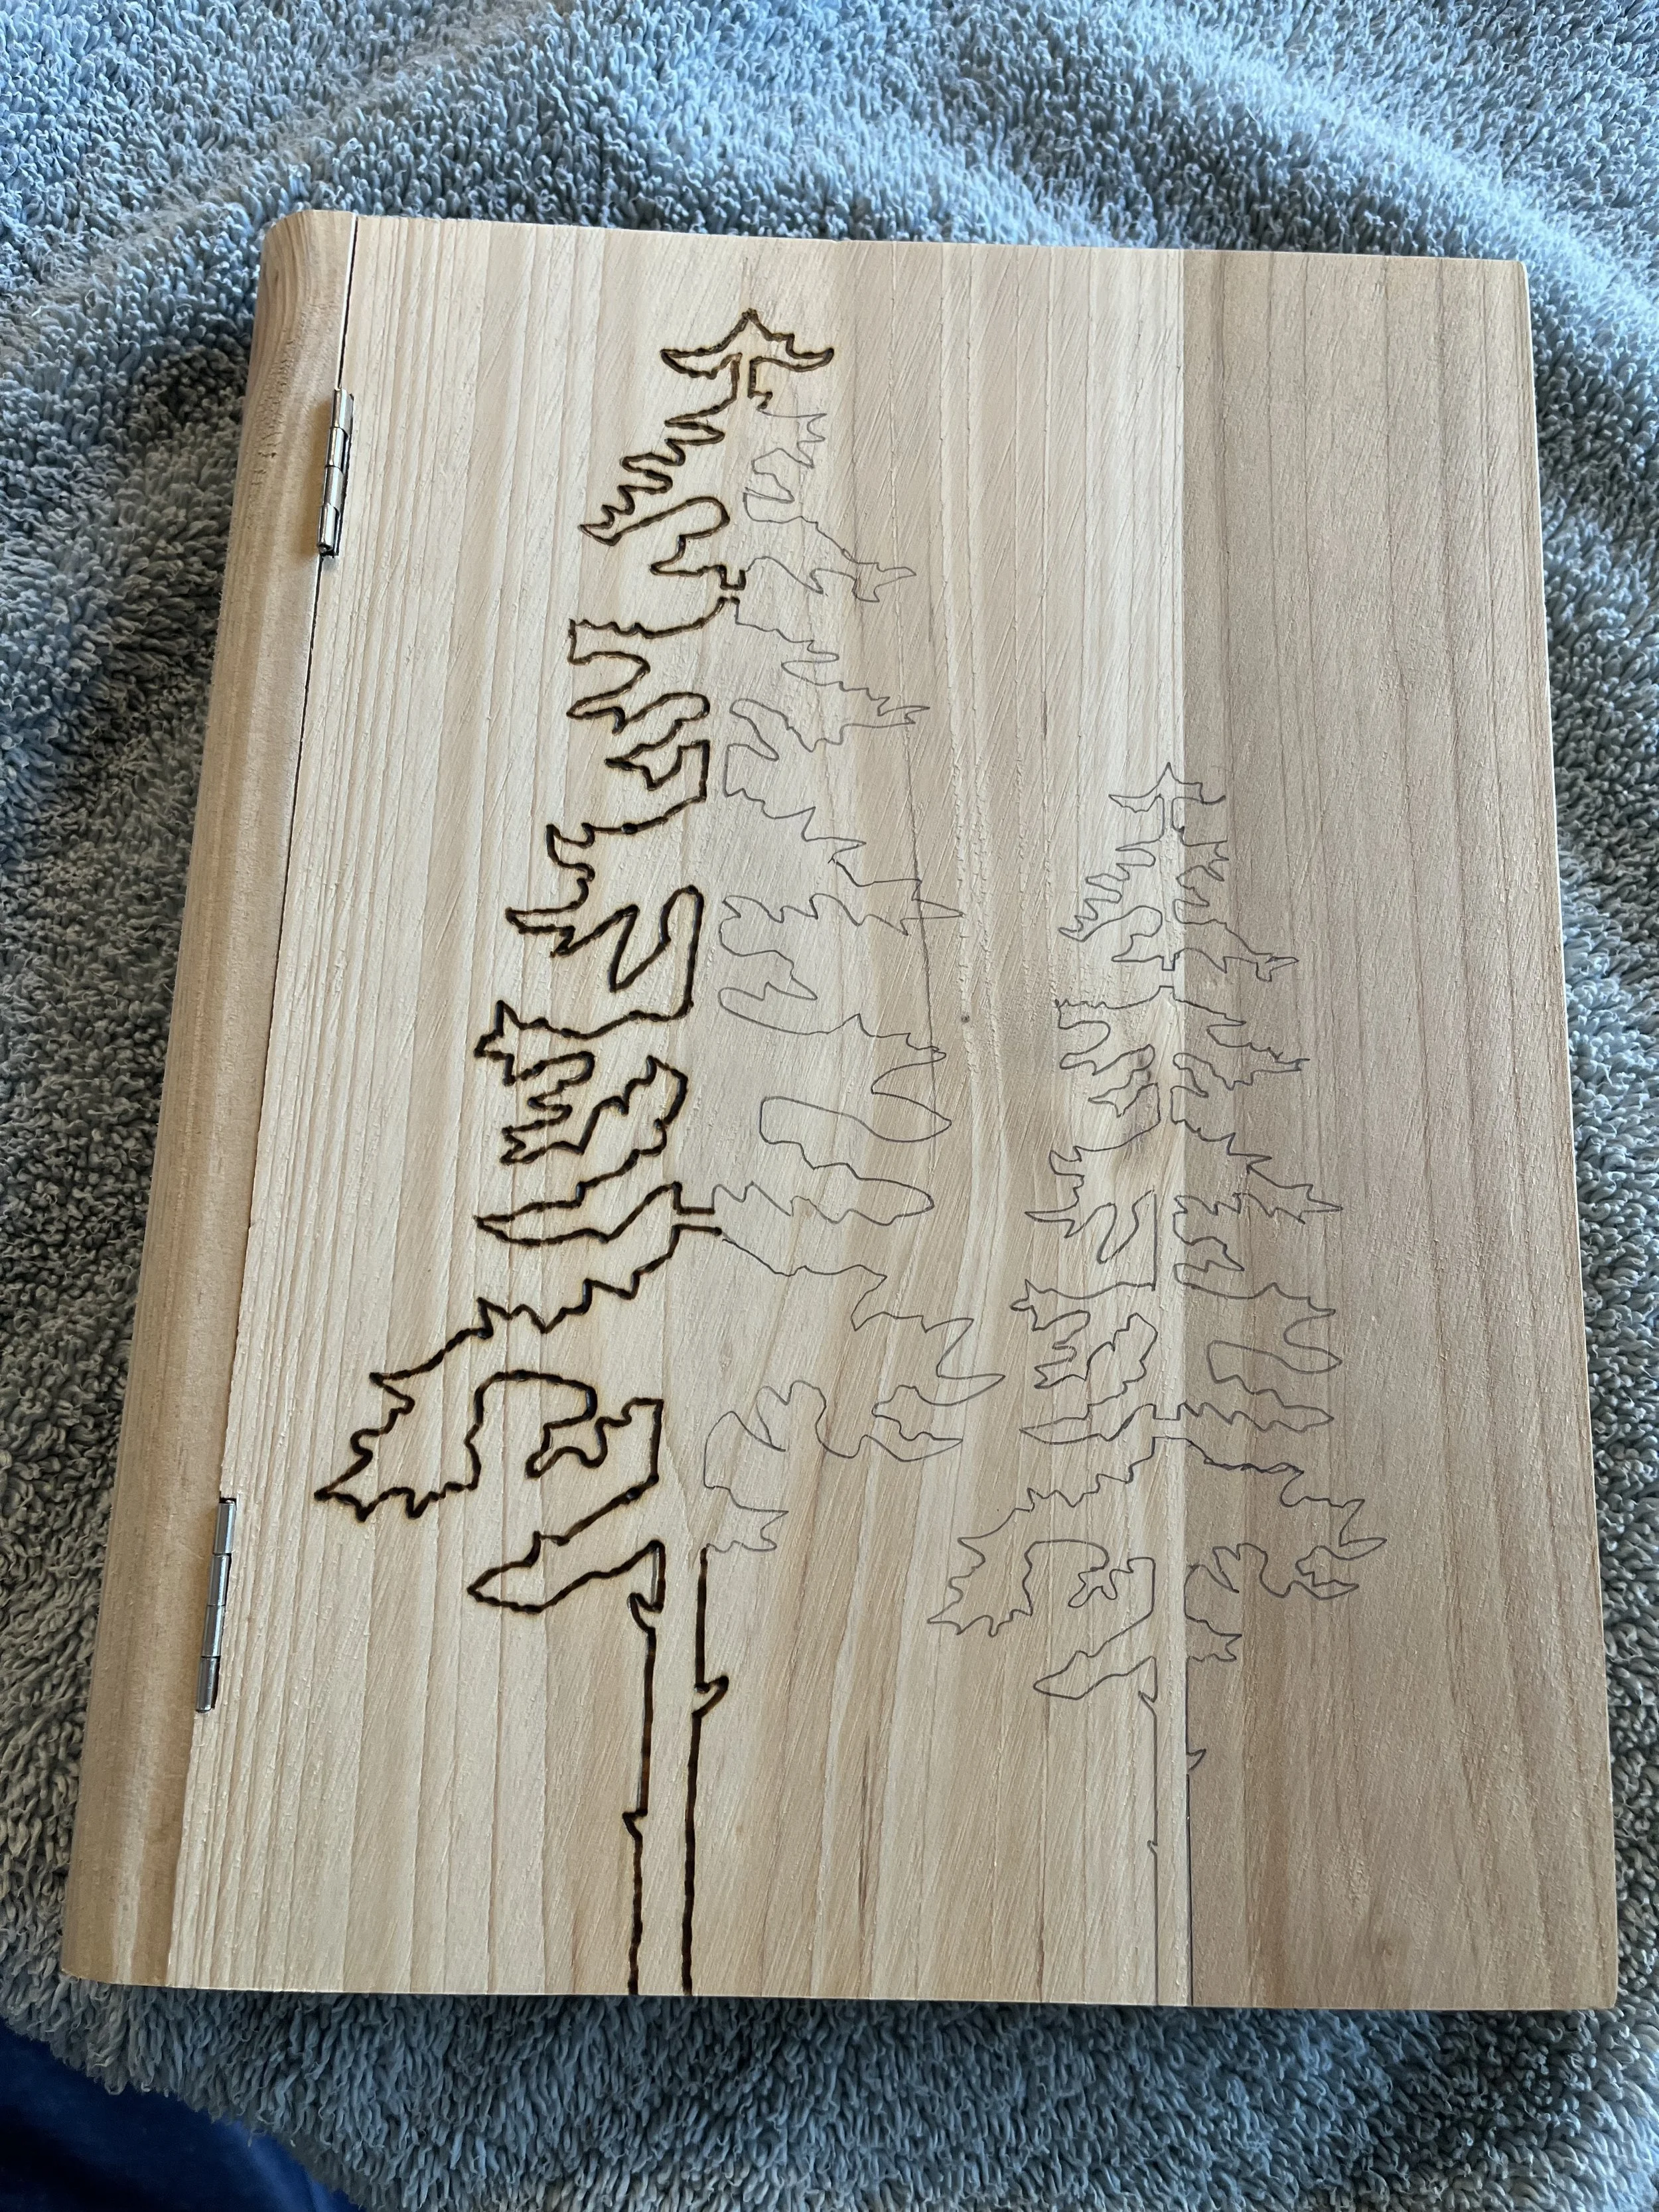
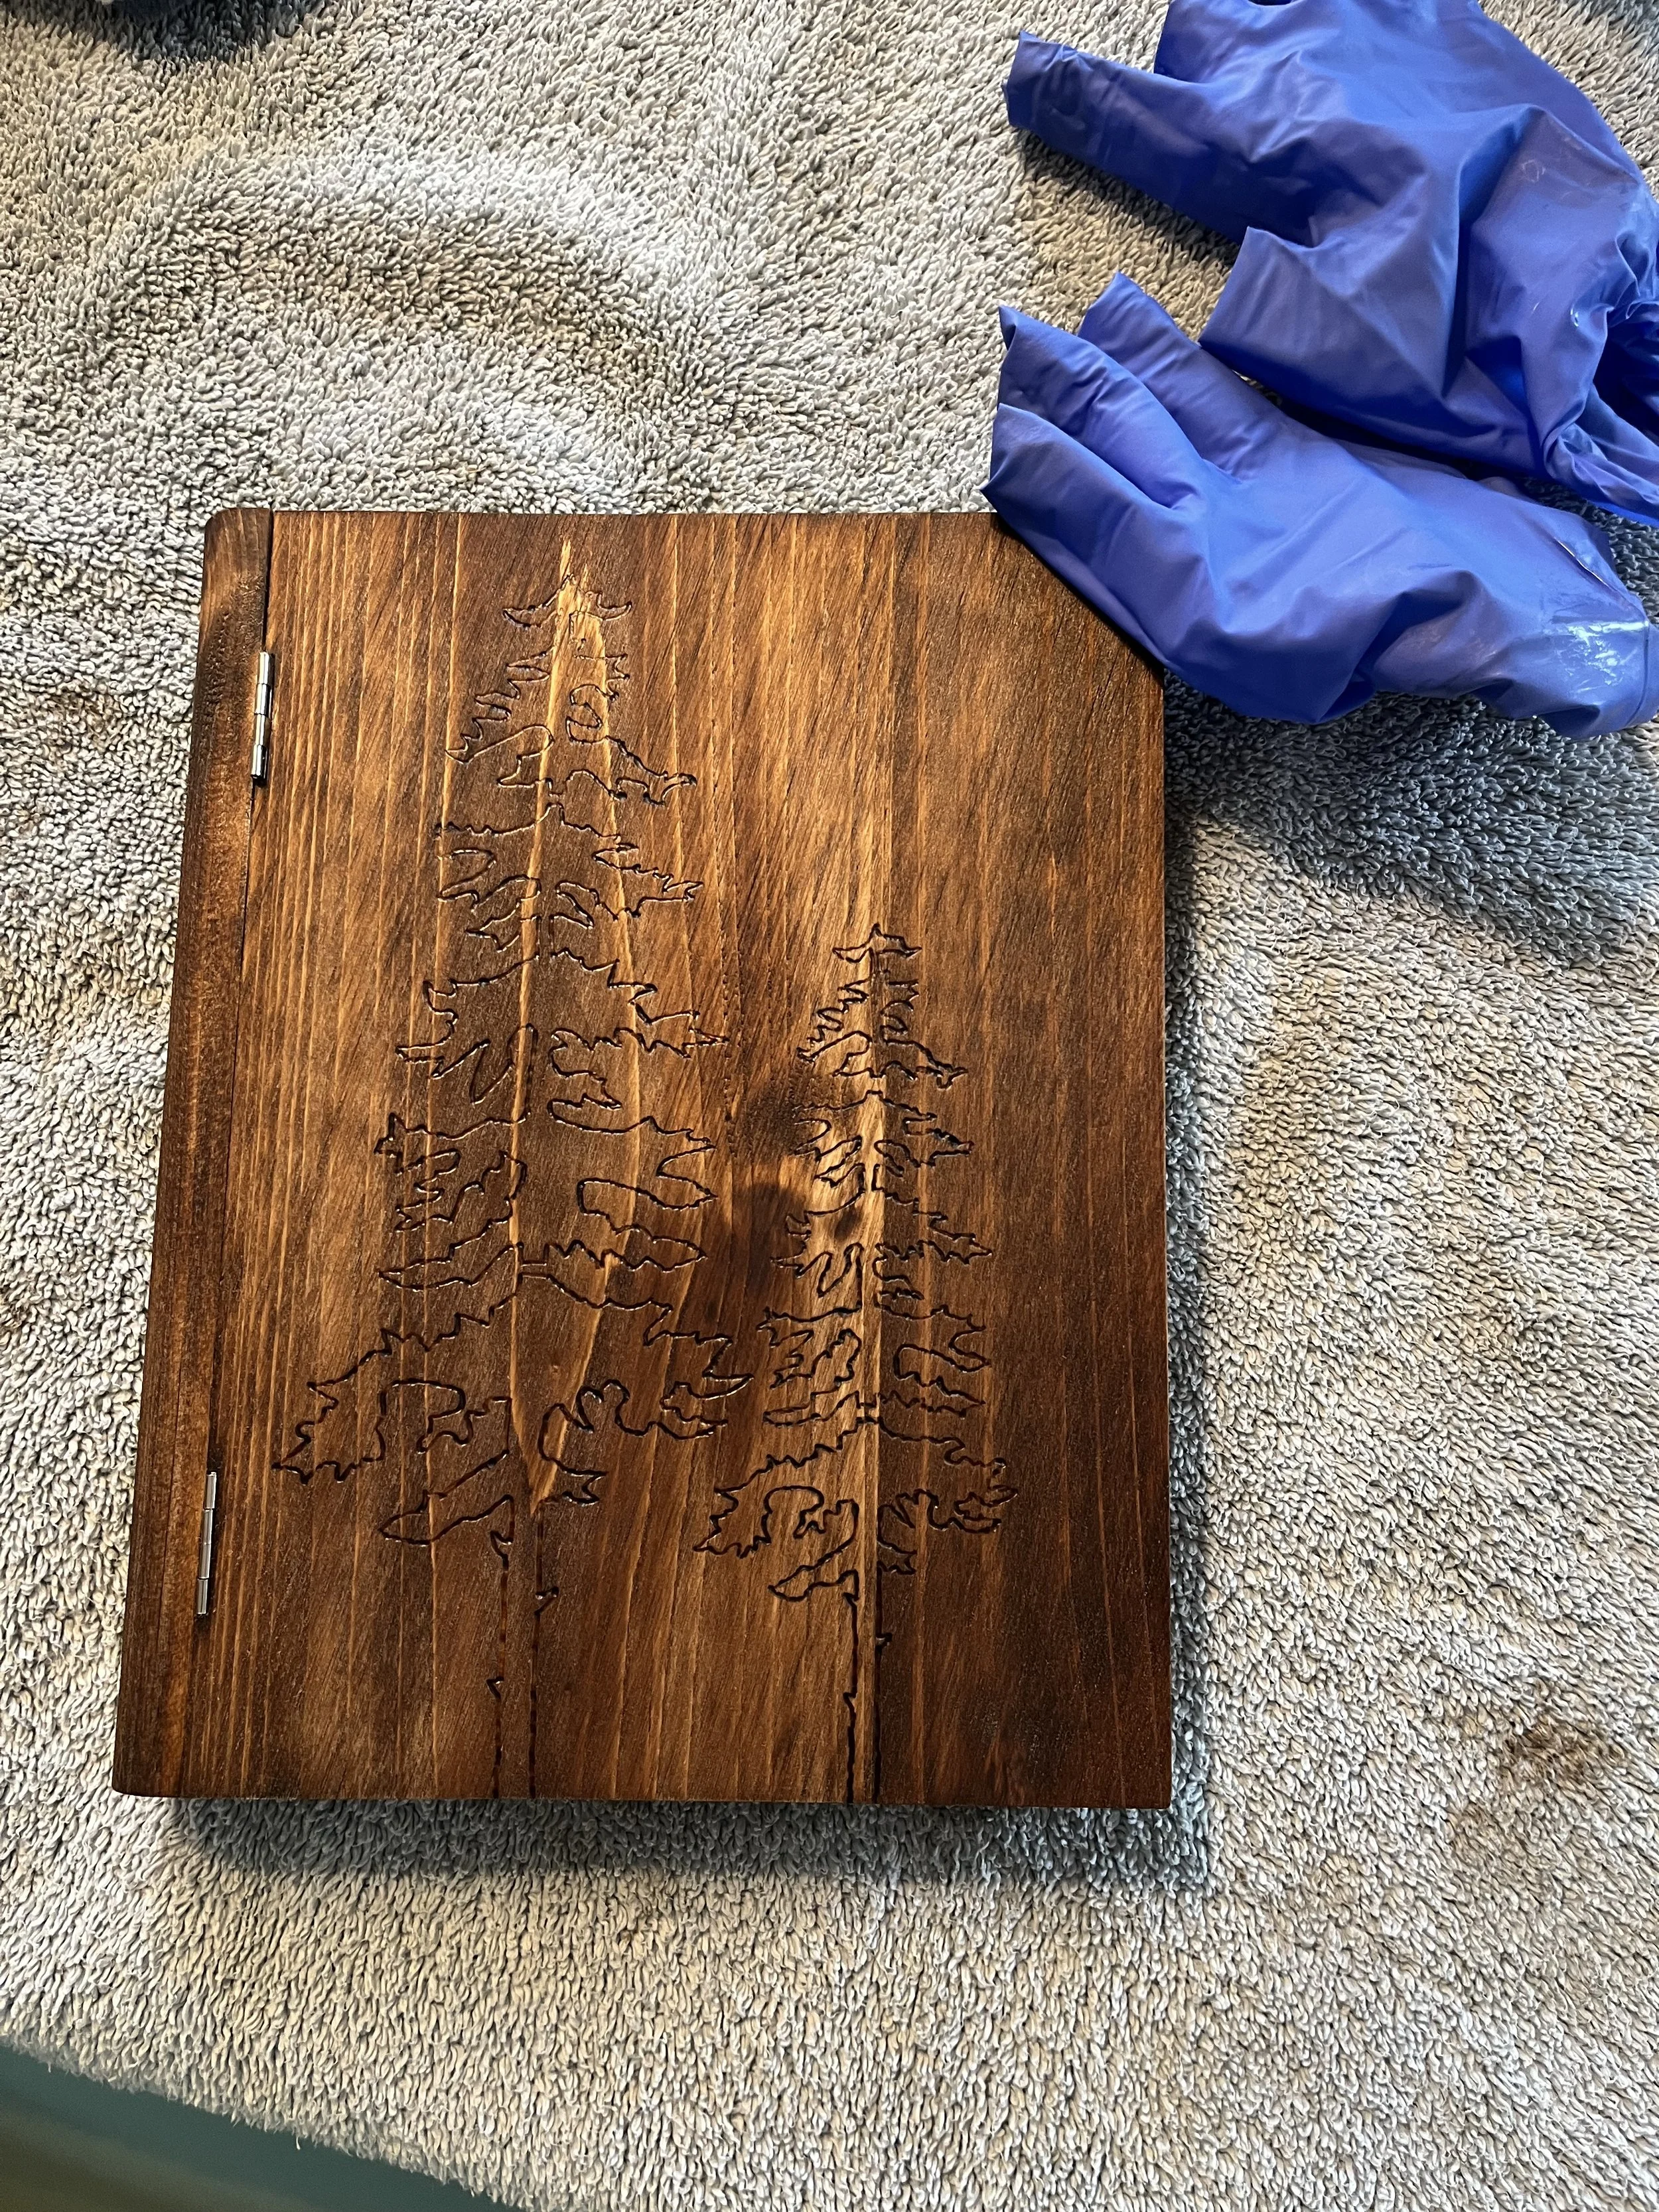
I was so nervous to make that first touch with the wood burner, there would be no going back. I was kinda whimpy at first and had to go back over my line again to make it darker. I just wasn’t going slow enough. So, the technique that worked best was moving slowly be steadily (to avoid a series of dots along my line) and I pushed down a little too but not too much. It really moved along pretty quickly and I could not believe how good it was looking.
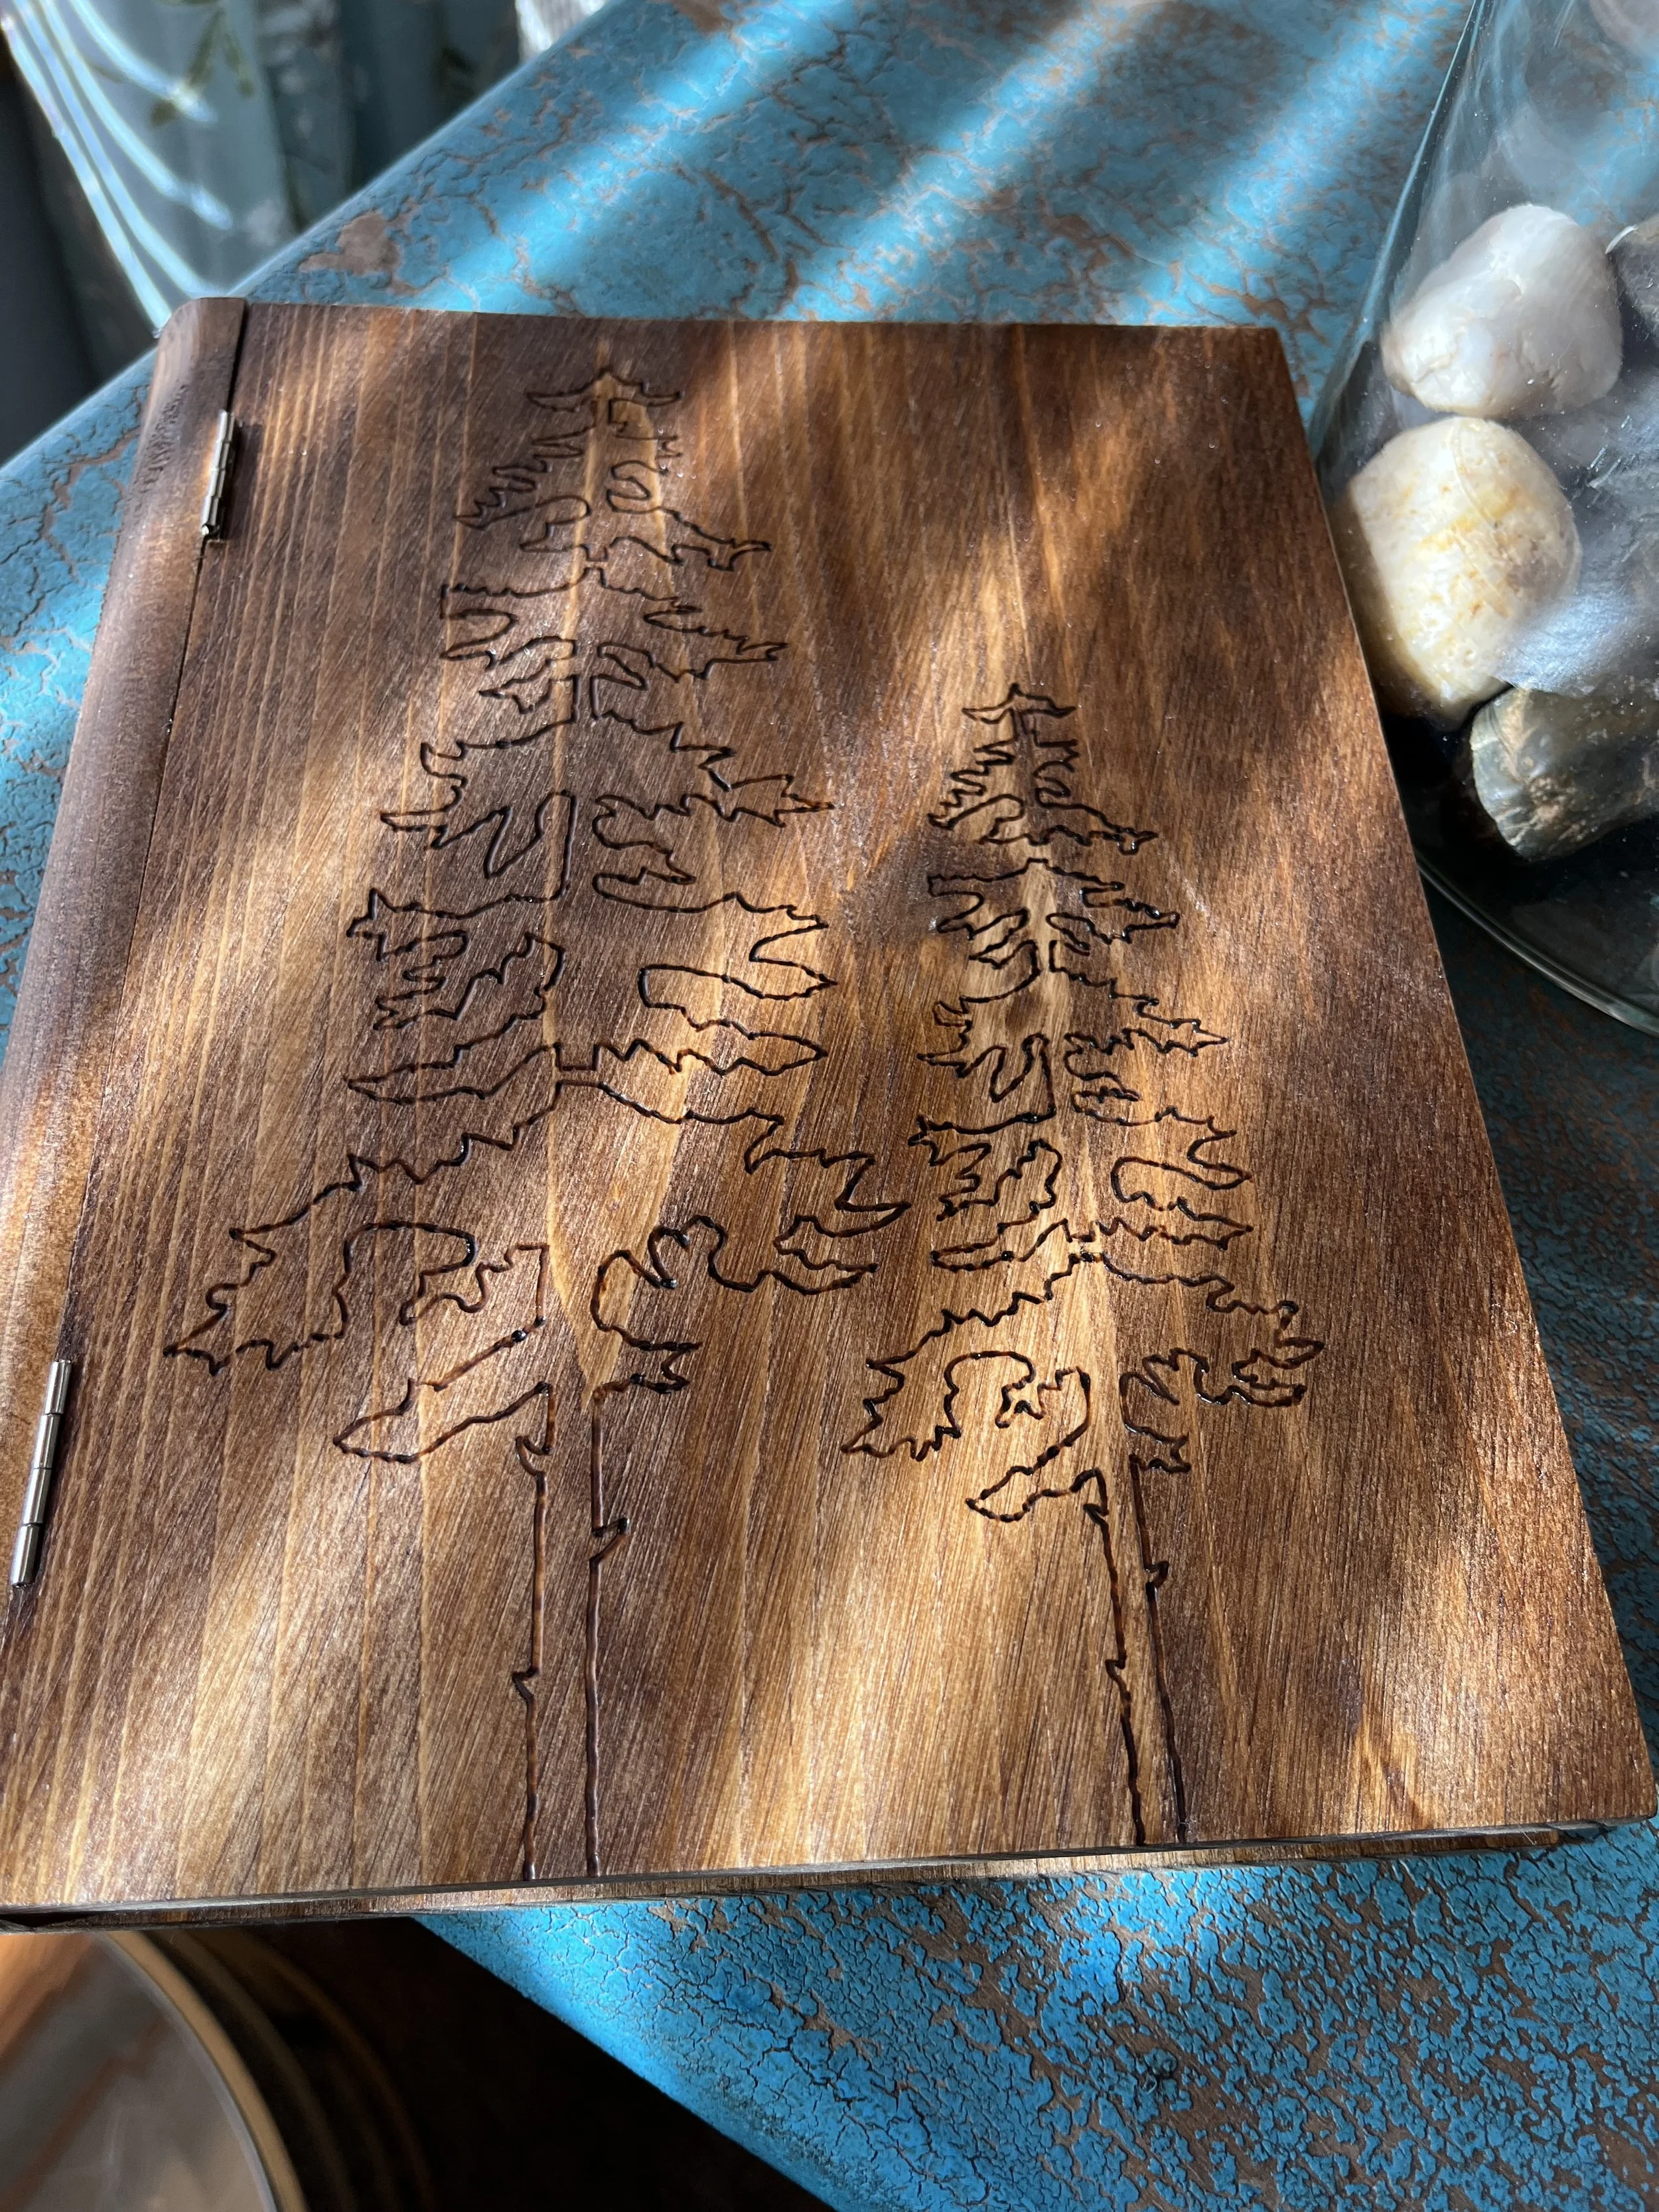
I decided to add one more element to this project. I have never stained anything before, and I wanted to give it a try. I thought it would create a nice, finished look to the box. This is where things take a turn… I was really happy with the wood burning part. The trees turned out great BUT I do not like the stain.
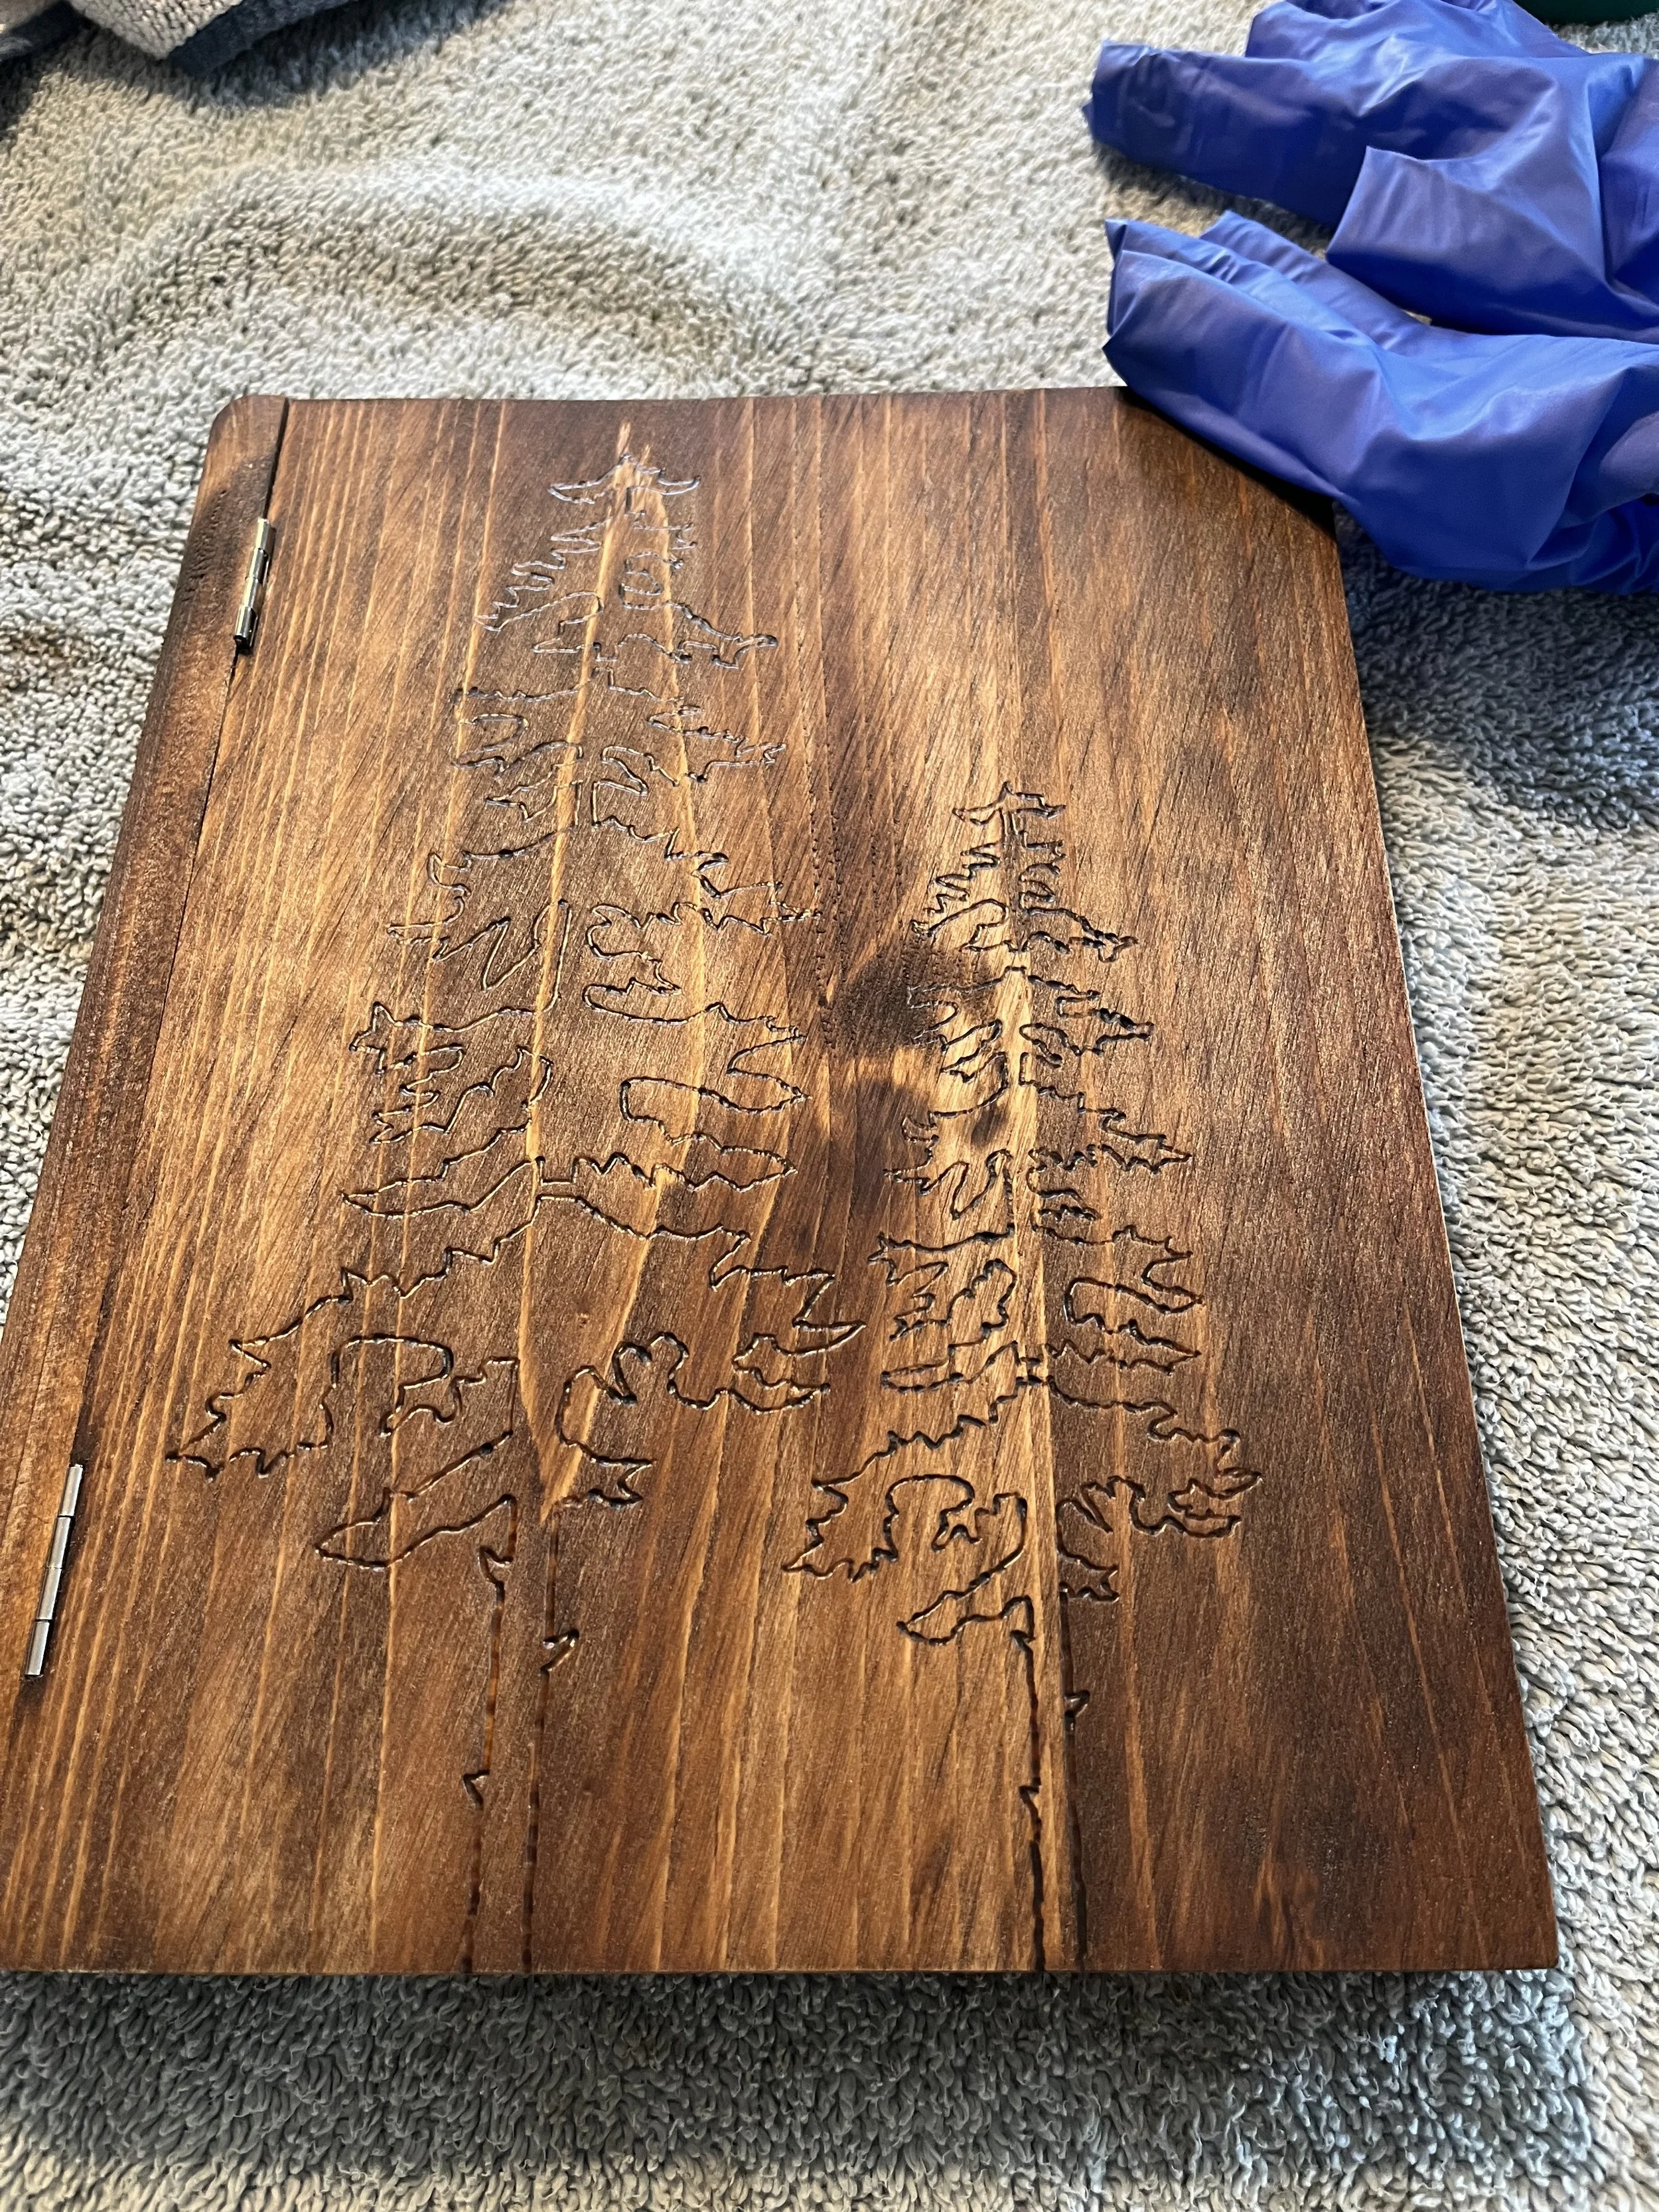
First of all, I probably could have added some steps, but the wood was unfinished, so I thought I was pretty good to go. I’m not sure what conditioning the wood first would have done but I think it might have made the process less fast. By that I mean the stain soaked into the wood so fast, there was no moderation available. And the second thing I would recommend is testing the stain first. This stain is just too dark, you can barely see the design. The last thing I wanted was to run to the hardware store fifteen times until I found the right stain color, but I definitely would have gone one more time for something much lighter. I will put a sealant on it to see if that changes how it looks so maybe that will help.

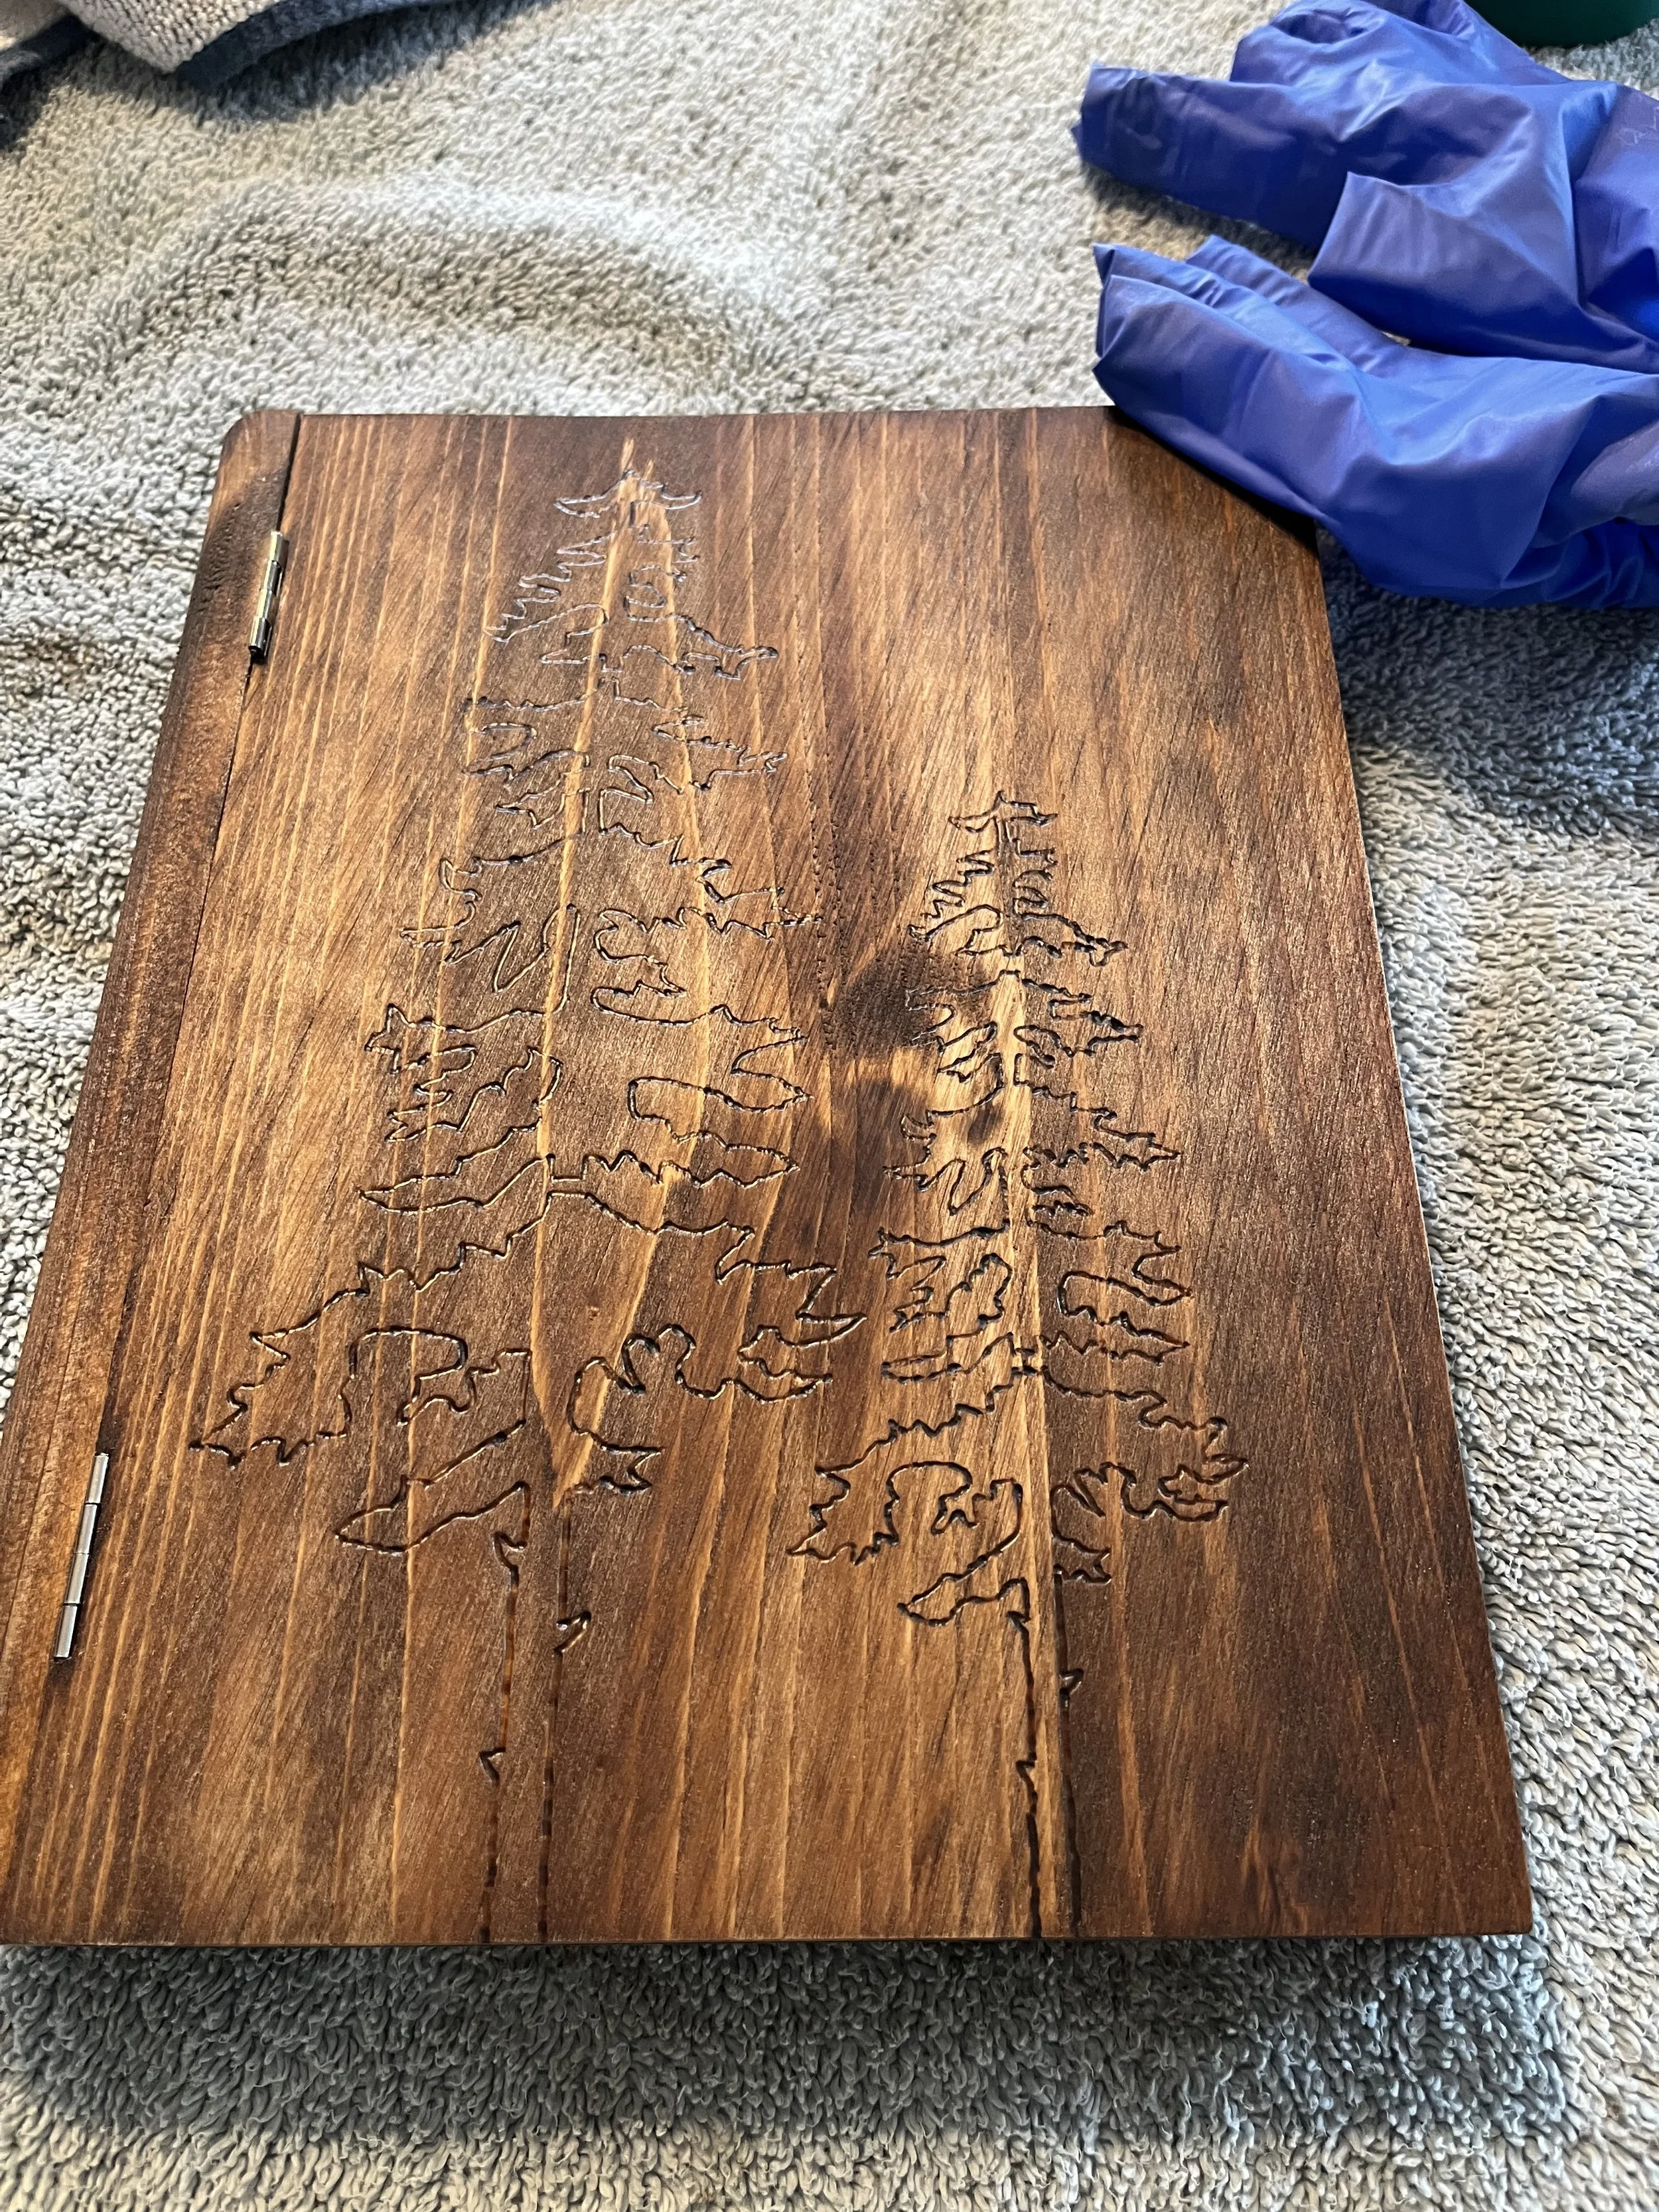
Well… there are all the photos. I tried taking all kinds of pictures and I still don’t think it looks good. But I am so glad I did it! It was fun to do. I actually love the idea of trying to fail. That changing the expectation around success or failure can be freeing. Here’s to more trying… failure or success.